Robot Design Story

Consistency, Reliability, and Control—On Purpose

This page explains how we evolved our robot hardware, built a mission strategy, and refined programming so our robot performs predictably under competition conditions.

Definitions used throughout this page

Consistency = the robot repeats the same action the same way across many trials (different speeds, distances, battery levels).
Reliability = the robot completes intended tasks successfully without frequent failures or “surprise behavior.”
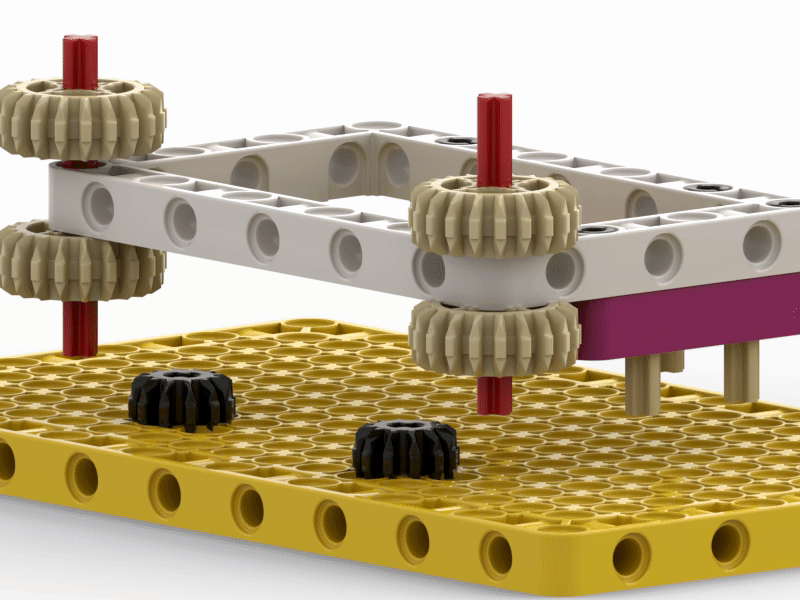
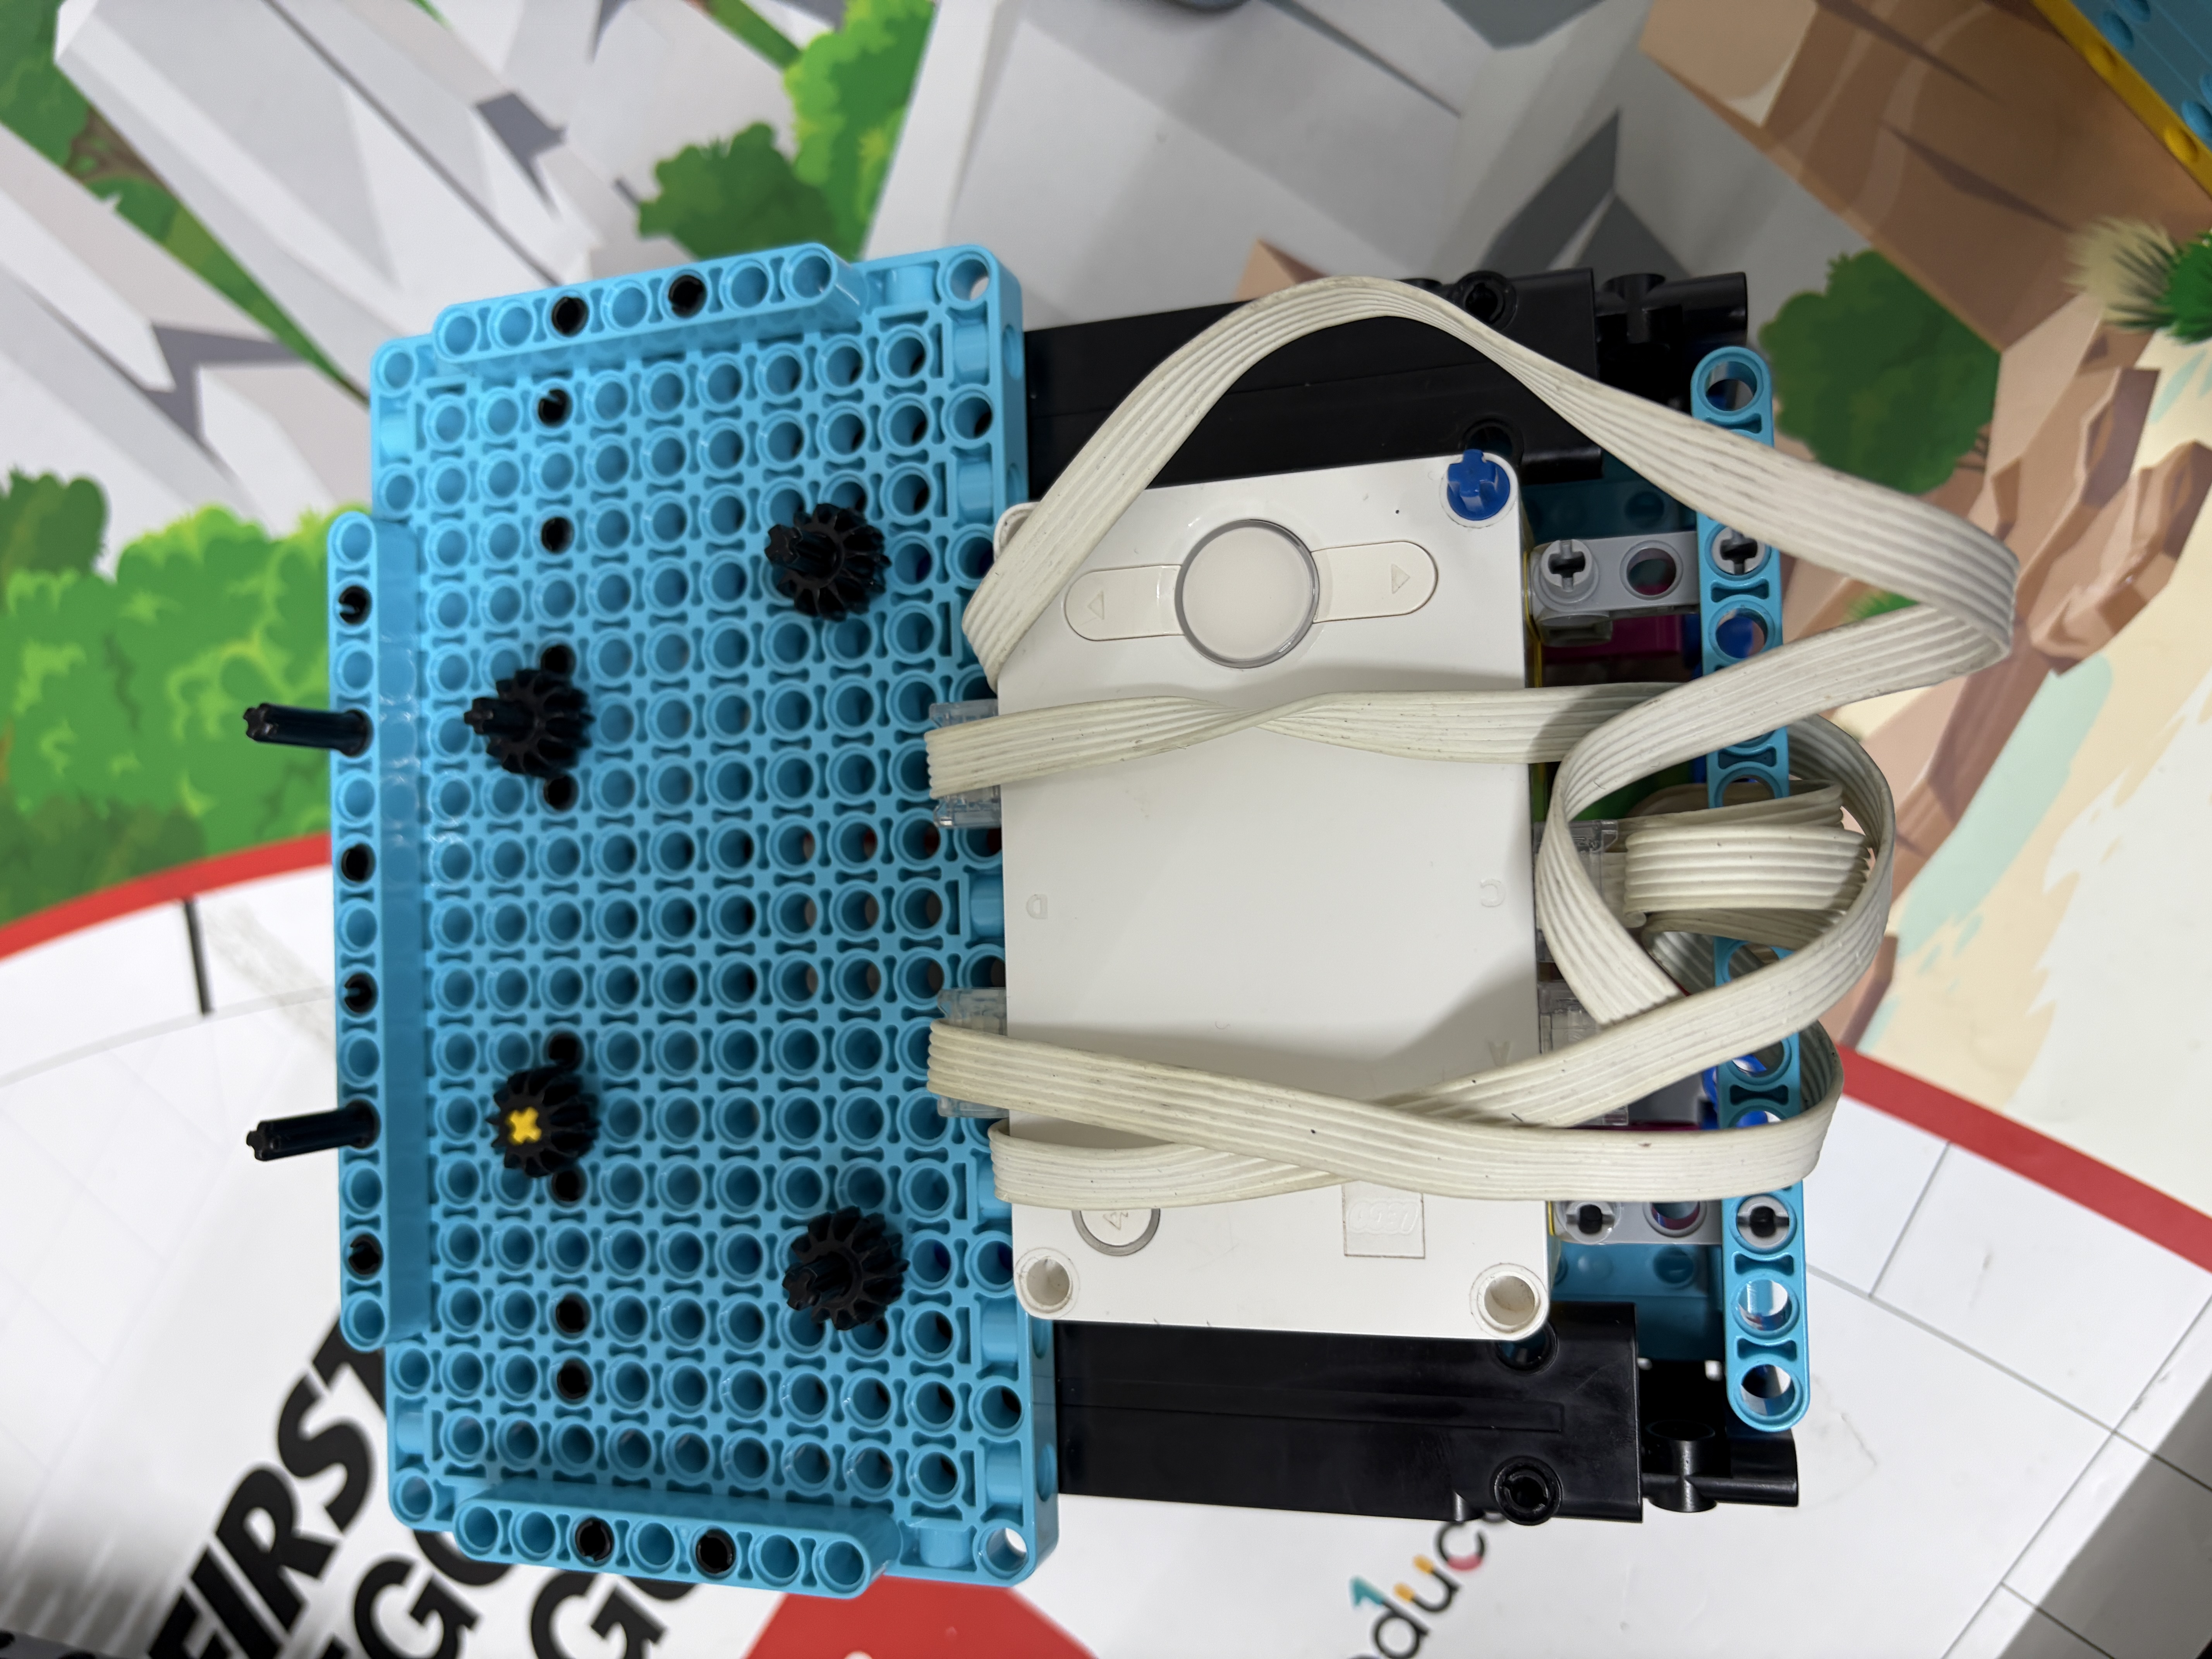
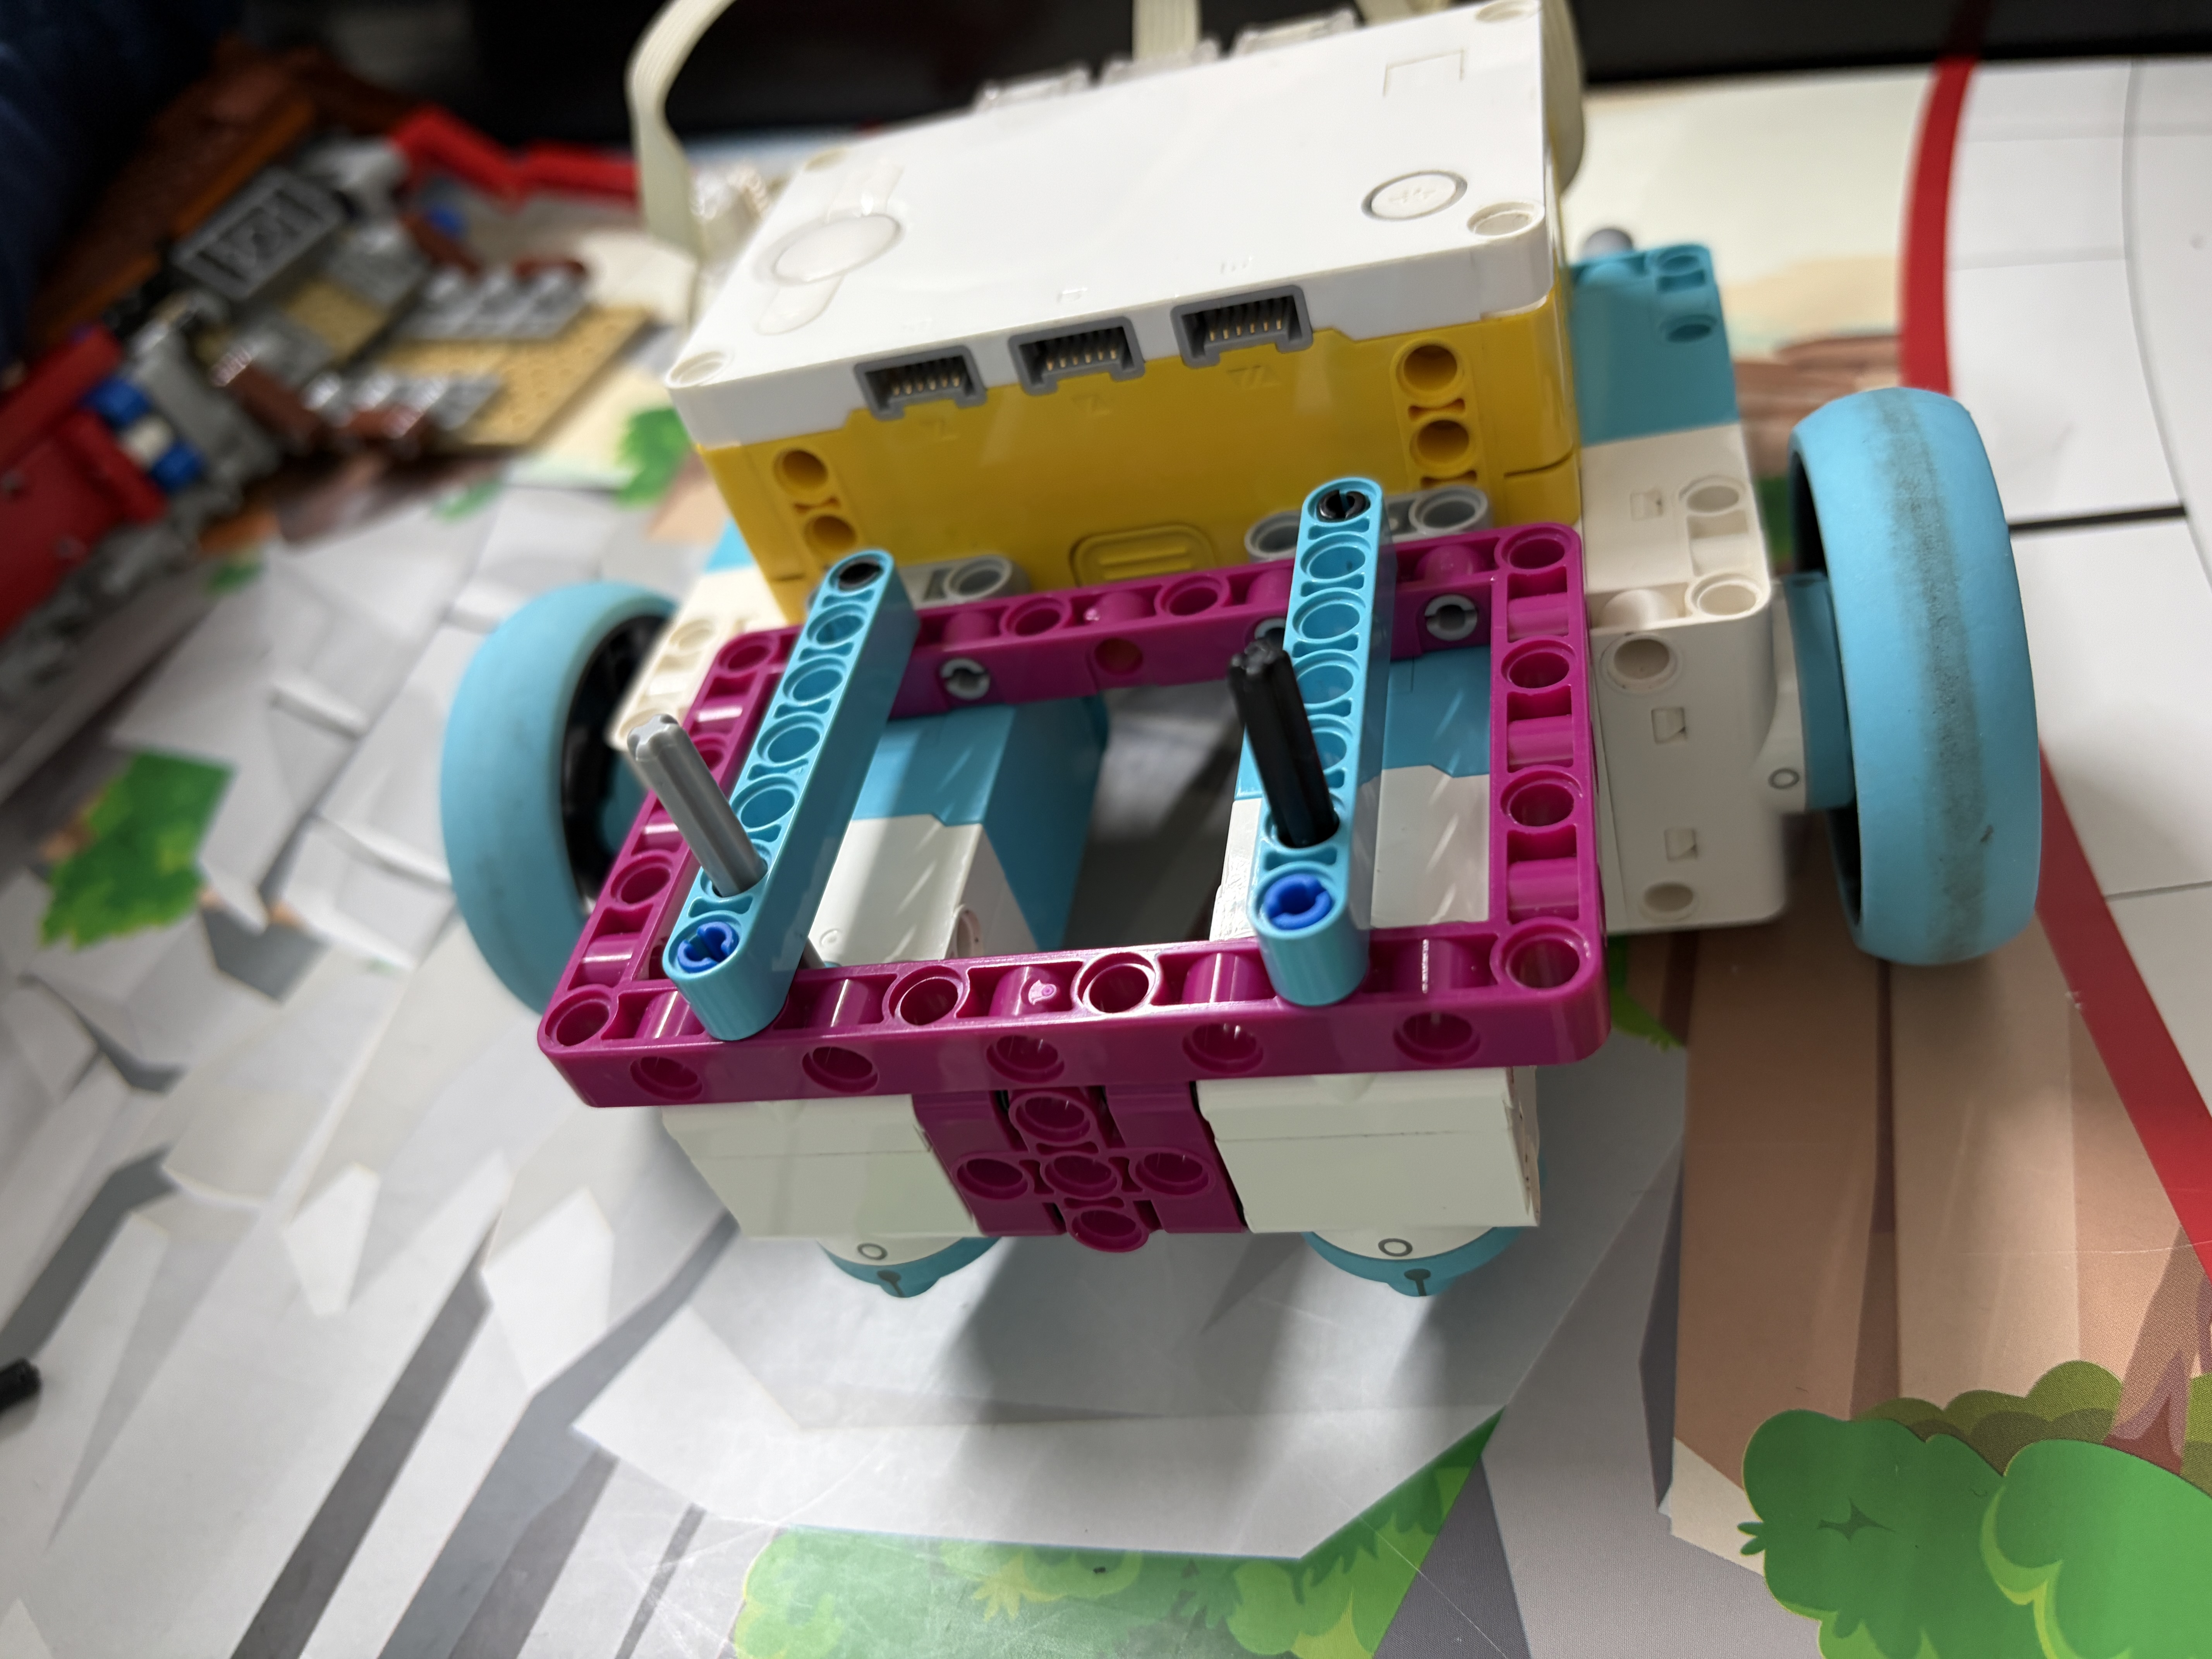
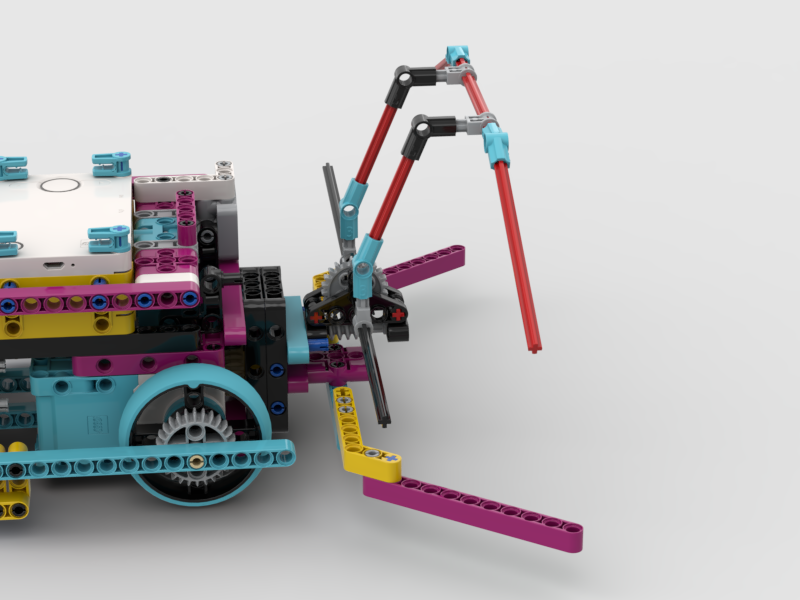
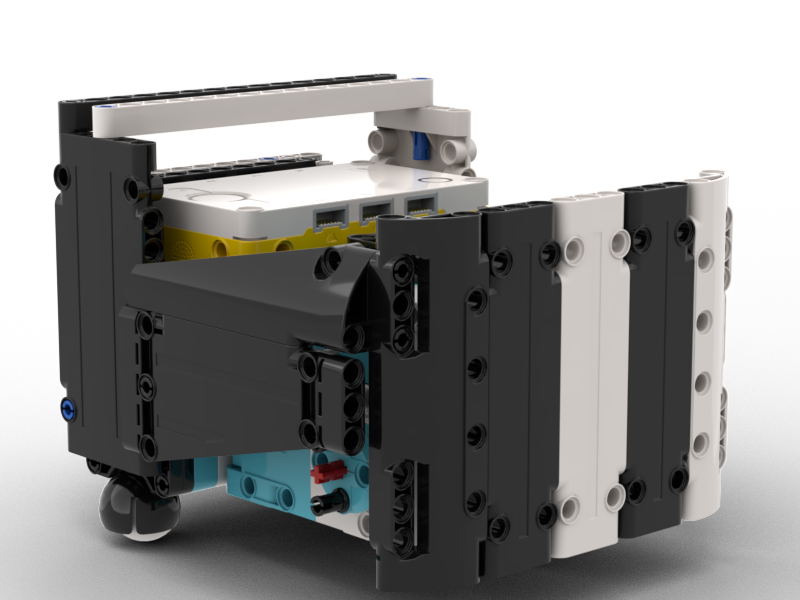
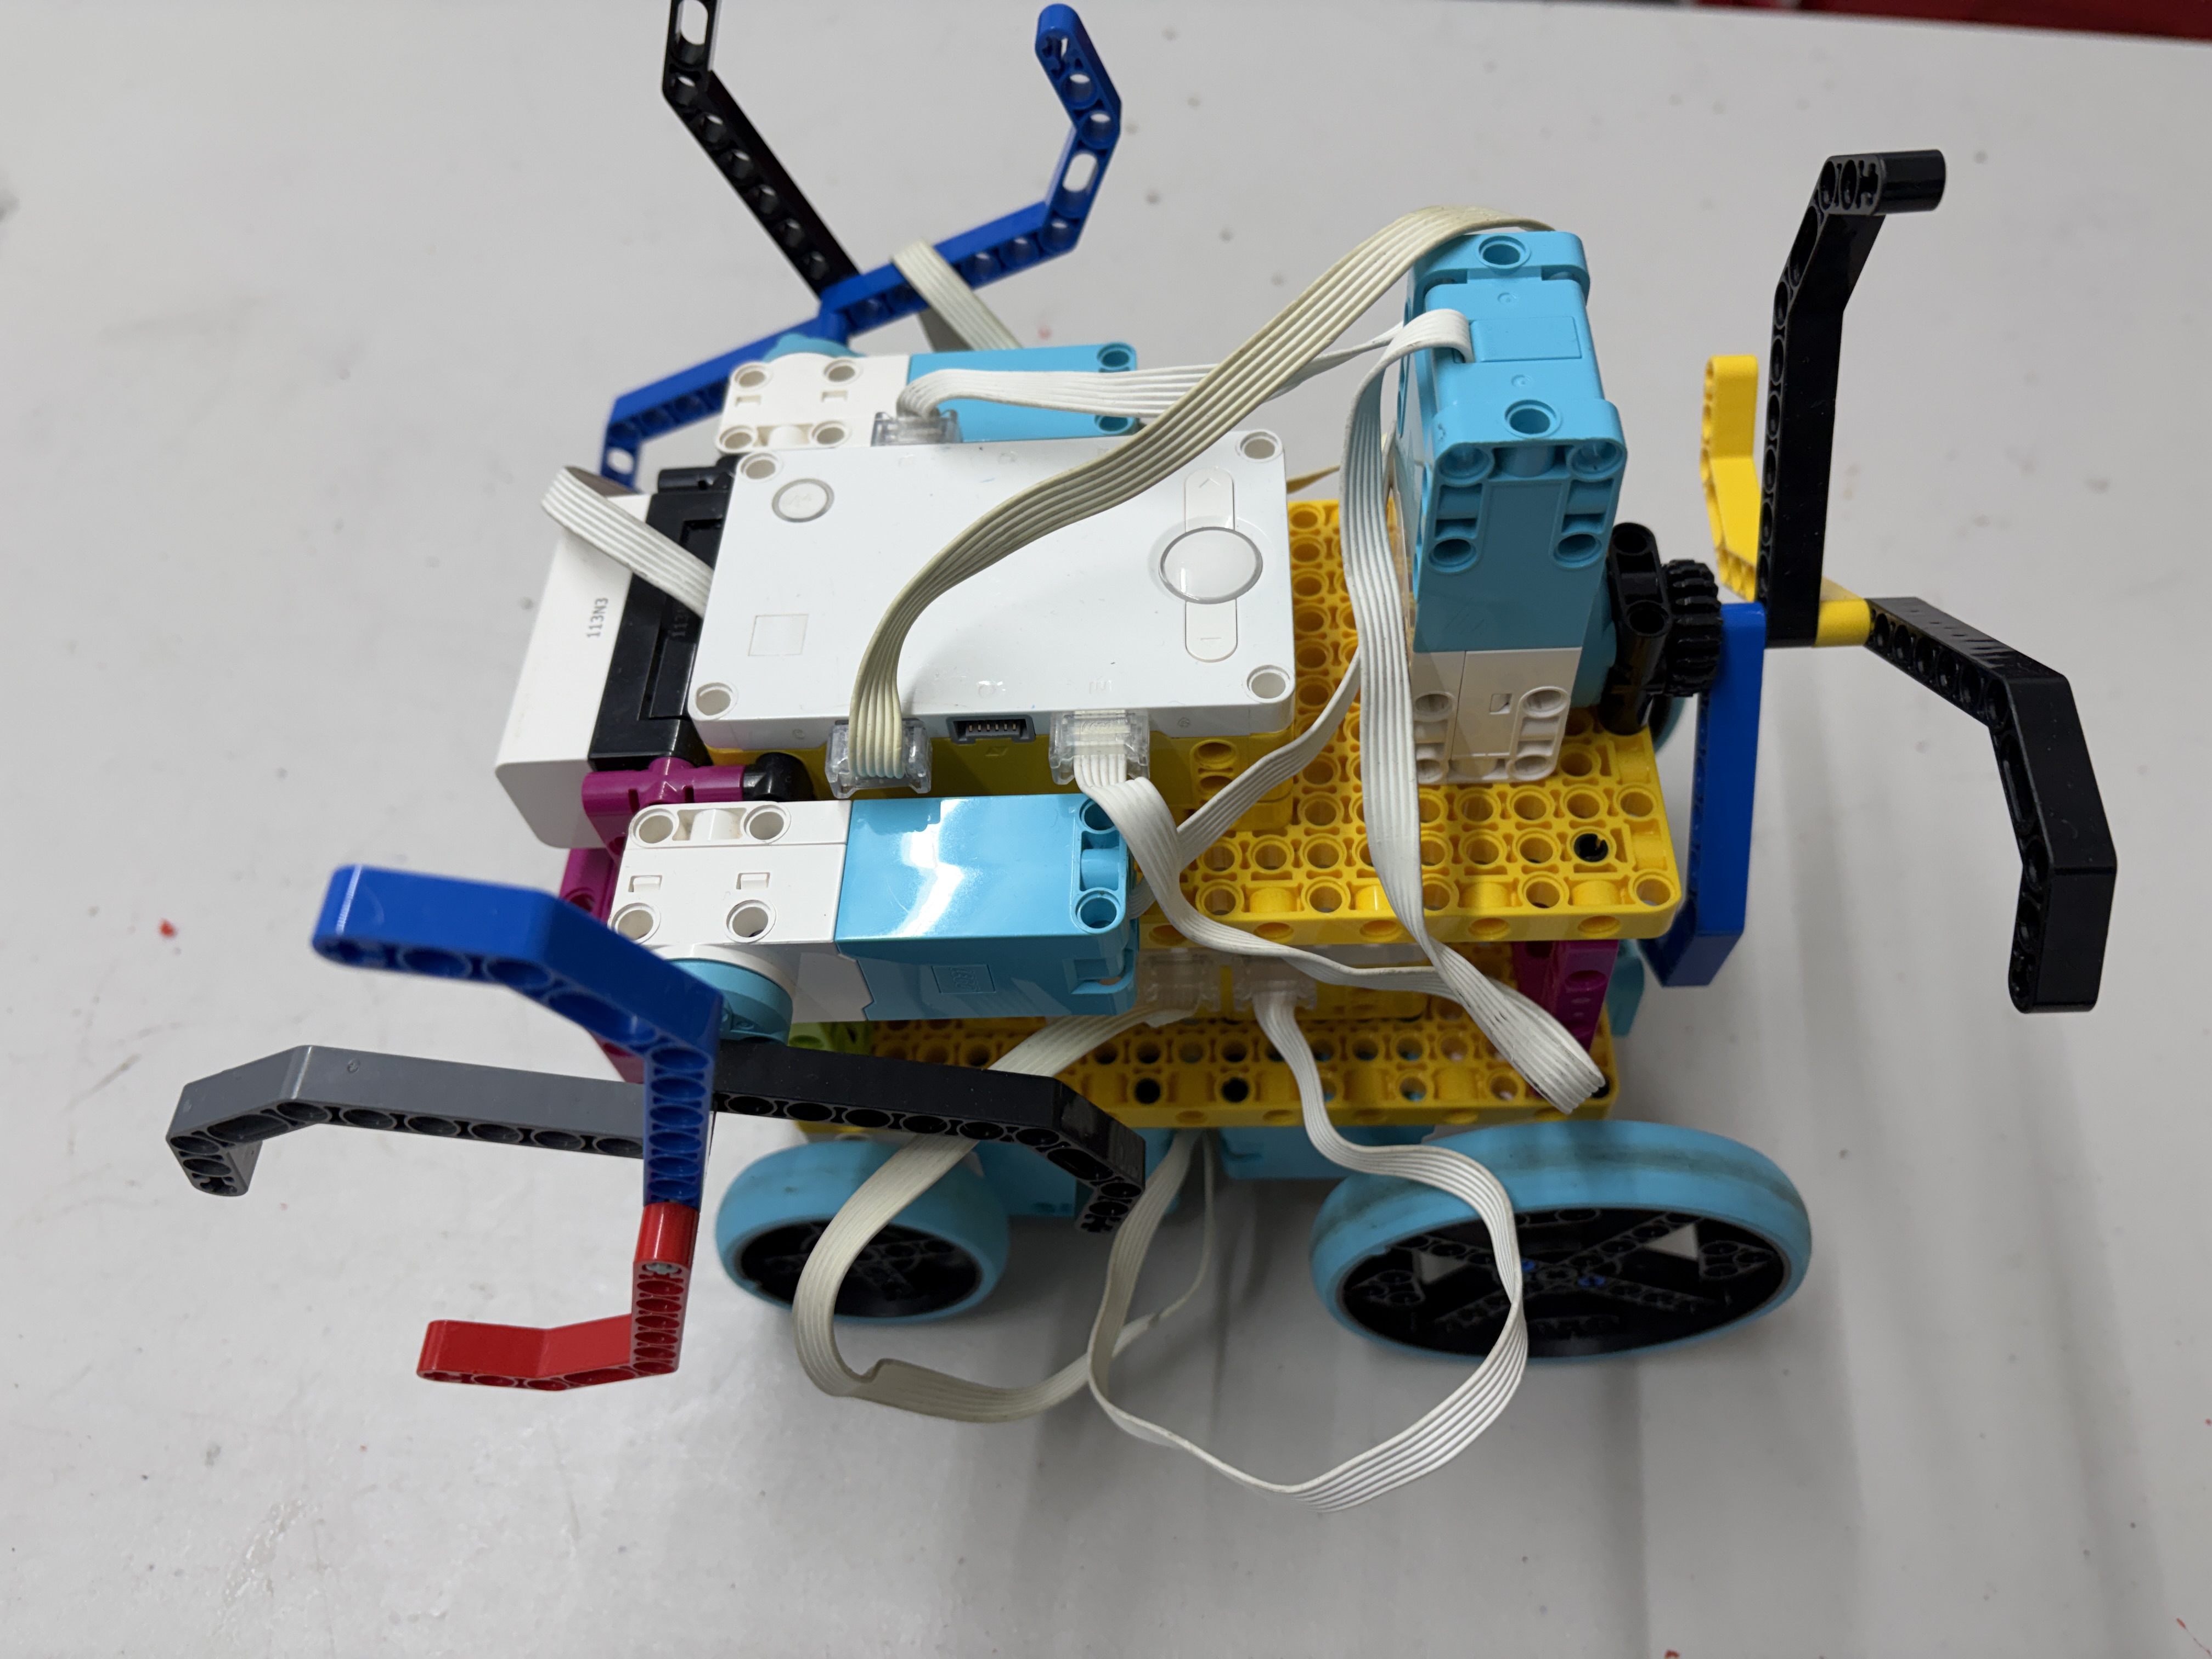
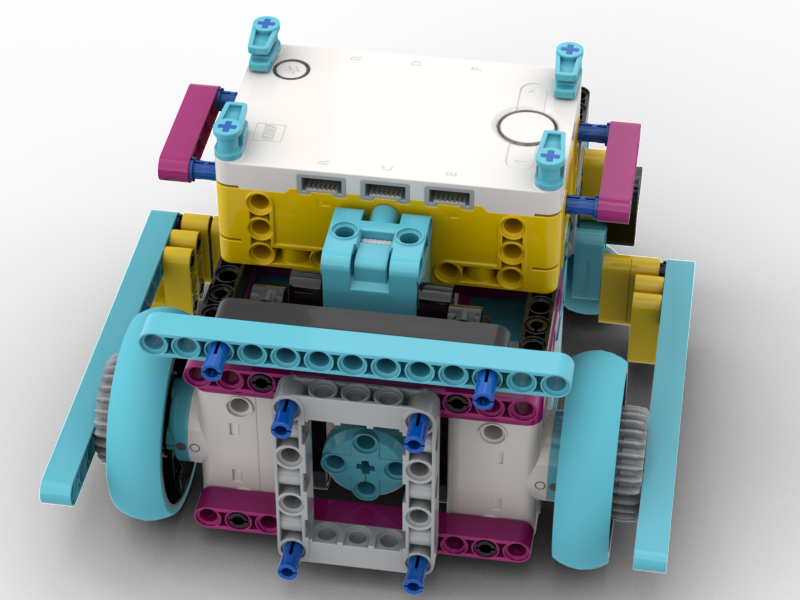
Stable hardware 
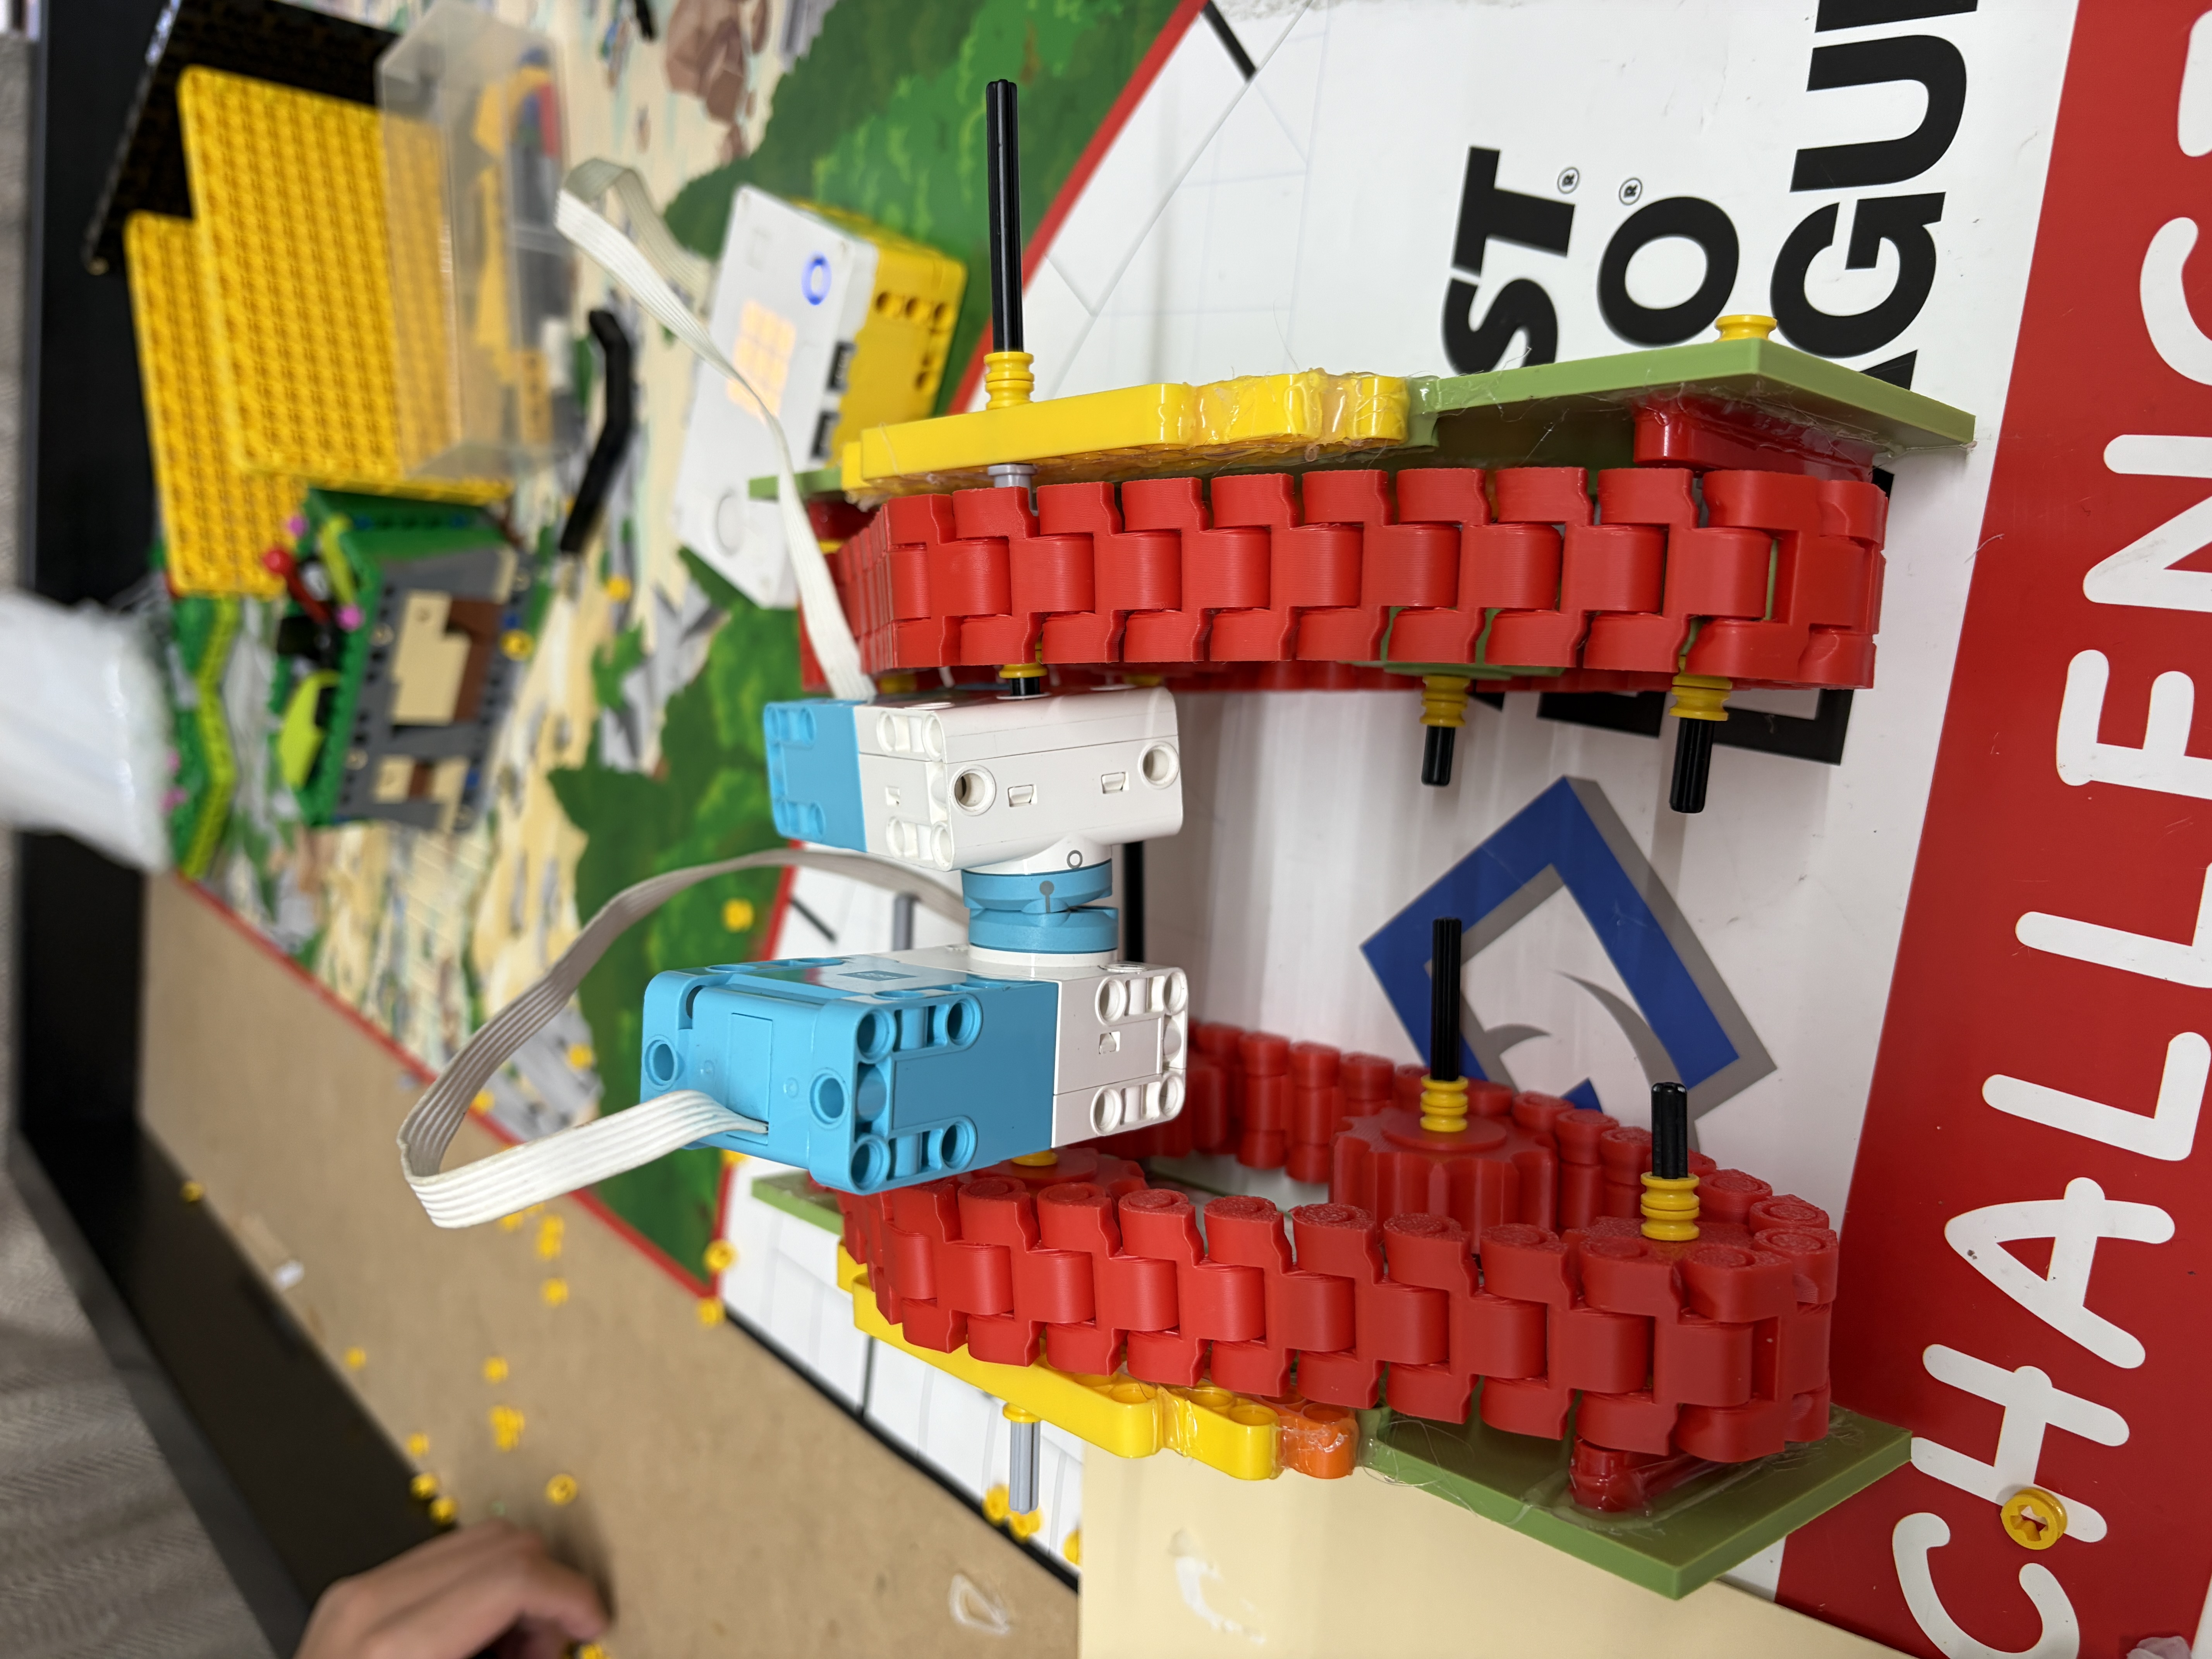
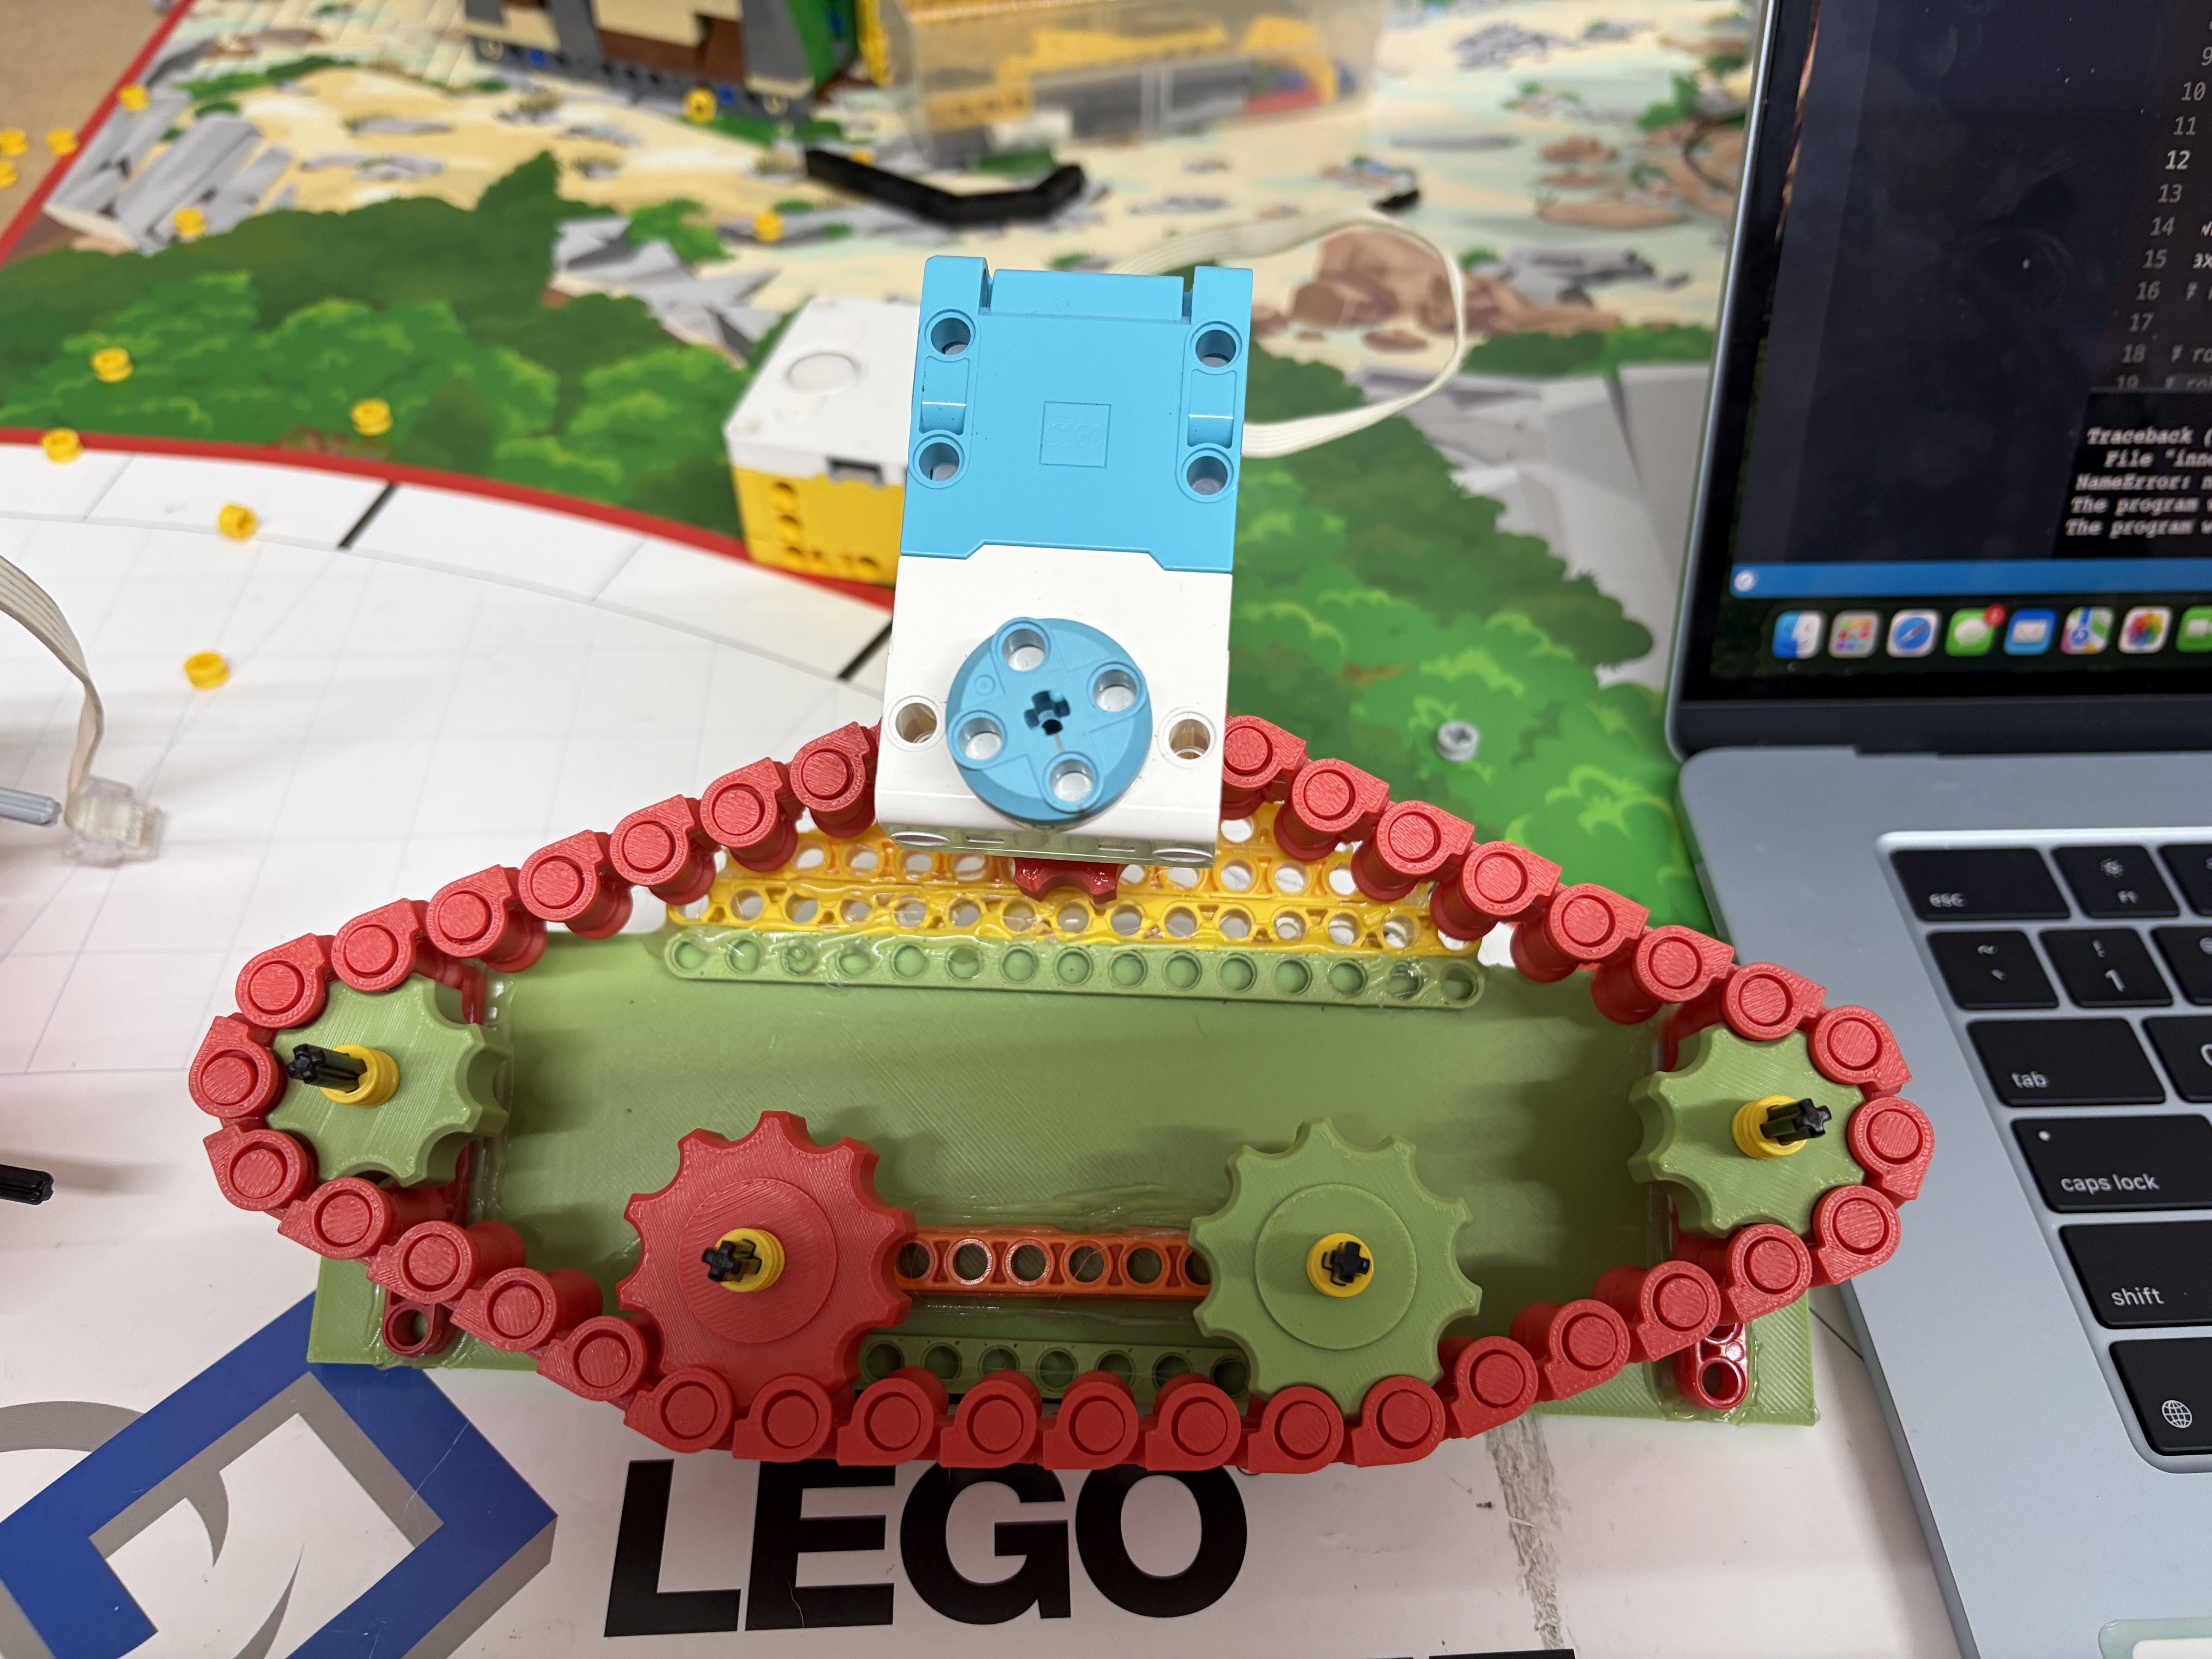
Smart mission grouping Sensor-based corrections
Kyle — Robot Evolution (Show, not tell)

Before → After: motor layout & attachments

Front-mounted motors Pinless attachments Faster swaps • fewer resets
Old layout
Old motor layout
Front+back motors — inconsistent mounting
New layout
New front-mounted layout
Both motors front-mounted, laid flat → more stable
Pinless attachment (demo)
Pinless attachment still
Sits on axle pins — gravity holds it, quick swaps
Pinless rotation view
Pinless rotating
Quick inspect — consistent seating every time
Close-up: mount points
Mount close-up
Axle-pin locations and seating tolerance
Minimal notes
Fewer loose parts Faster attachment swaps Repeatable alignment
More context (expand)

Previous layout had mismatched motor heights and loose front plates. Moving both motors front and using a pinless system reduced mechanical drift, cut reset time, and made testing iterations faster.

Anthony — Strategy & Run Bundles

Runs built for efficiency — show, not tell

Group missions by action + proximity. Each run card below shows quick metrics: missions, est. time, risk, points, and attachment.

Run A
Run A Est: ~22s
M1 M2 M9
Pts: 28 Risk: Low Attach: Dual-arm
Run B
Run B Est: ~35s
M5 M4
Pts: 34 Risk: Medium Attach: Pinless scoop
Run C
Run C Est: ~18s
M3 M12
Pts: 22 Risk: Low Attach: Lift arm
Run D
Run D Est: ~40s
M8 M15
Pts: 40 Risk: High Attach: Long reach
Run E
Run E Est: ~28s
M14 M13
Pts: 30 Risk: Medium Attach: Grab + tilt
Quick rules we used
Prefer low travel combos Avoid >2 high-risk actions in one run Keep attachment swaps ≤15s
Mission Analysis & Sorting System

Mission Analysis & Sorting System

Before designing our robot and planning runs, we categorized all 15 missions by action type, difficulty, and point value. This systematic analysis helped us identify natural groupings and prioritize which missions to attempt.

🔴 Push Missions

M2 M5 M6 M8 M10 M11 M12

7 missions require pushing objects or models

🔵 Pull Missions

M9 M10 M12

3 missions involve pulling mechanisms

🟡 Pick Up/Drop Off

M1 M2 M4 M14 M15

5 missions require precise object manipulation

🟢 Lift Missions

M3 M7 M13

3 missions need vertical lifting action

✅ Easy Missions

6 Missions
M2 M5 M6 M12 M13 M14

High success rate, straightforward execution, great for building confidence

⚠️ Medium Missions

5 Missions
M1 M7 M9 M10 M15

Moderate complexity, requires careful programming and attachment design

🔥 Hard Missions

3 Missions
M4 M8 M11

High precision required, multiple failure points, advanced mechanisms needed

30
M1
10+10+10 pts

🏆 Total Available Points

490

Maximum score across all 15 missions

Julisa — Project Management (visual)

Photos • Schedule • Progress

Short notes + visual infographics to show how we organize and track runs.

Iteration & testing gallery
Iteration 4 Iteration 5 Last year Pinless demo New base Iteration 2
Top: quick visual record to speed inspection and decisions.
Practice calendar (weekly) 90 min / wk
Mon Tue Wed Thu Fri Sat Sun Practice 6–7:30pm Sprint review Practice Sprint review
Weekly rhythm: practice → refine → review.
Run progress tracker Goal: reliable runs
Run A
85%
Run B
60%
Run C
40%
Run D
20%
Run E
52%
Green = tested Yellow = needs tuning Gray = early draft
How to use

Check photos for build issues, follow the weekly calendar, update the tracker after each session.

Brian — Pybricks (show, don't tell)

Faster loops • tighter control • sensor-first

Loop-rate gains Sensor fusion Repeatable outcomes
Loop rate → correction fidelity
Heading error ↓ Loop rate → Block coding ~5–10Hz Pybricks ~50–200Hz
Faster loops let the controller correct drift sooner.
Closed-loop diagram
Sensor Controller Motors feedback
Sensor → controller → motor loop
Mini Pybricks loop (short)
# Pybricks: simple loop (illustrative)
while True:
  heading = gyro.angle()
  error = target - heading
  power = kp * error + kd * (error - last)
  drive.dc(power, power)   # set motor power
  last = error
  wait(10)  # loop ≈100Hz
              
Visual: test snapshots
gyro trial encoder log robot close run combo
Larger thumbnails make details readable; replace with higher-res screenshots.
Show logs, not long prose Use screenshots + SVGs Keep code snippets short
Jonathan — Sensors (show, not tell)

Gyro + Encoders → predictable turns & distance

Minimal notes — visuals show heading correction and encoder tracking (we use only gyro + motor encoders).

Heading vs time — 3 trials
Target end Trial A Trial B Trial C
Heading correction converges to target across trials
Encoder distance repeatability
T1 T2 T3 T4 T5
Encoder counts show tight distribution
Sensor fusion (runtime)
Gyro Fusion Motors angle correction power feedback
Gyro guides heading; encoders confirm distance
Hardware — sensors we use
Gyro/IMU
Gyro / IMU (Prime hub)
Motor encoder
Built-in motor encoders
Wiring top
Hub orientation & wiring
Sensor mounting
Stable mounting reduces drift
We use gyro + encoders only — document exact part/orientation here.
Presentation tips
Use same axes/scale for graphs Replace captions with one-line observations Put raw logs in shared folder (link in Coop section)
Anthony — PID Tuning & Motion Control

We tuned Kp and Kd using data across speeds and distances.

After integrating sensor feedback, we refined control with simple PID-style corrections. We tested multiple Kp values at different speeds and distances, and Kd values to reduce wobble and improve smoothness. We used these graphs to select values that produced straight and stable motion.

Definition: PID (what we mean)

PID is a feedback method that compares a target to the current measurement and applies correction. Proportional reacts to current error; derivative helps reduce oscillation/overshoot. :contentReference[oaicite:2]{index=2}

Kp Selector Click a Kp value to update the straightness scatter plot
Lower heading error = straighter More trials = more confidence
Selected Kp: 1.2

The scatter plot shows heading error (degrees) across distances (1–4 rotations) and speeds (30–60%). Replace the sample data with your real test logs when ready.

Kd Selector Click a Kd value to update the smoothness scatter plot
Lower wobble = smoother D term helps “calm” motion
Selected Kd: 0.4
Julisa — Knowledge Sharing & Coopertition

We share designs and code so more teams improve together.

Our coach maintains a shared folder where 10 teams from Manhattan, Queens, and the Hudson Valley upload designs, attachments, code, and videos. So far, 3 of the 4 Hudson Valley teams have qualified for the championships, while the Manhattan and Queens teams are still competing.

We also share tutorials on YouTube, TikTok, and Instagram. Our YouTube channel has 74 subscribers and our TikTok has 772 followers. Many teams reach out for help or leave feedback, and our videos average over 1,000 views. We plan to upload more tutorials to continue supporting the community.

Social & shared resources

Quick access to our public channel and the student shared folder. Replace src/hrefs with your real links.

Featured tutorial (embed)
Replace VIDEO_ID with your real video id
Student shared folder (embed)
Replace FOLDER_ID with your folder id (or use another embed)

Student teams (placeholders)

Manhattan Team 1
Manhattan — Team A
Manhattan Team 2
Manhattan — Team B
Queens Team 1
Queens — Team 1
Queens Team 2
Queens — Team 2
Queens Team 3
Queens — Team 3
Hudson Valley Team 1
Hudson Valley — Team 1
Hudson Valley Team 2
Hudson Valley — Team 2
Hudson Valley Team 3
Hudson Valley — Team 3
Hudson Valley Team 4
Hudson Valley — Team 4
Note: these are placeholders. Replace /assets/teams/* files with actual team photos or thumbnails from the shared folder.
Why this matters

Teaching others strengthens our own understanding and reflects the FIRST Core Value of Coopertition.

References

Sources cited on this page

  1. Pybricks Prime Hub docs — heading angle (gyro-based orientation). Link
  2. Pybricks Motor docs — motor angle/rotation (encoder-based motion control). Link
  3. National Instruments — PID theory overview (P/I/D roles). Link
  4. PID controller reference (general definition and behavior). Link