01
Look at a mission
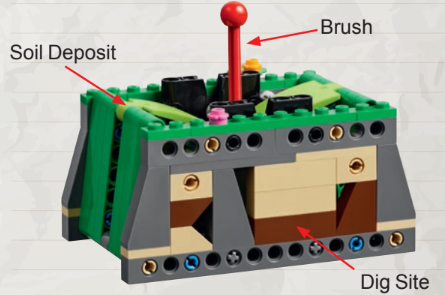
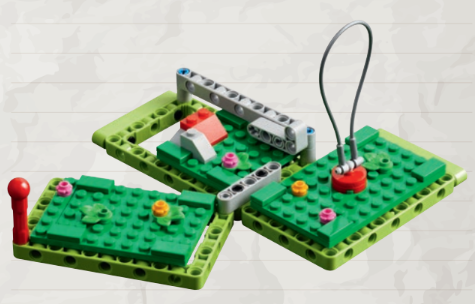
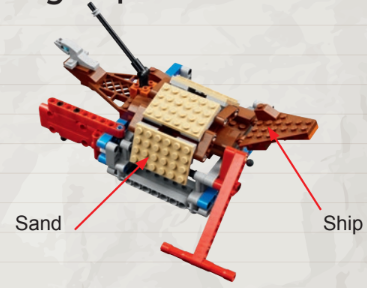
A mission is a task on the FLL table that scores points. Each mission has a model you interact with using your robot.
Jump to Mission Strategy →Use this page while presenting: start with how the robot changed, then show how strategy shaped the runs.
Brand new to the team? Read these in order. Each step links straight to the part of the page that goes deeper.
A mission is a task on the FLL table that scores points. Each mission has a model you interact with using your robot.
Jump to Mission Strategy →Every mission is either push, pull, lift, or drop. The action type tells you how hard the mission is and what attachment you need.
Jump to Mission Strategy →A run is a sequence of missions your robot finishes in one trip. Group missions that sit physically close together on the table.
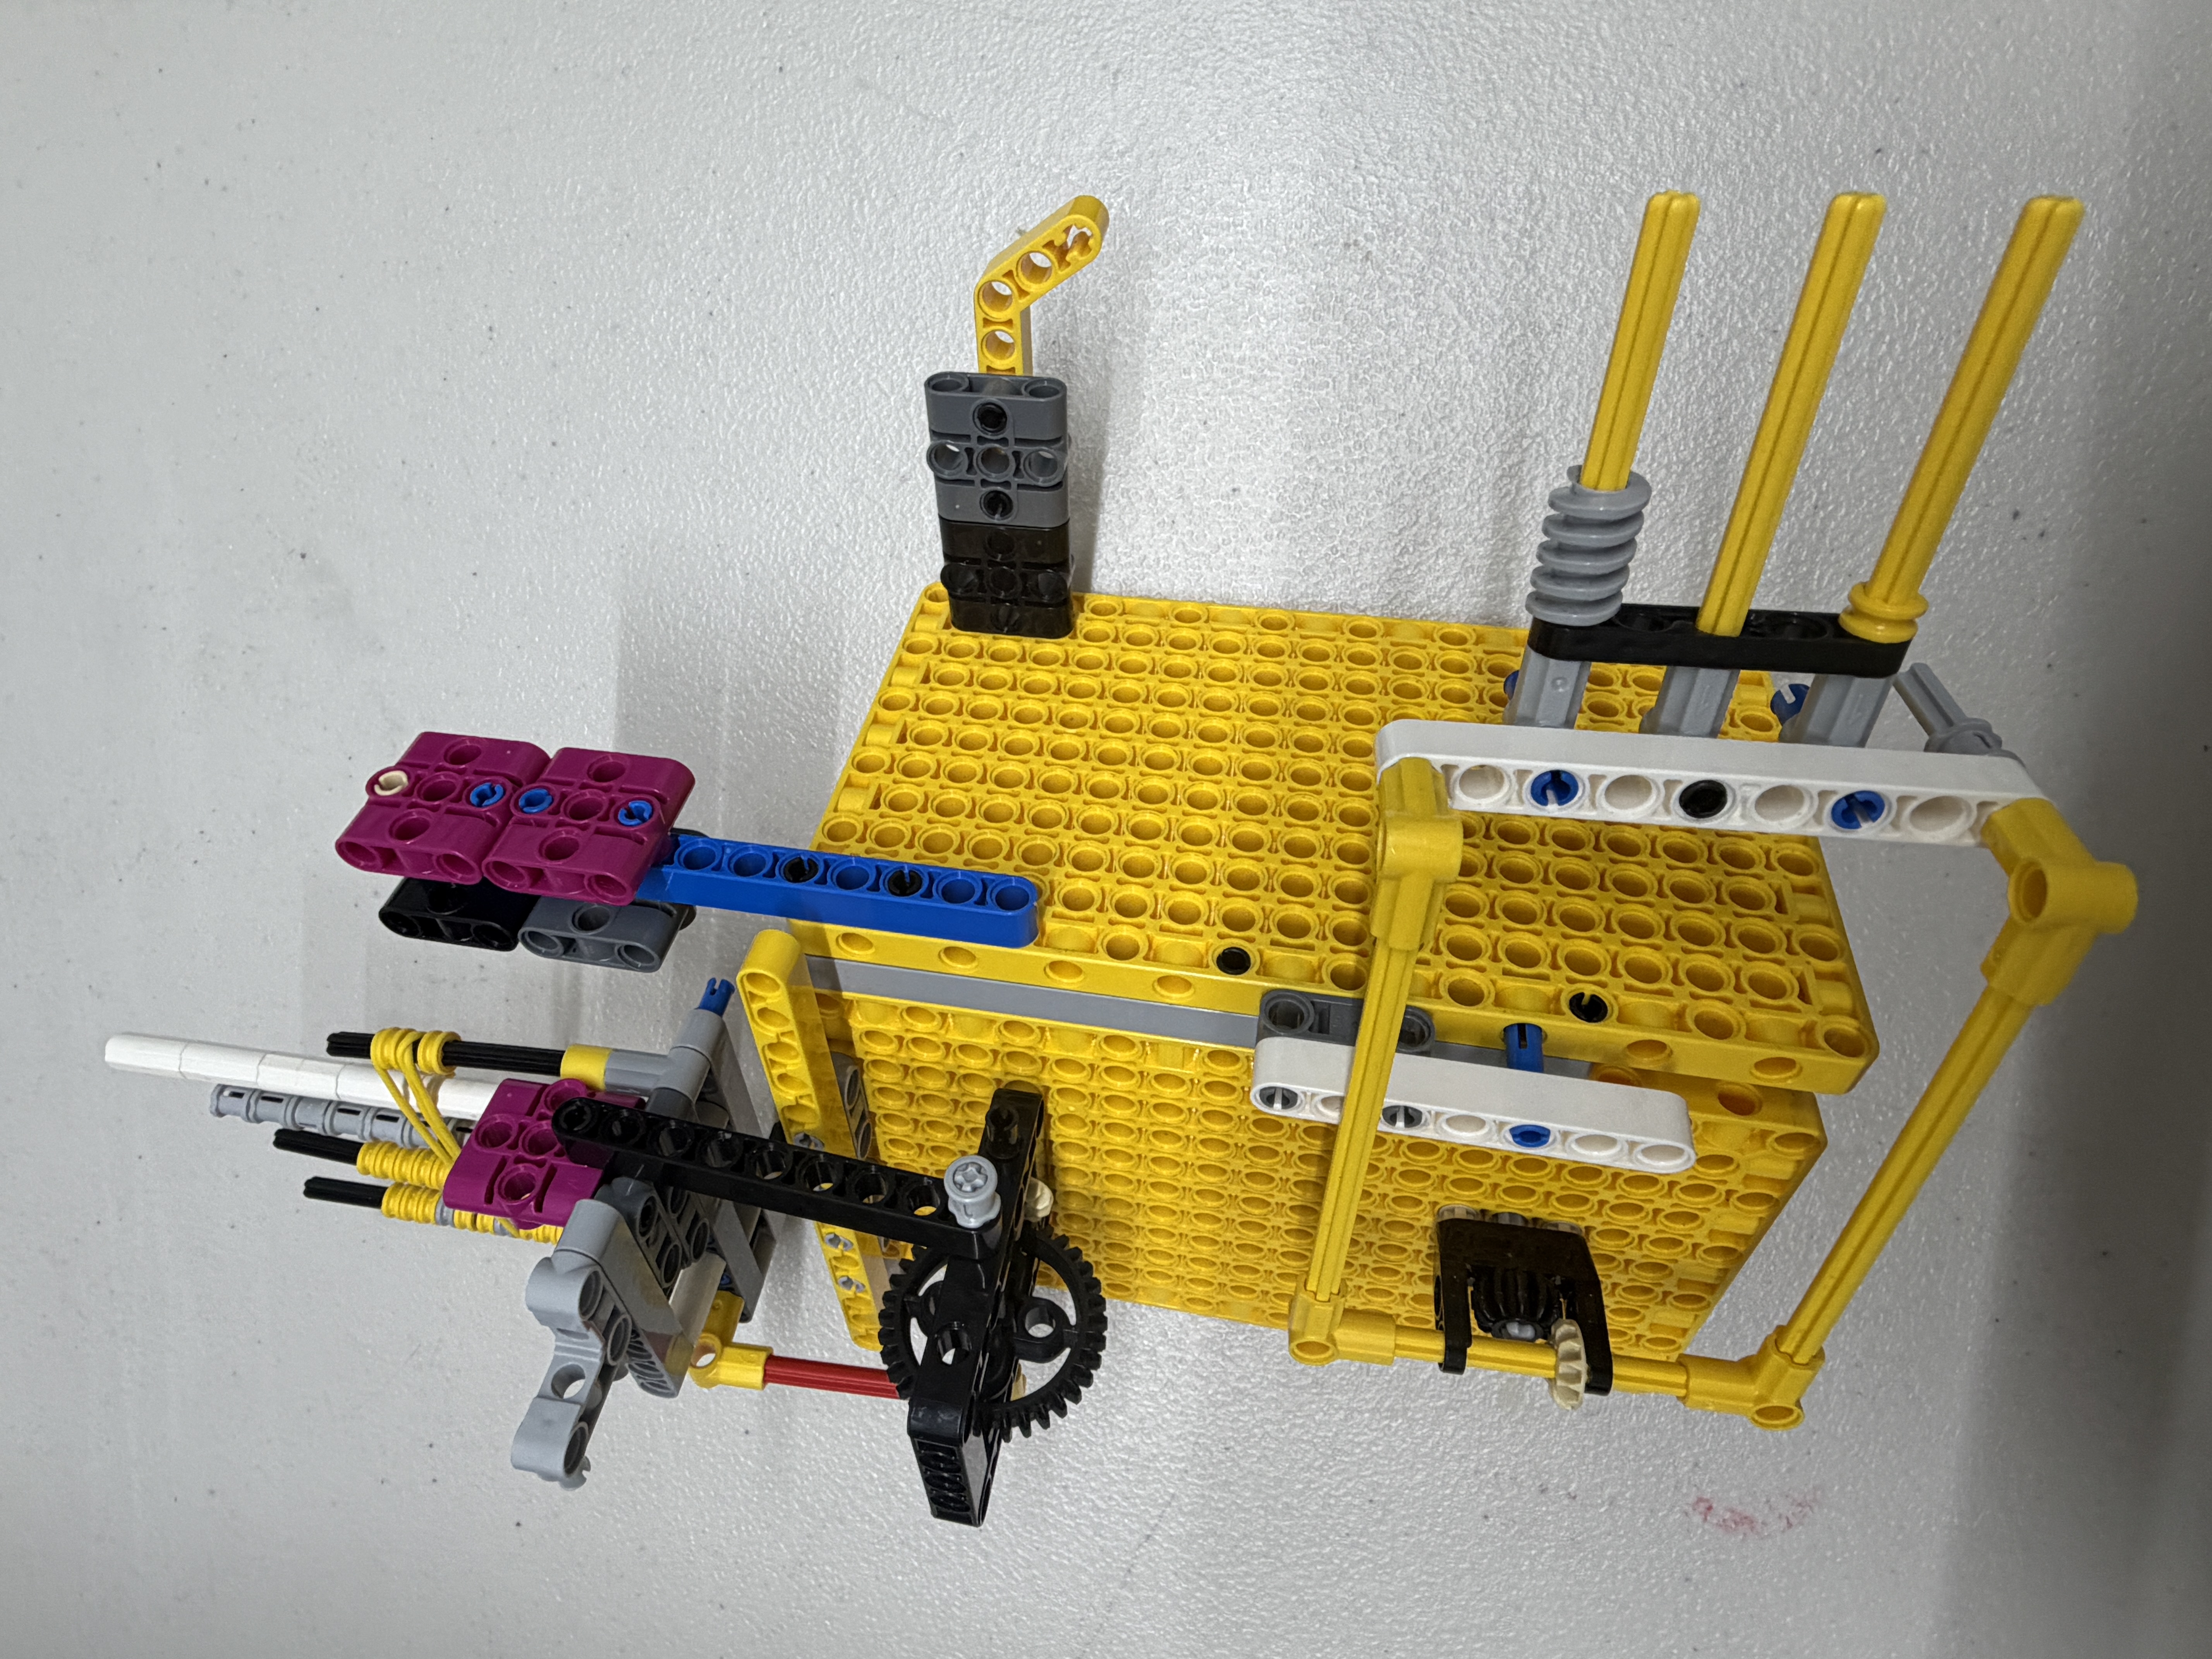
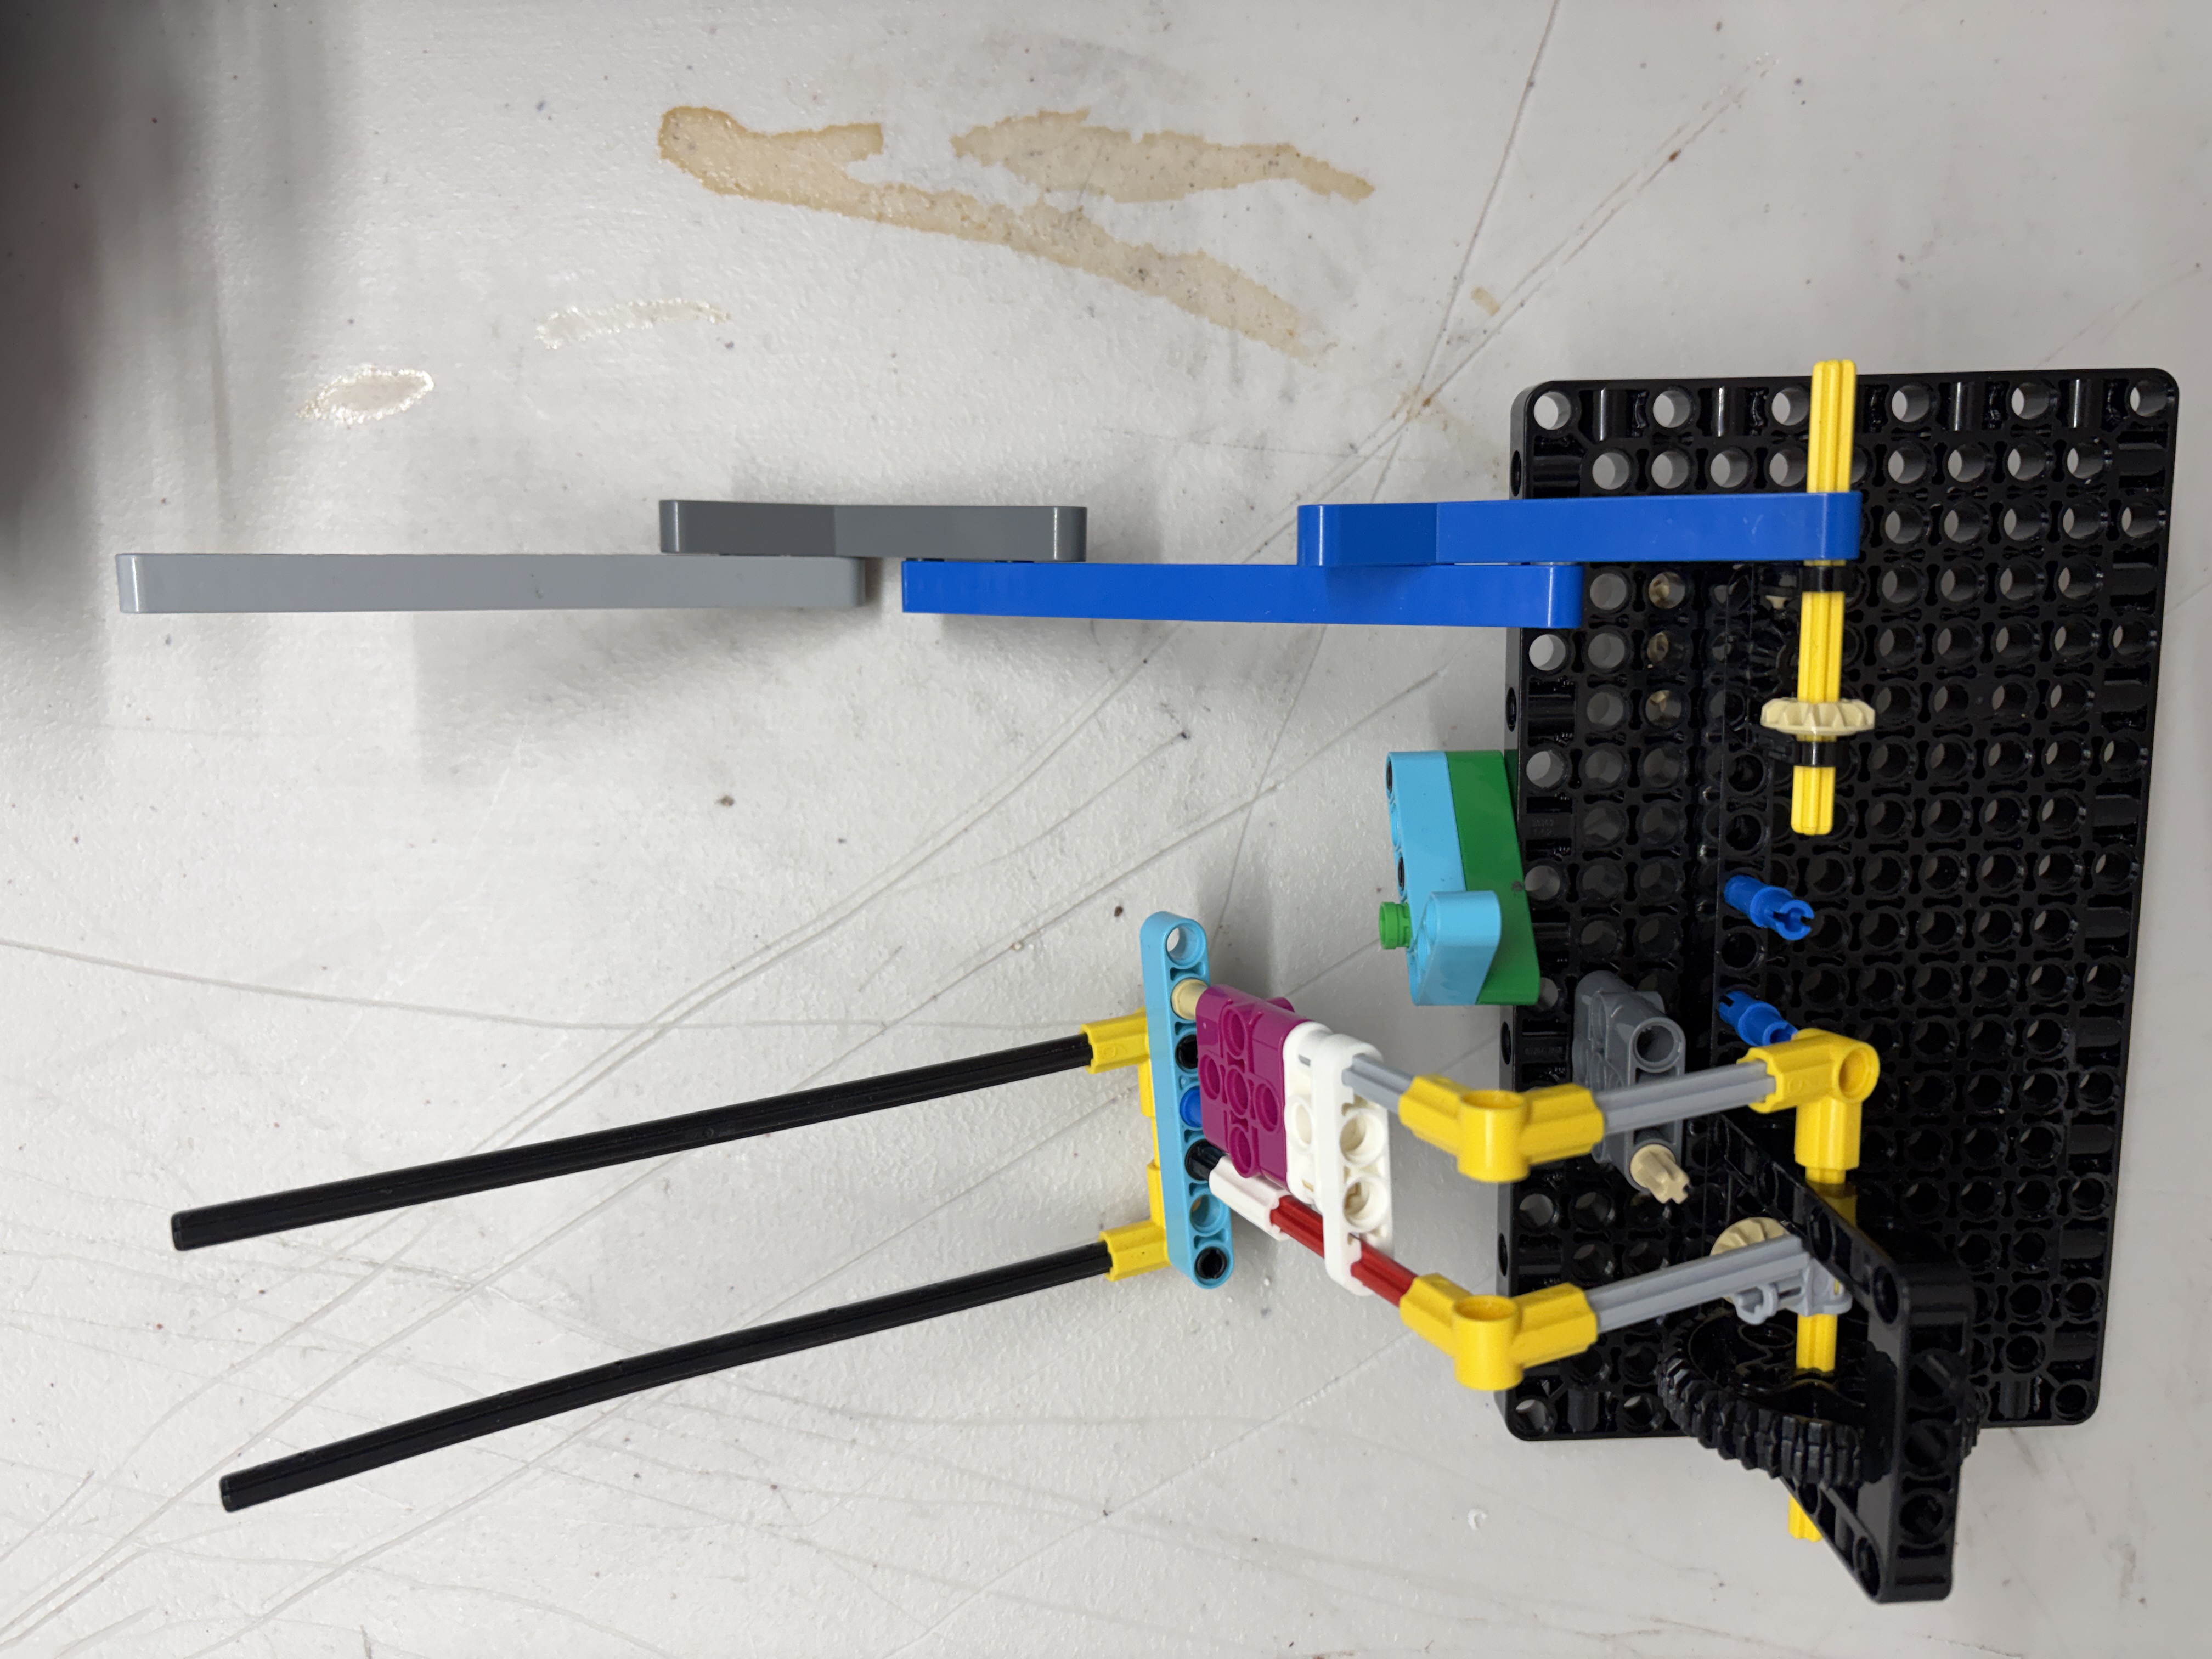
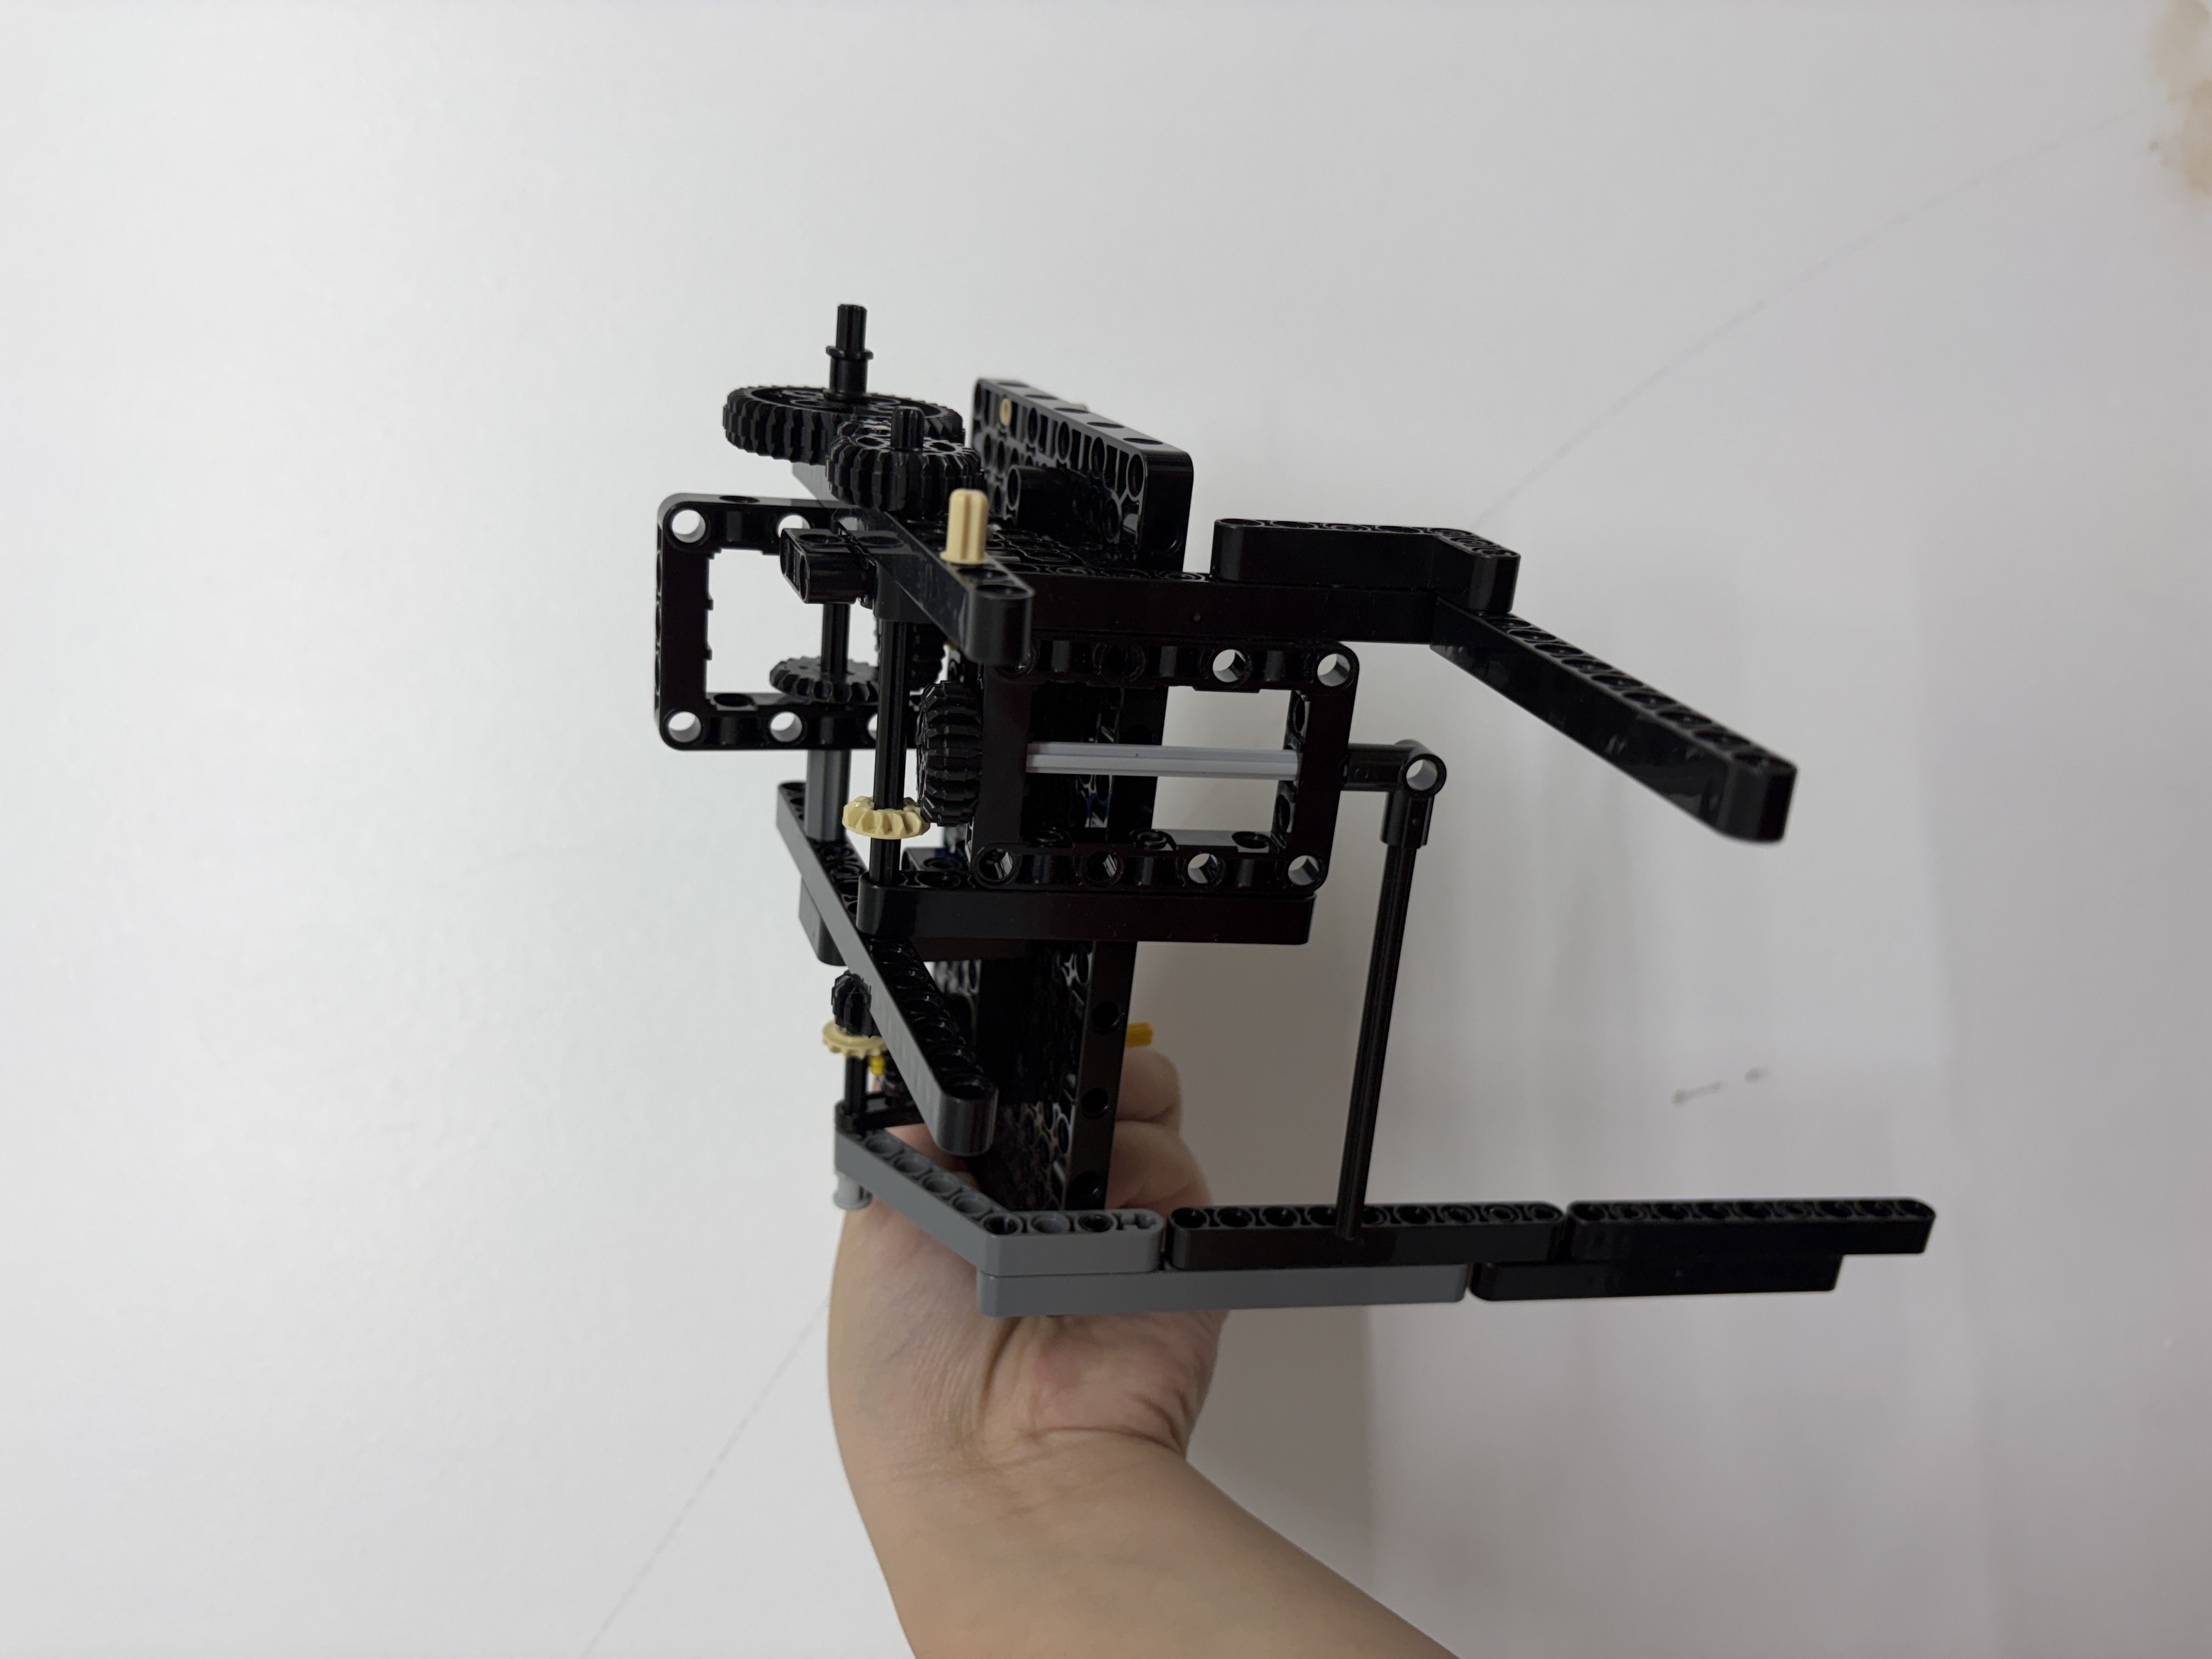
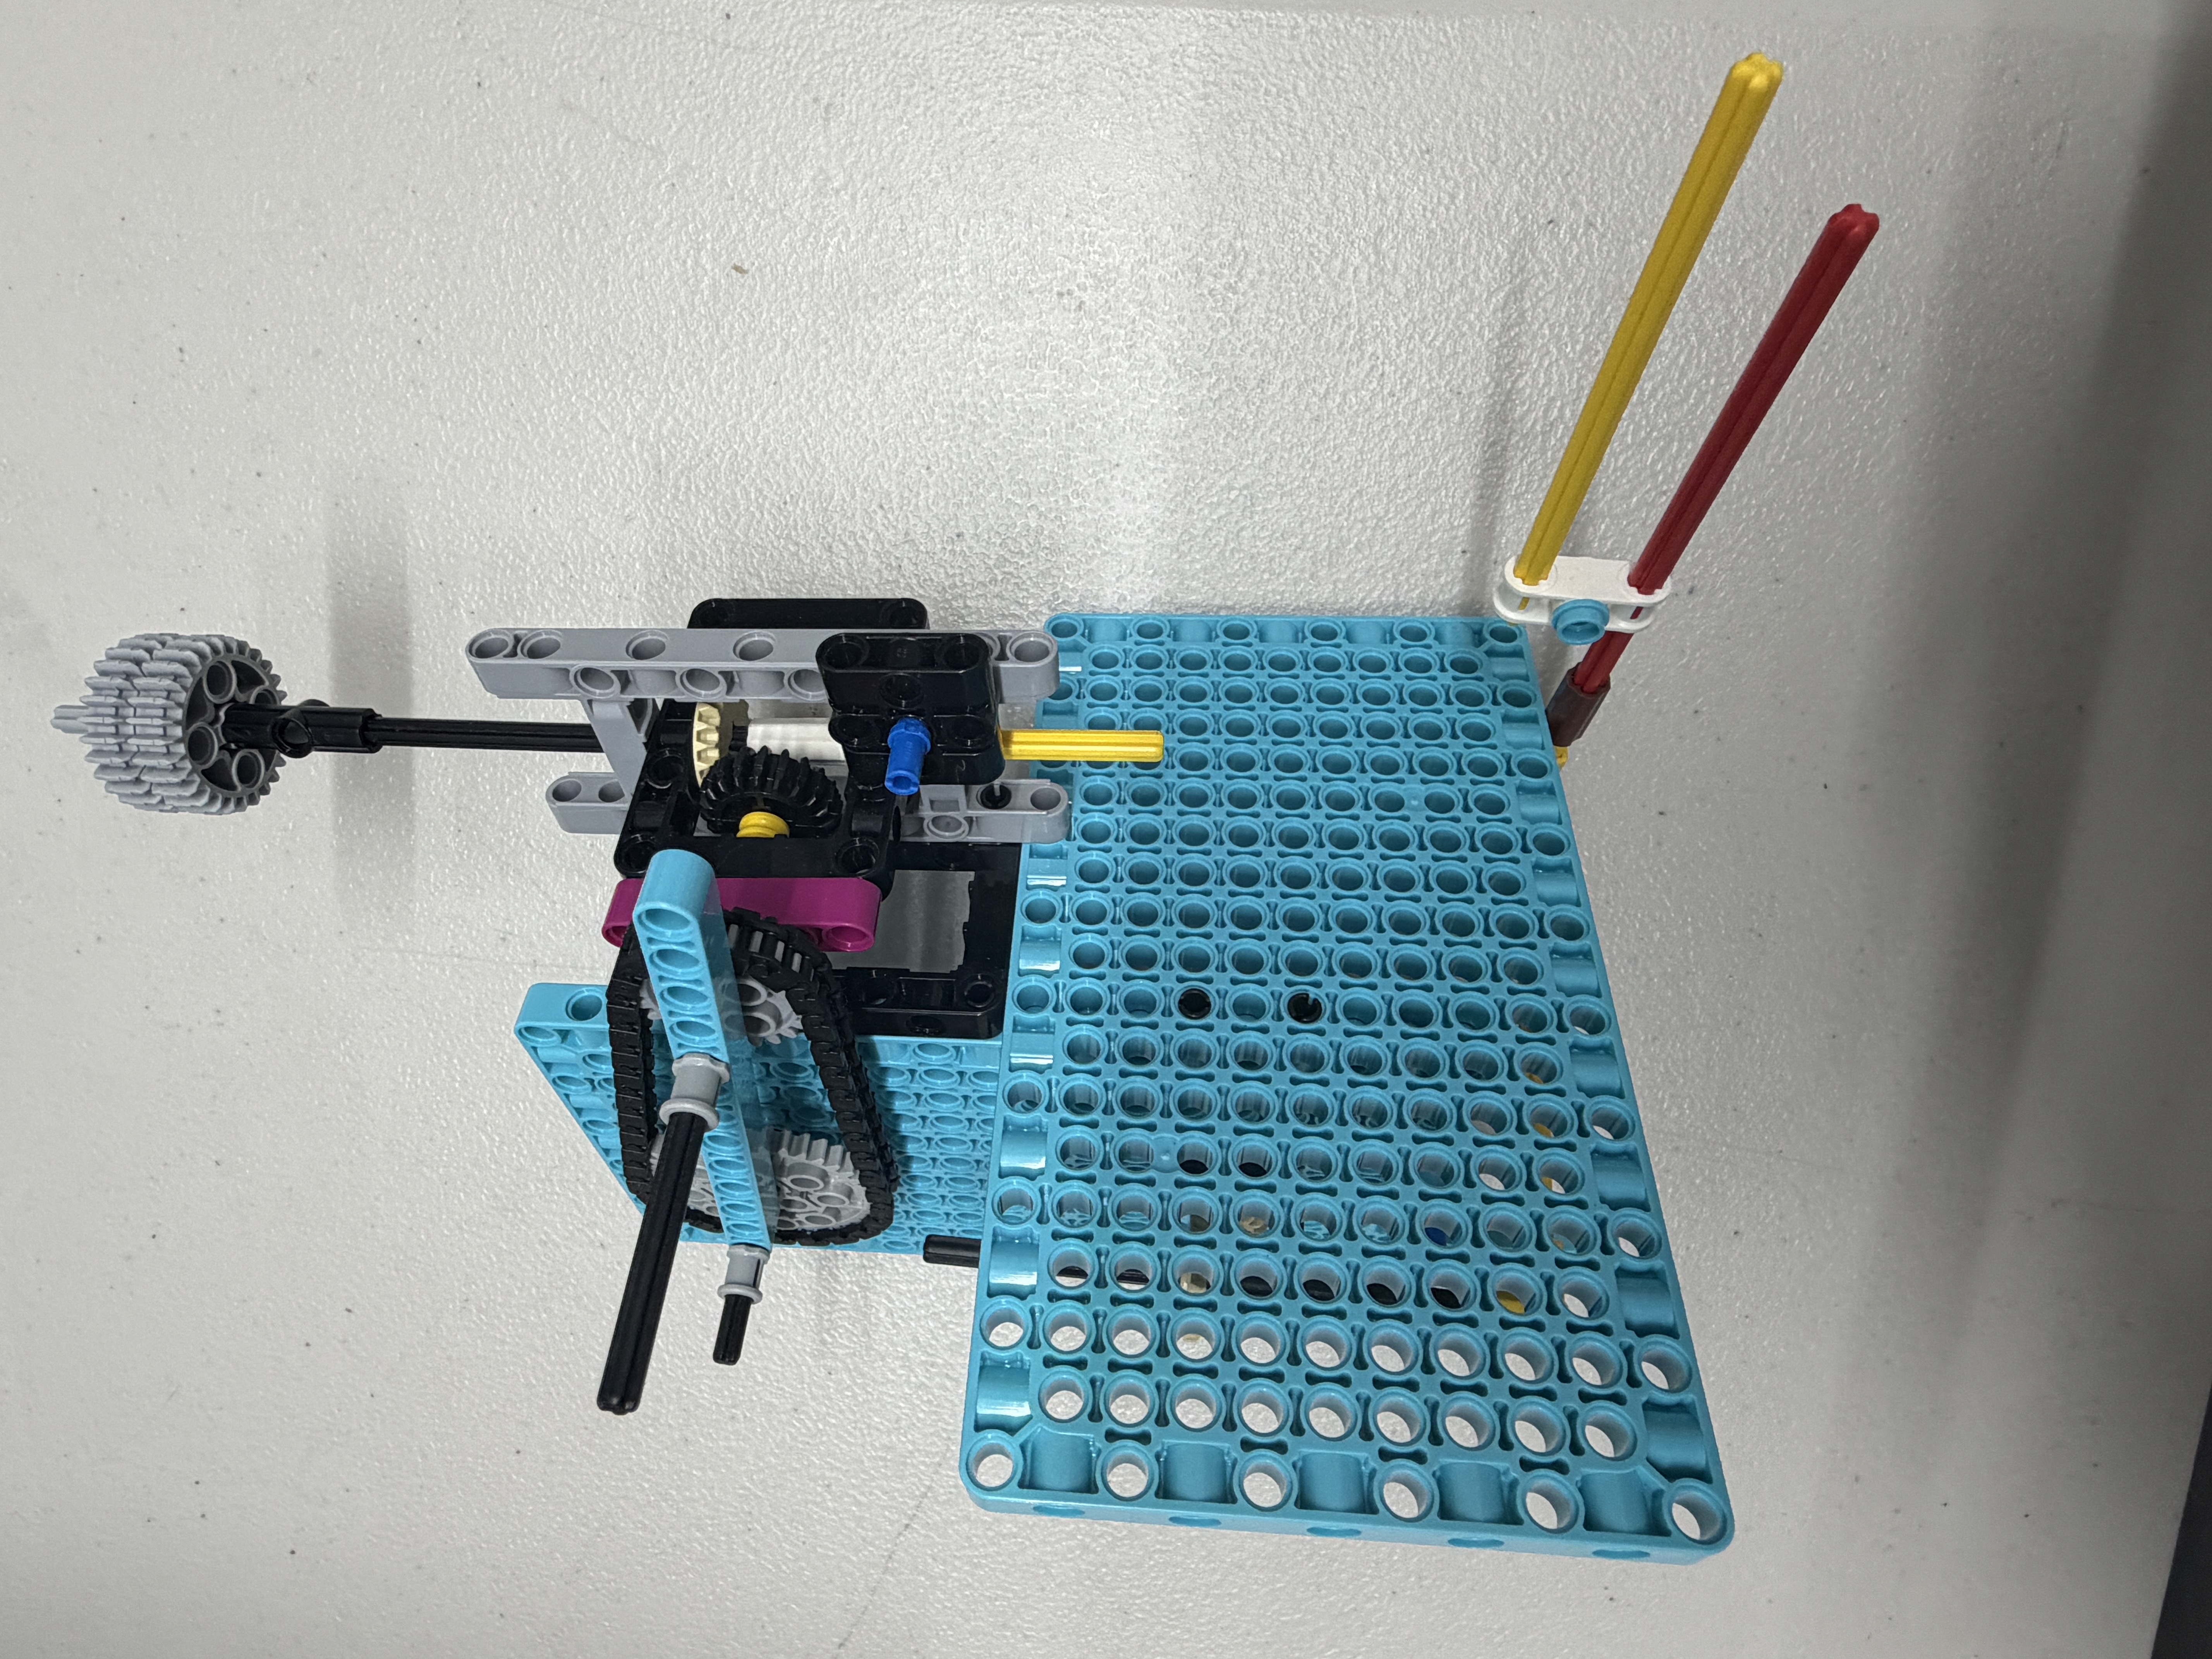
Jump to Runs →Attachments connect to your robot and do the actual work. Each attachment is designed for one specific action type.
Jump to Attachments →Run the mission, write down what happened, fix one thing at a time, then test again. Repeat until the result is consistent.
Jump to Concept Lab →
.png)
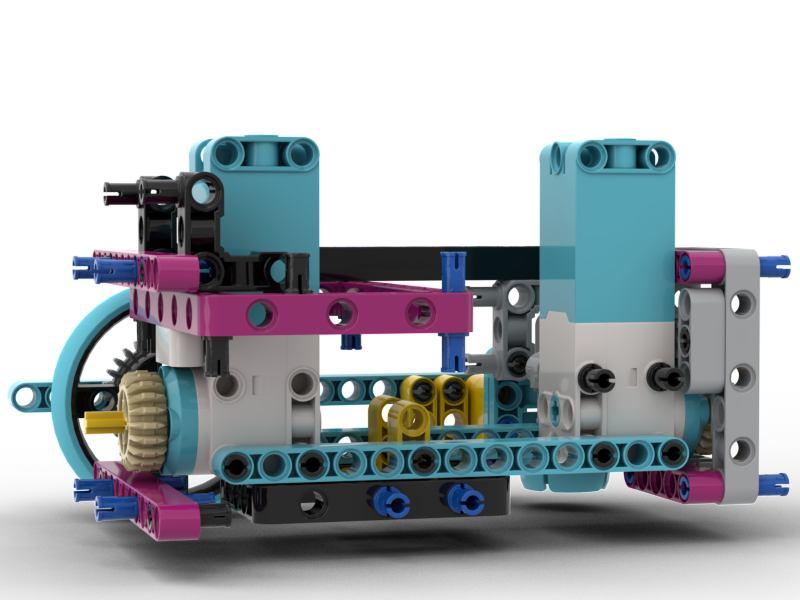
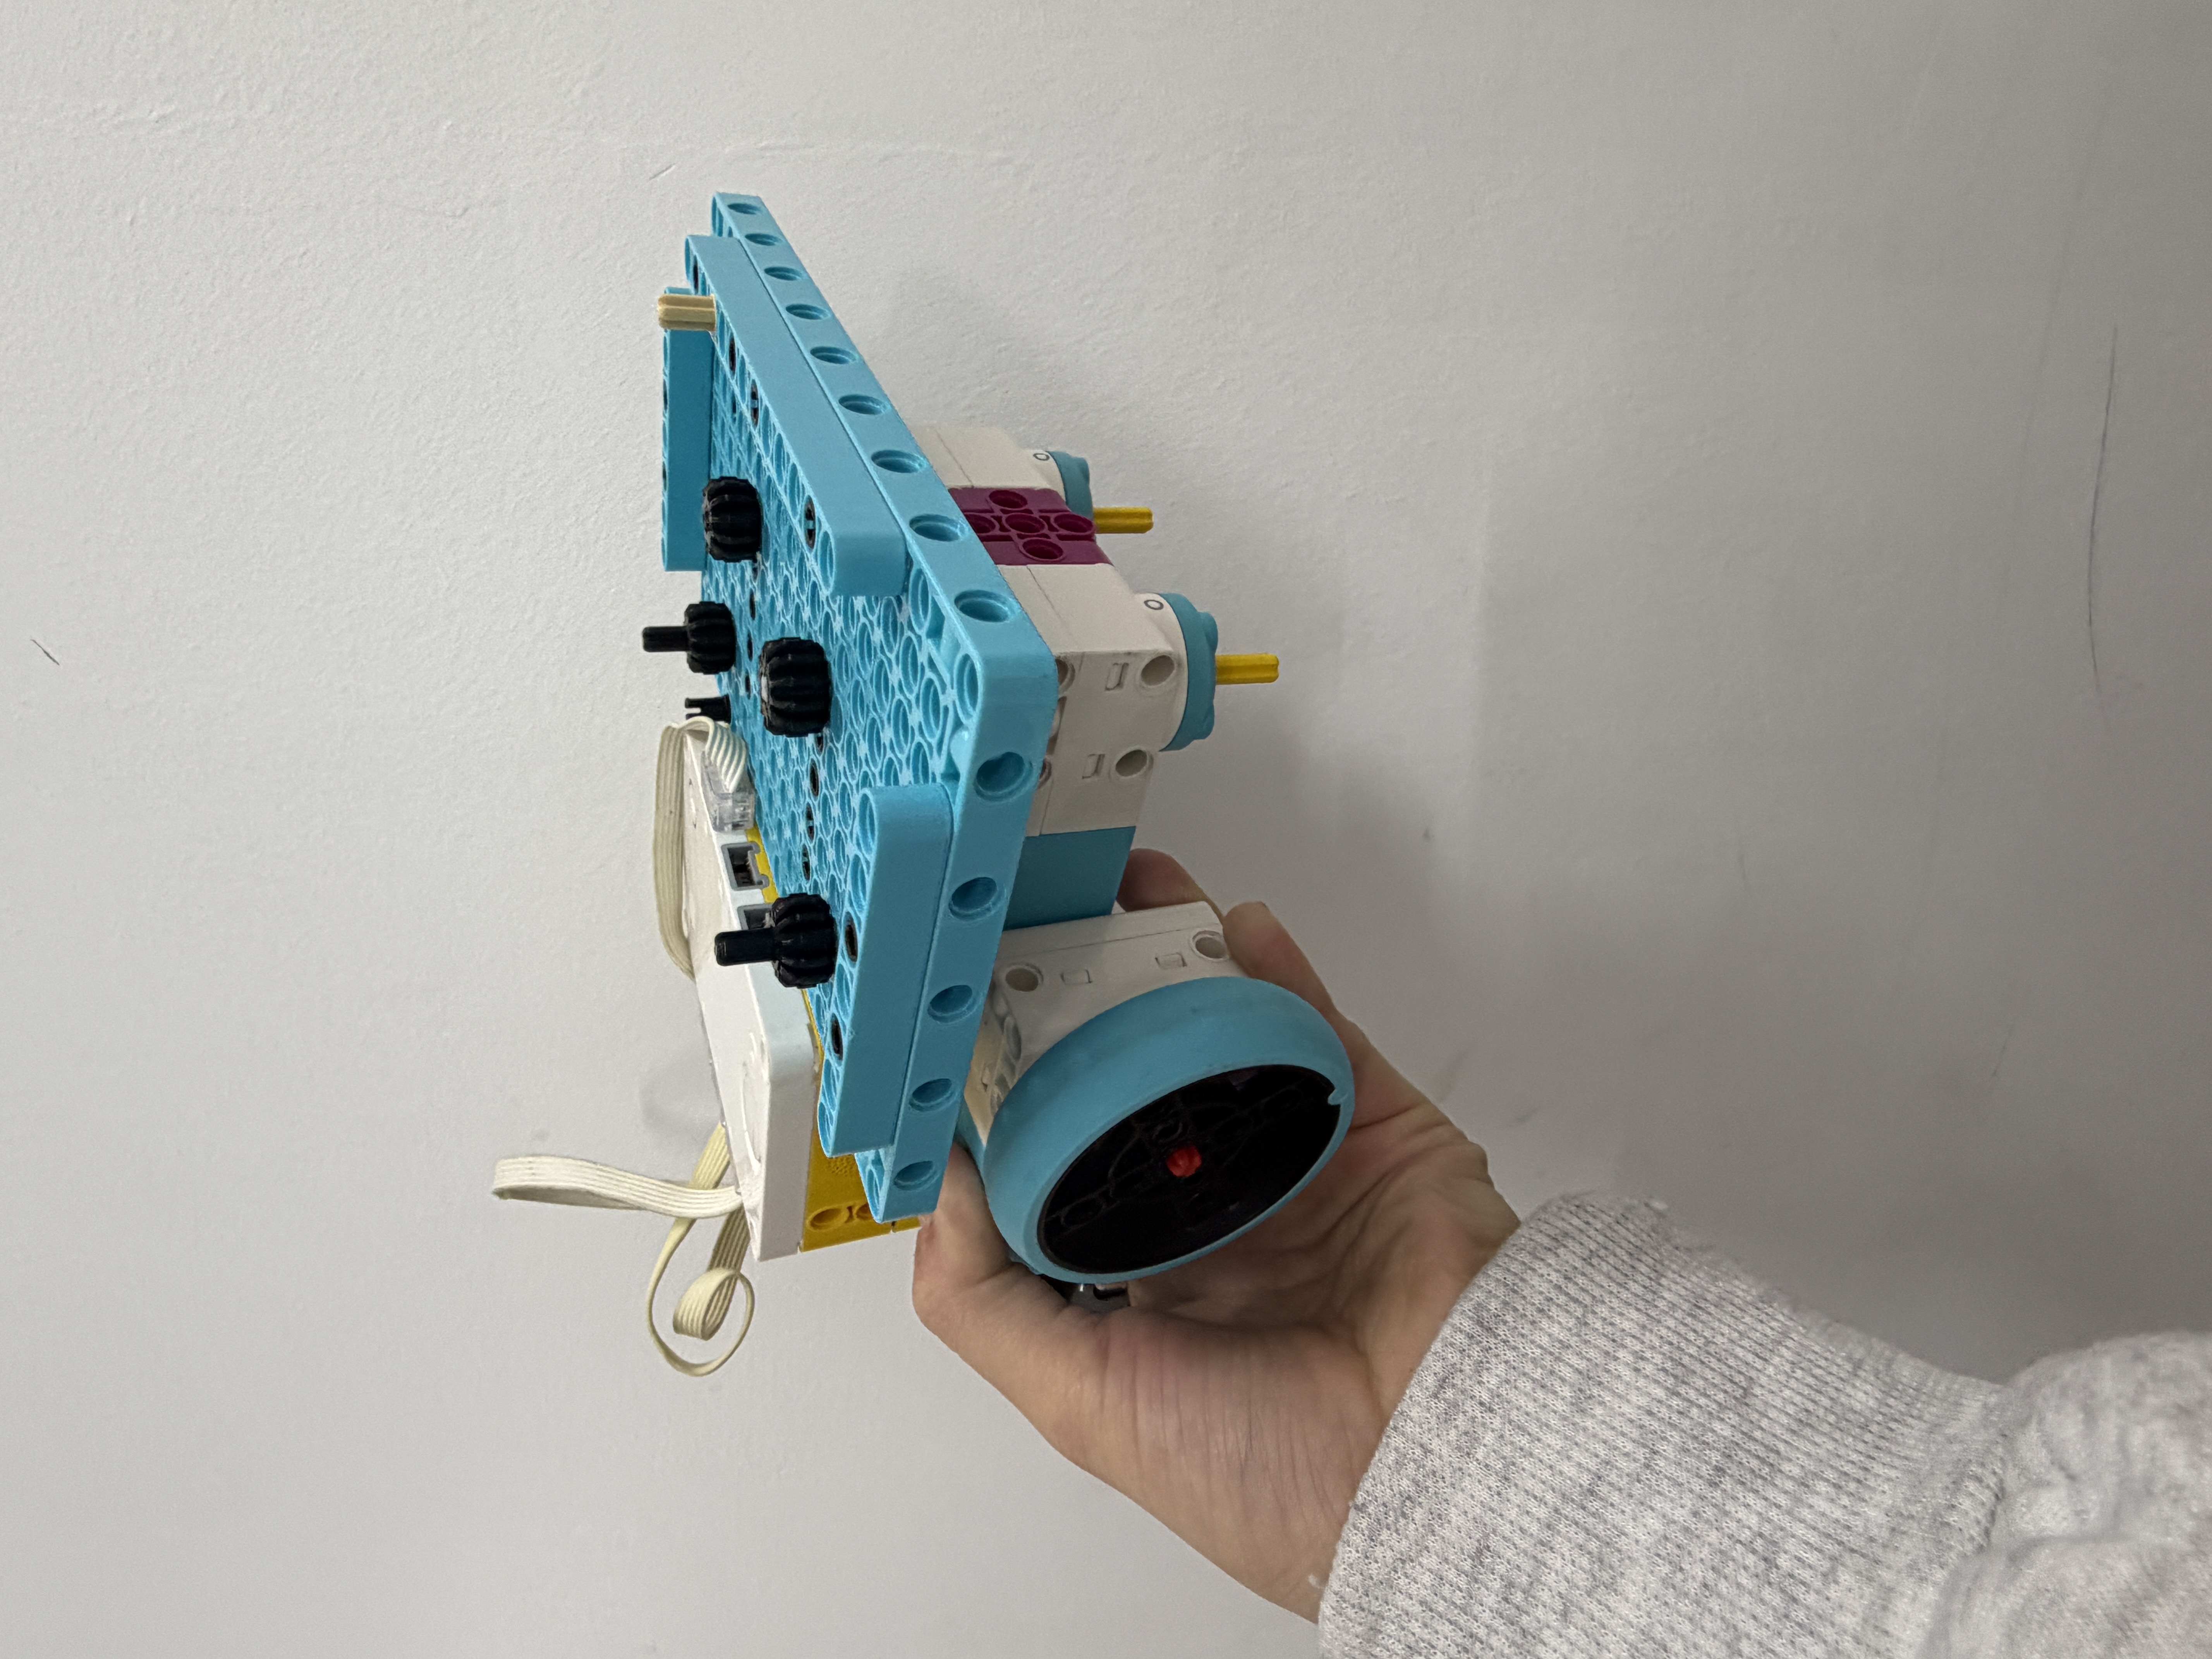 V1
V1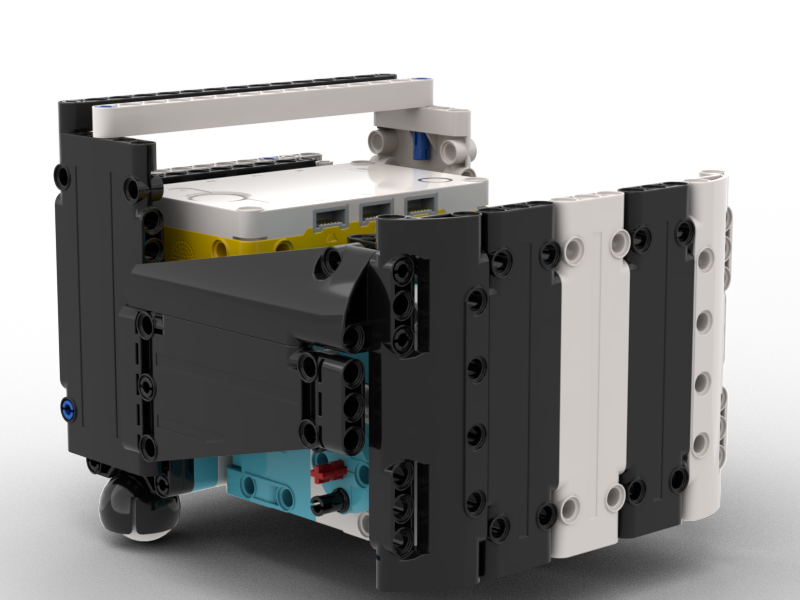 V2
V2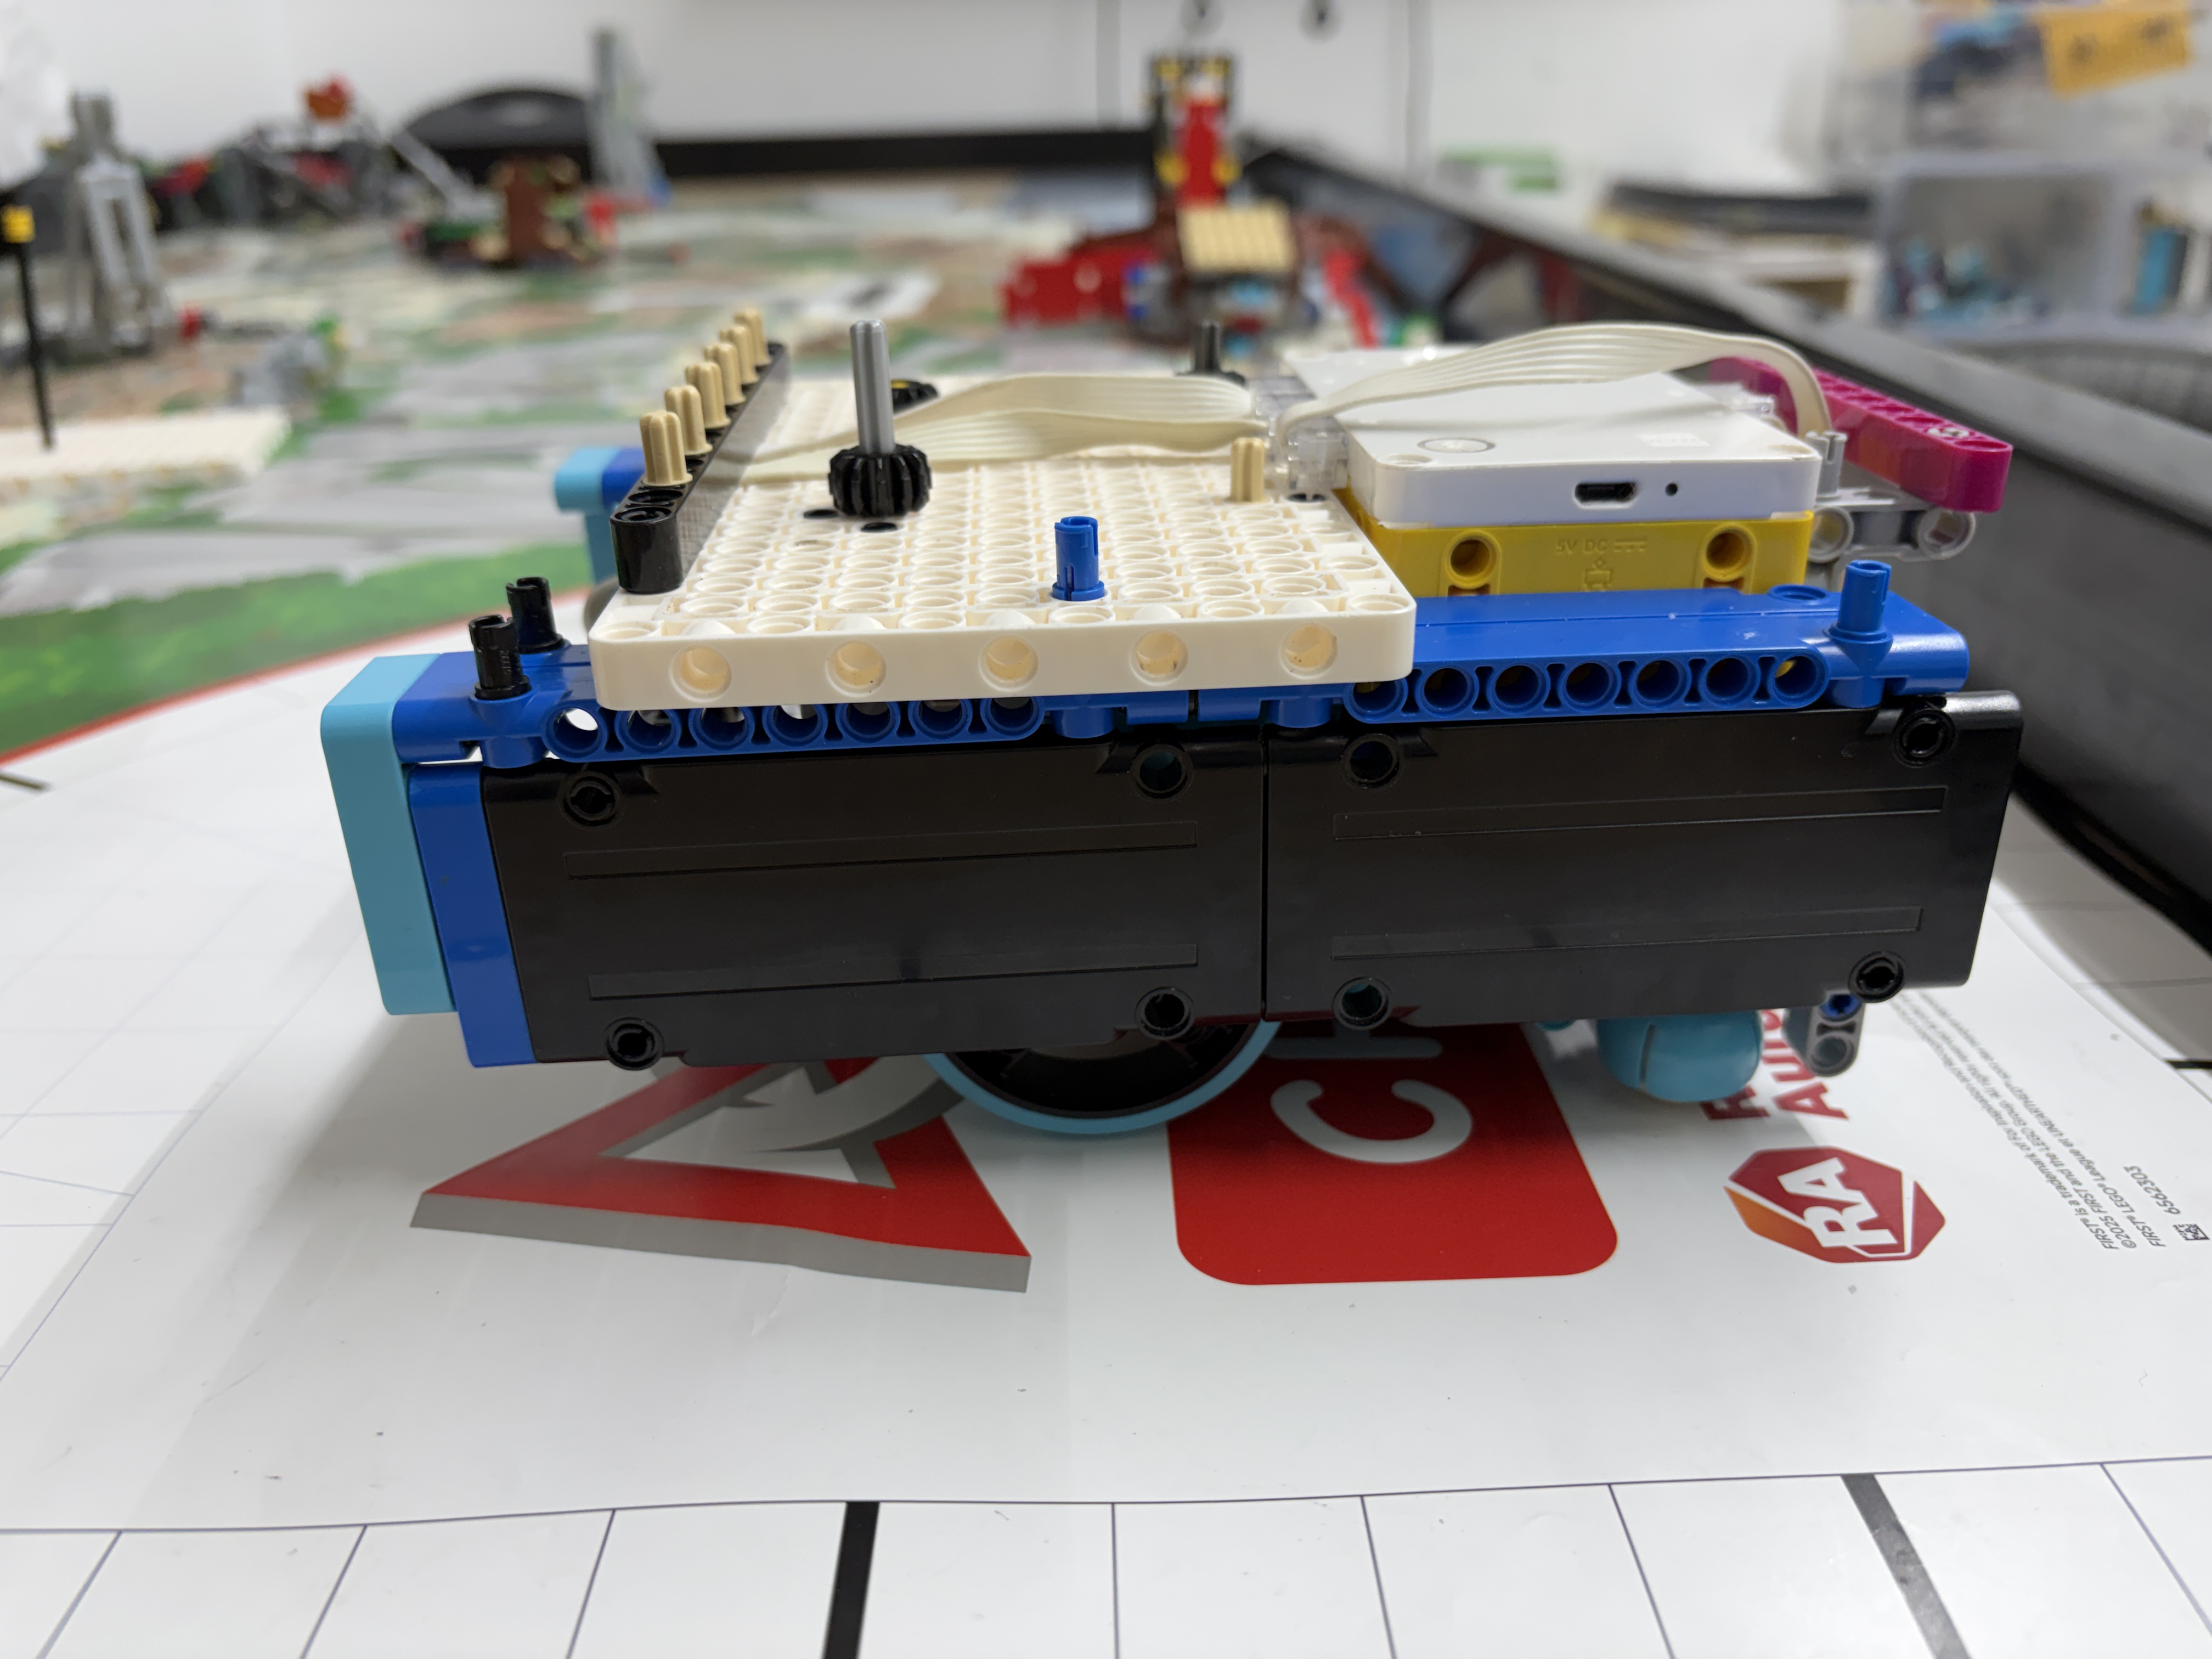 V3
V3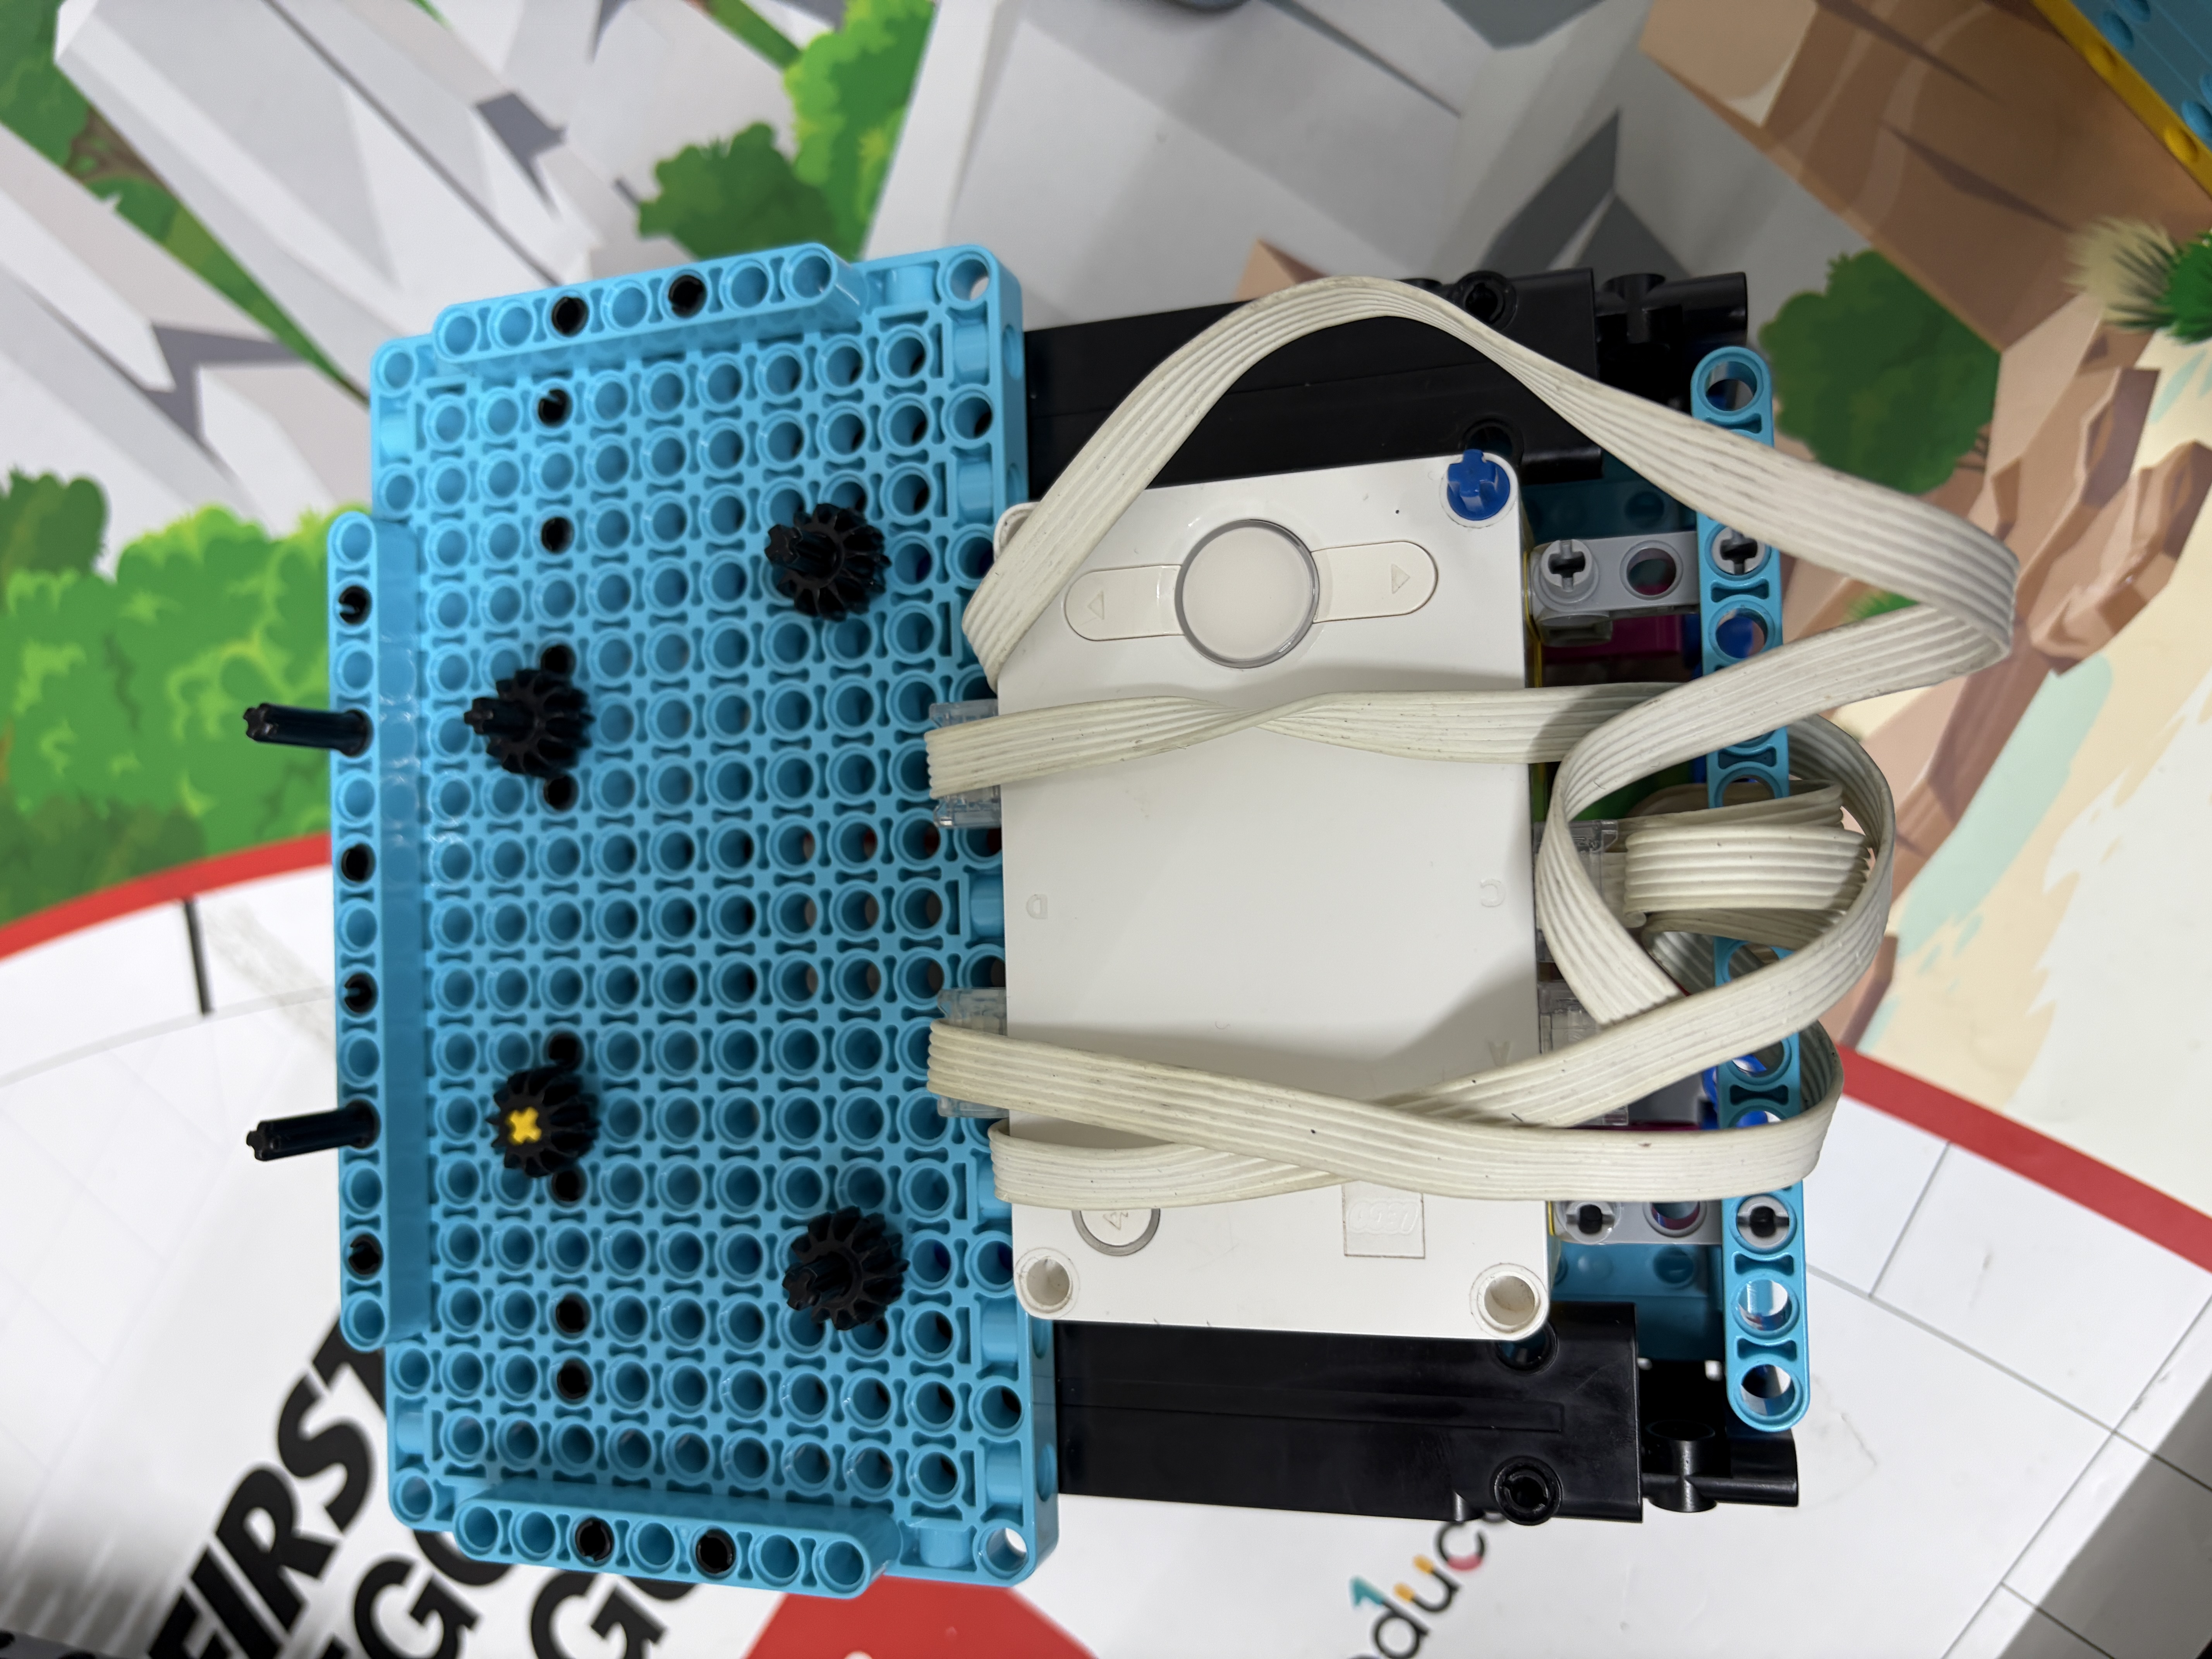 V4
V4 V5
V5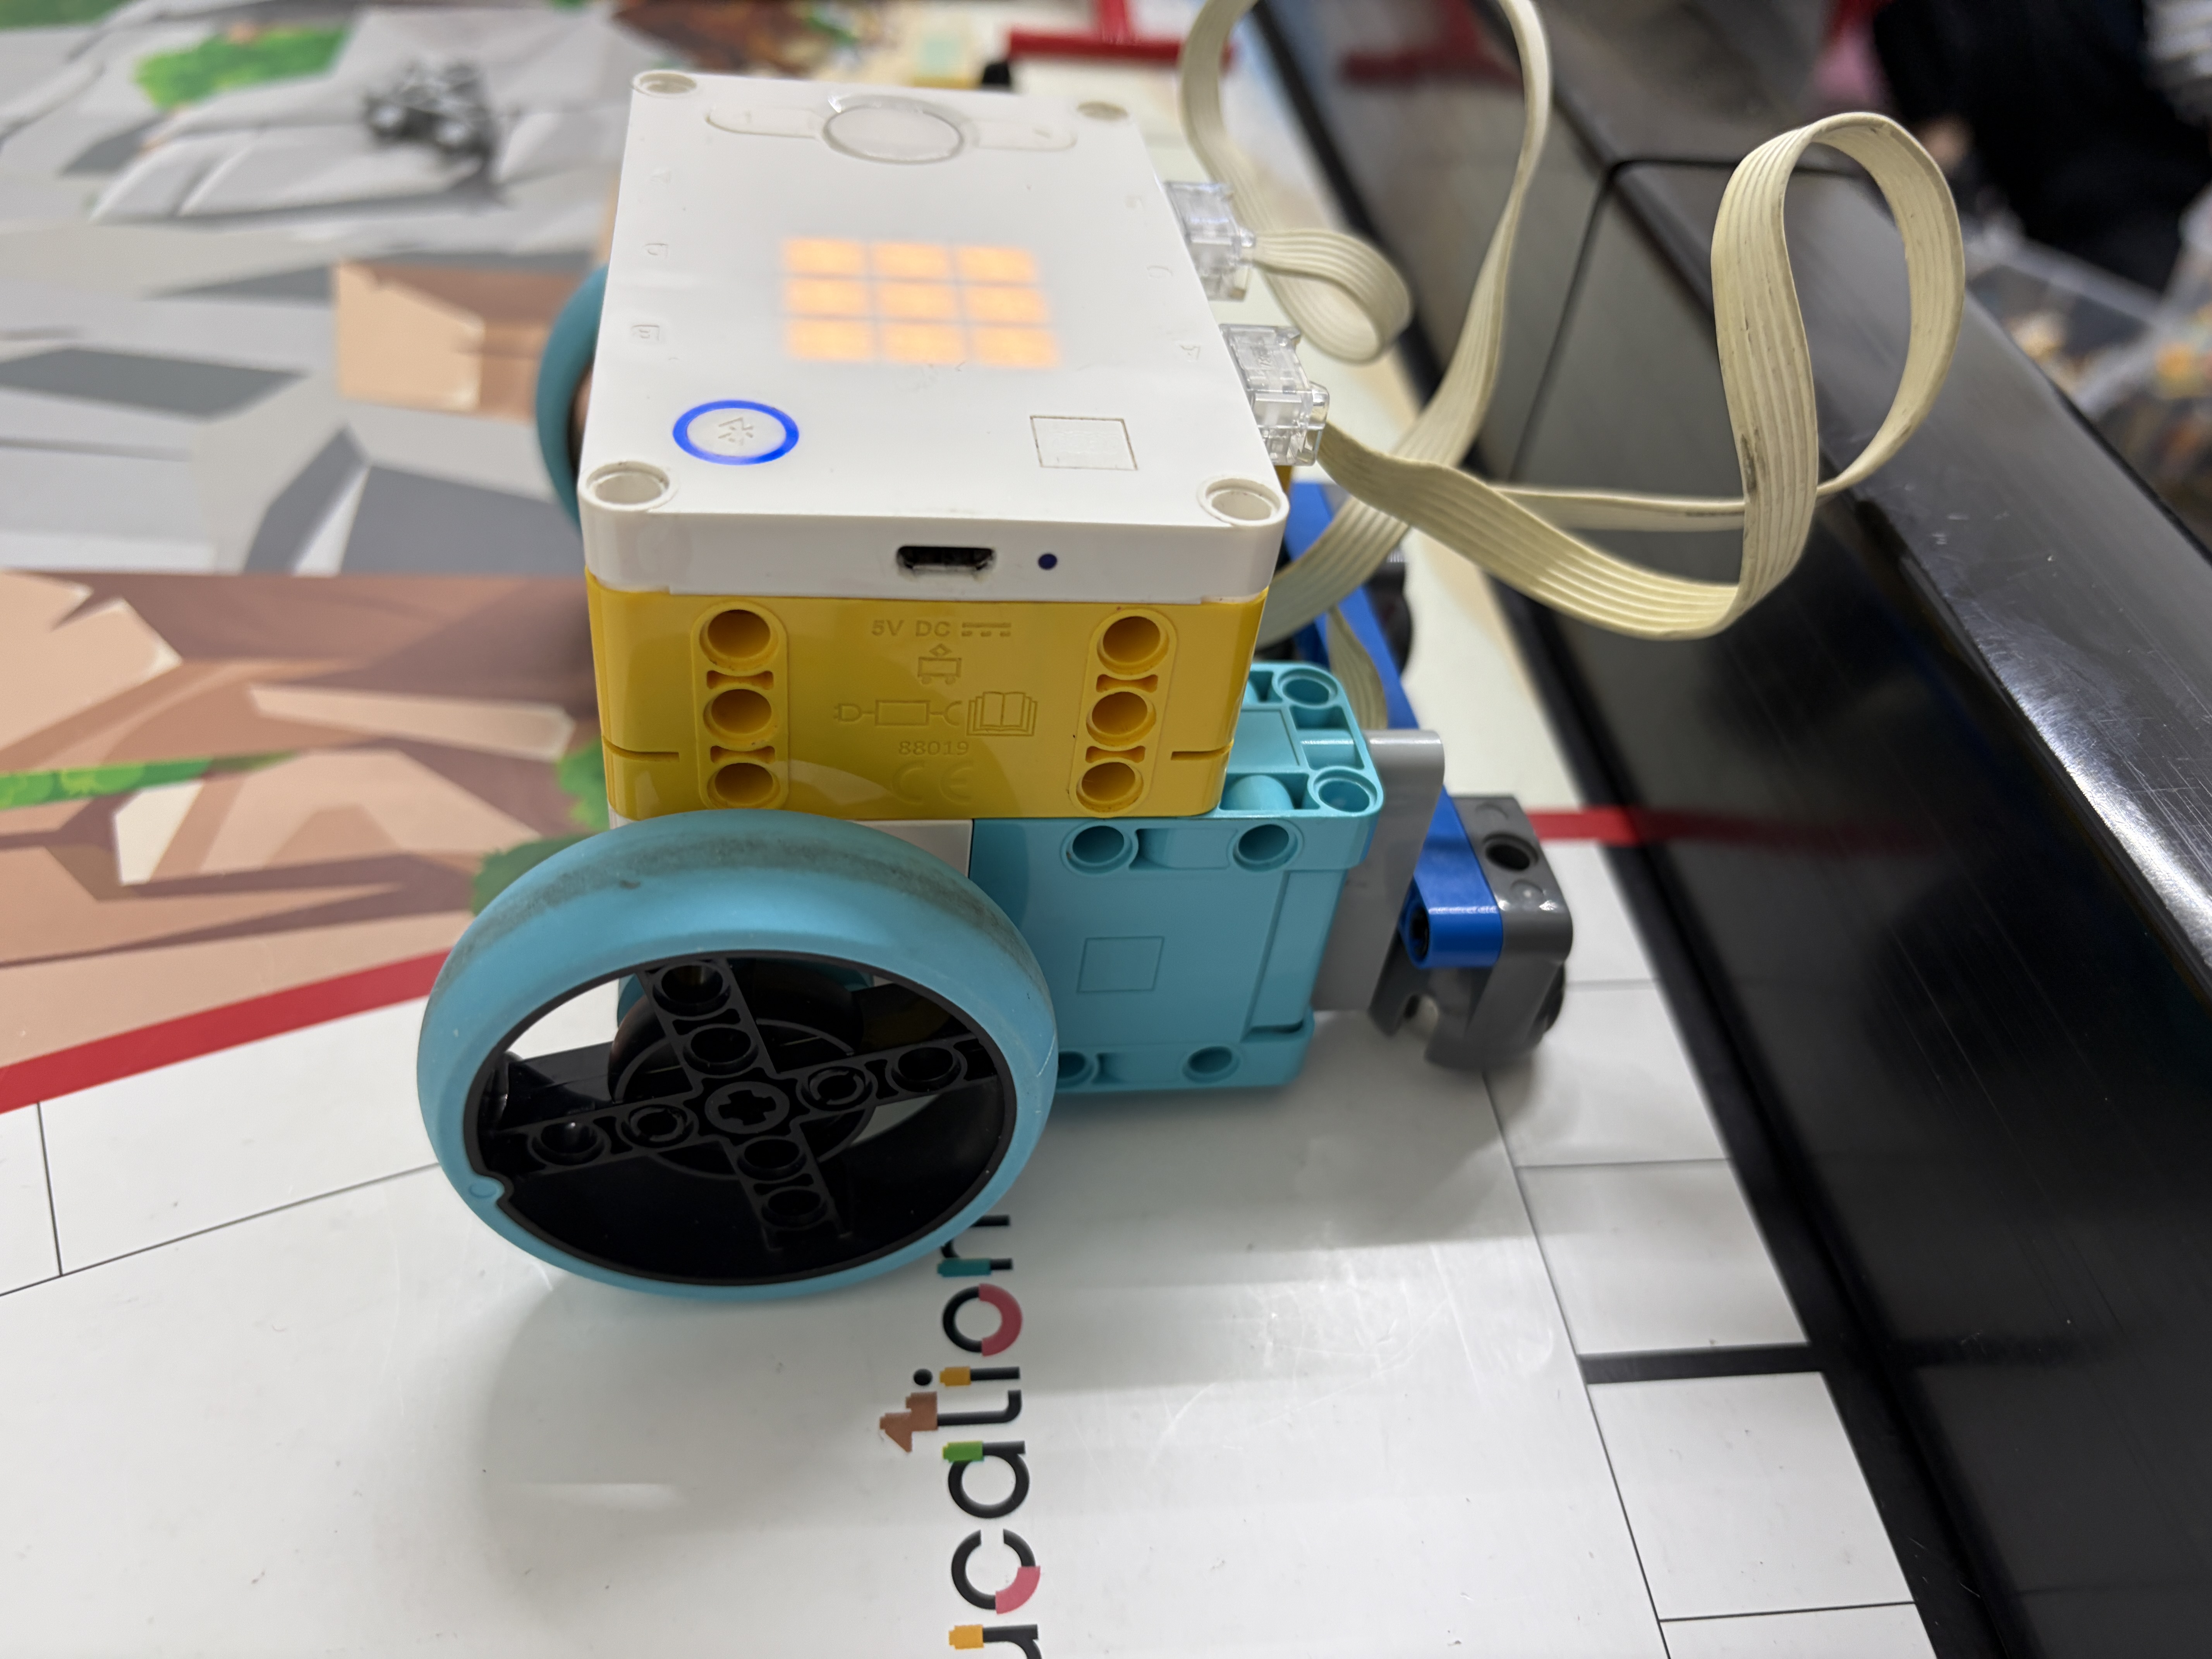 V6V6.2
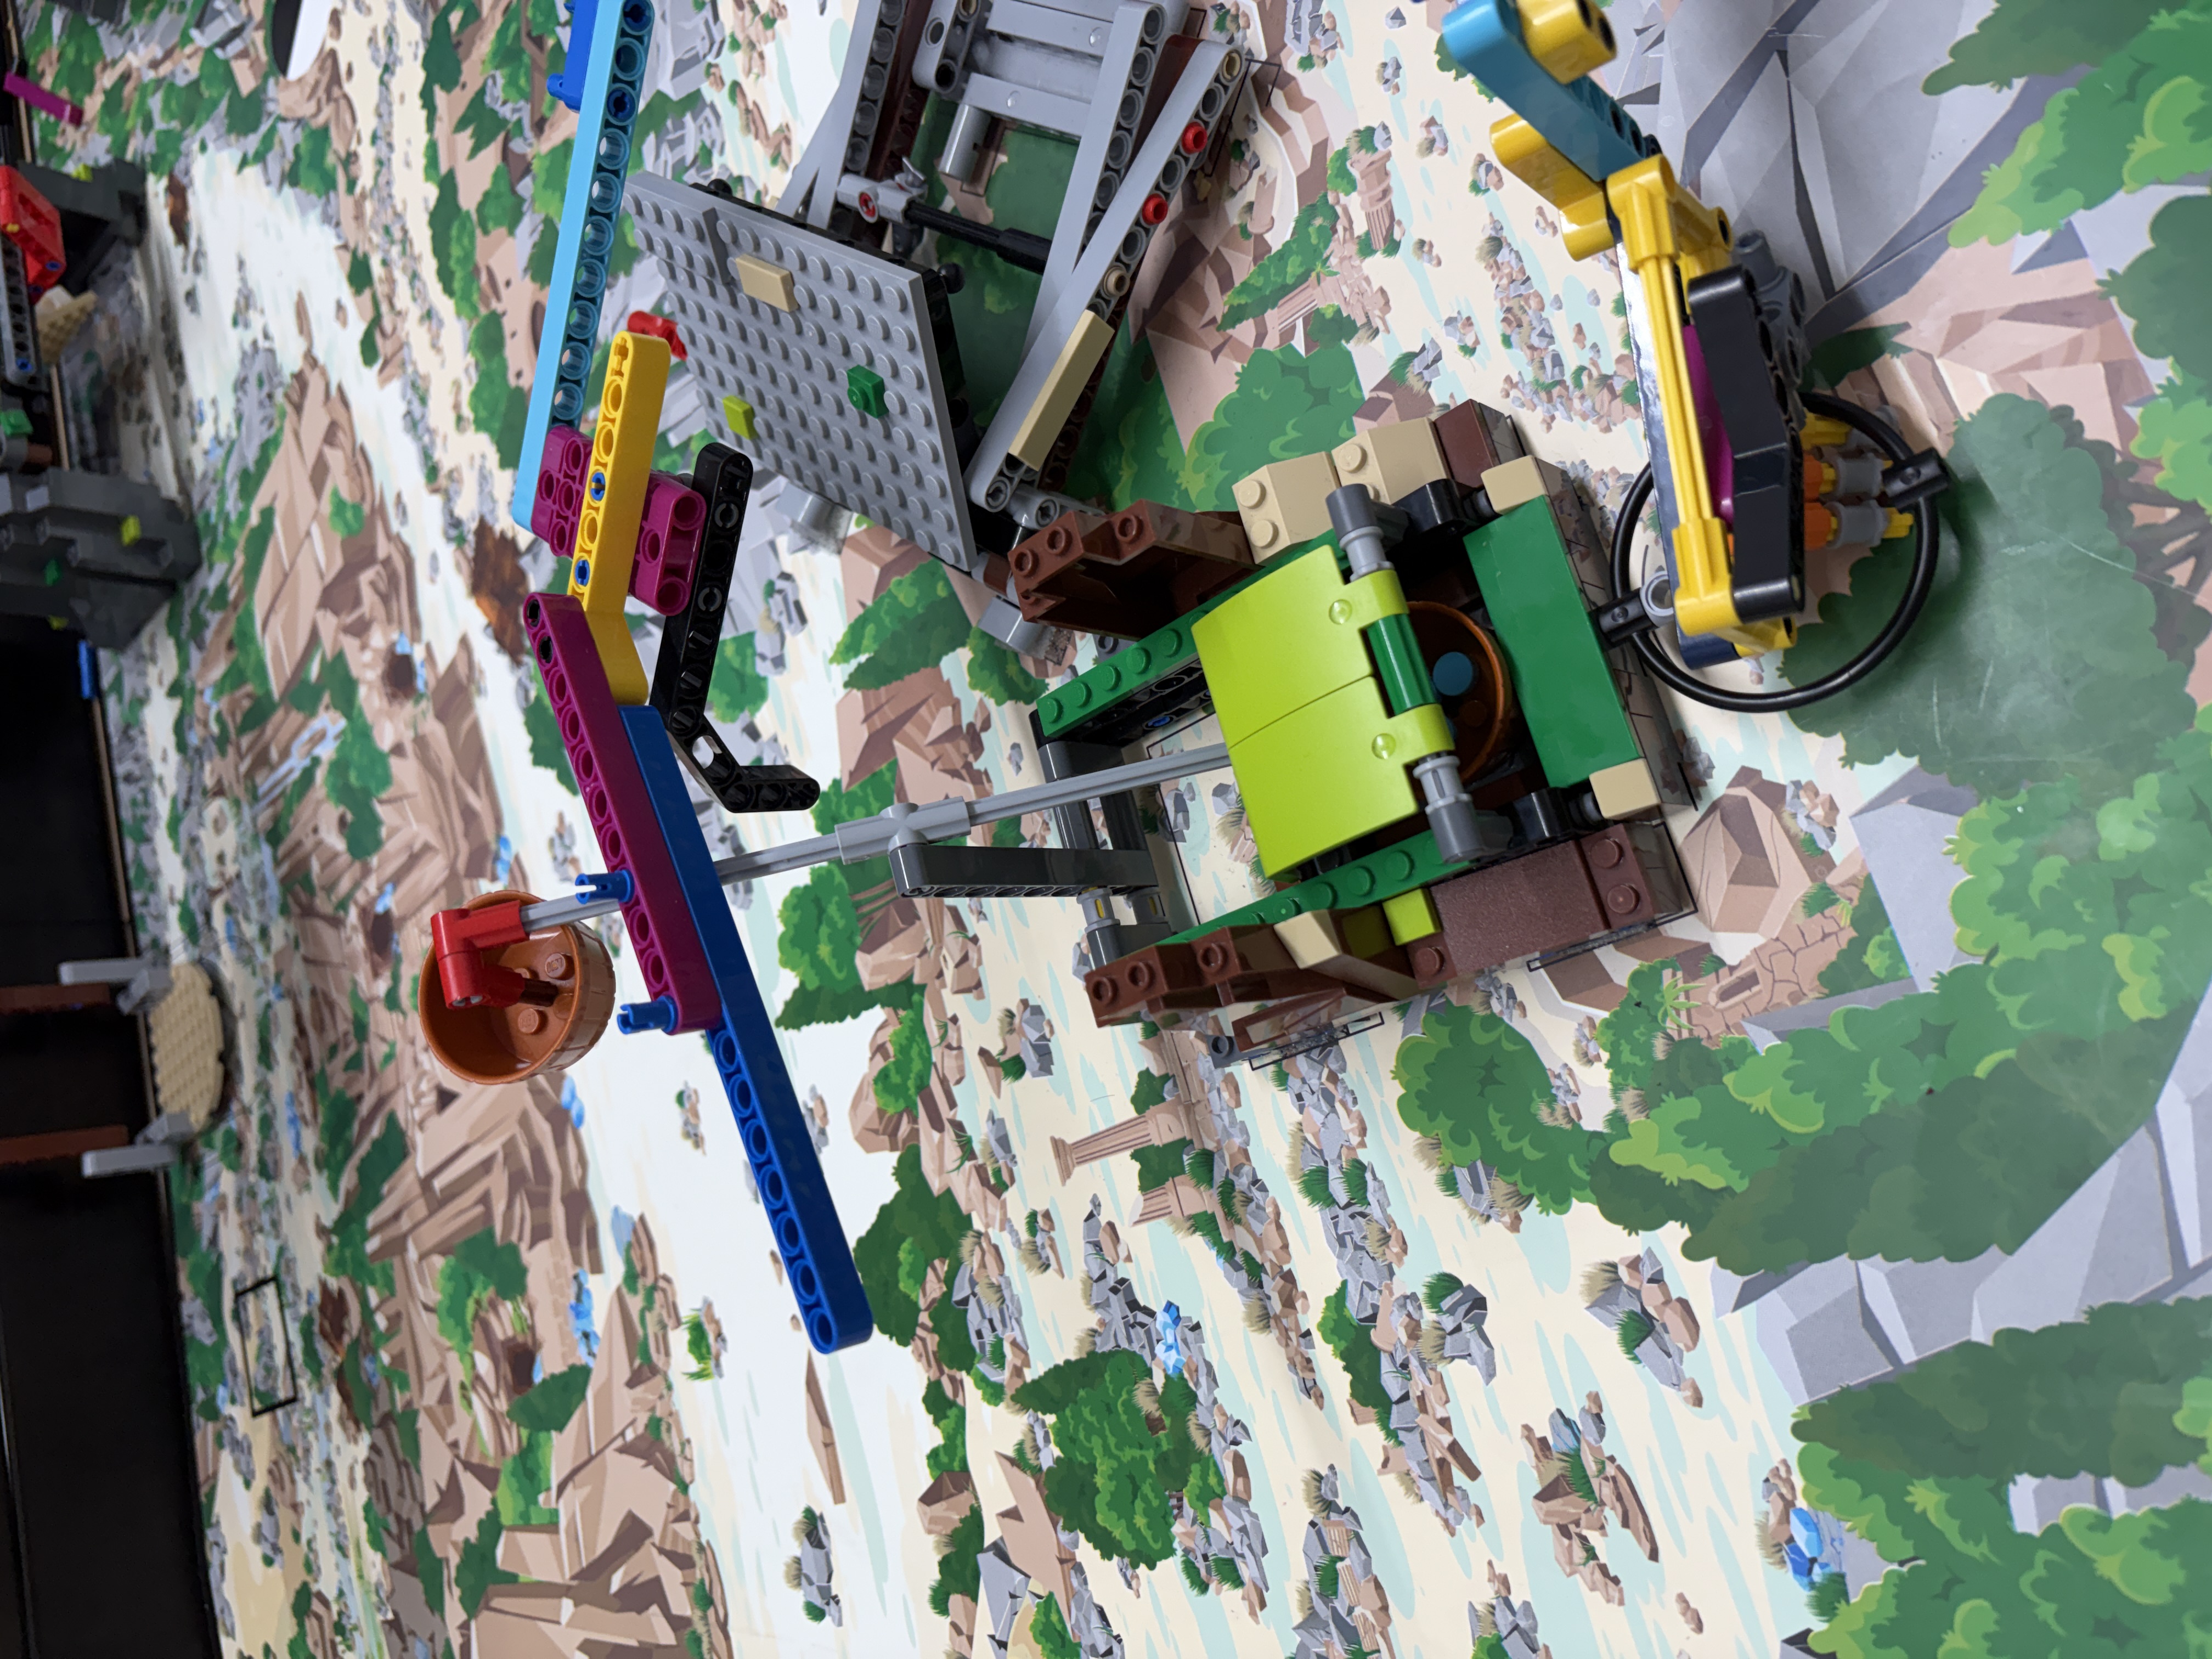
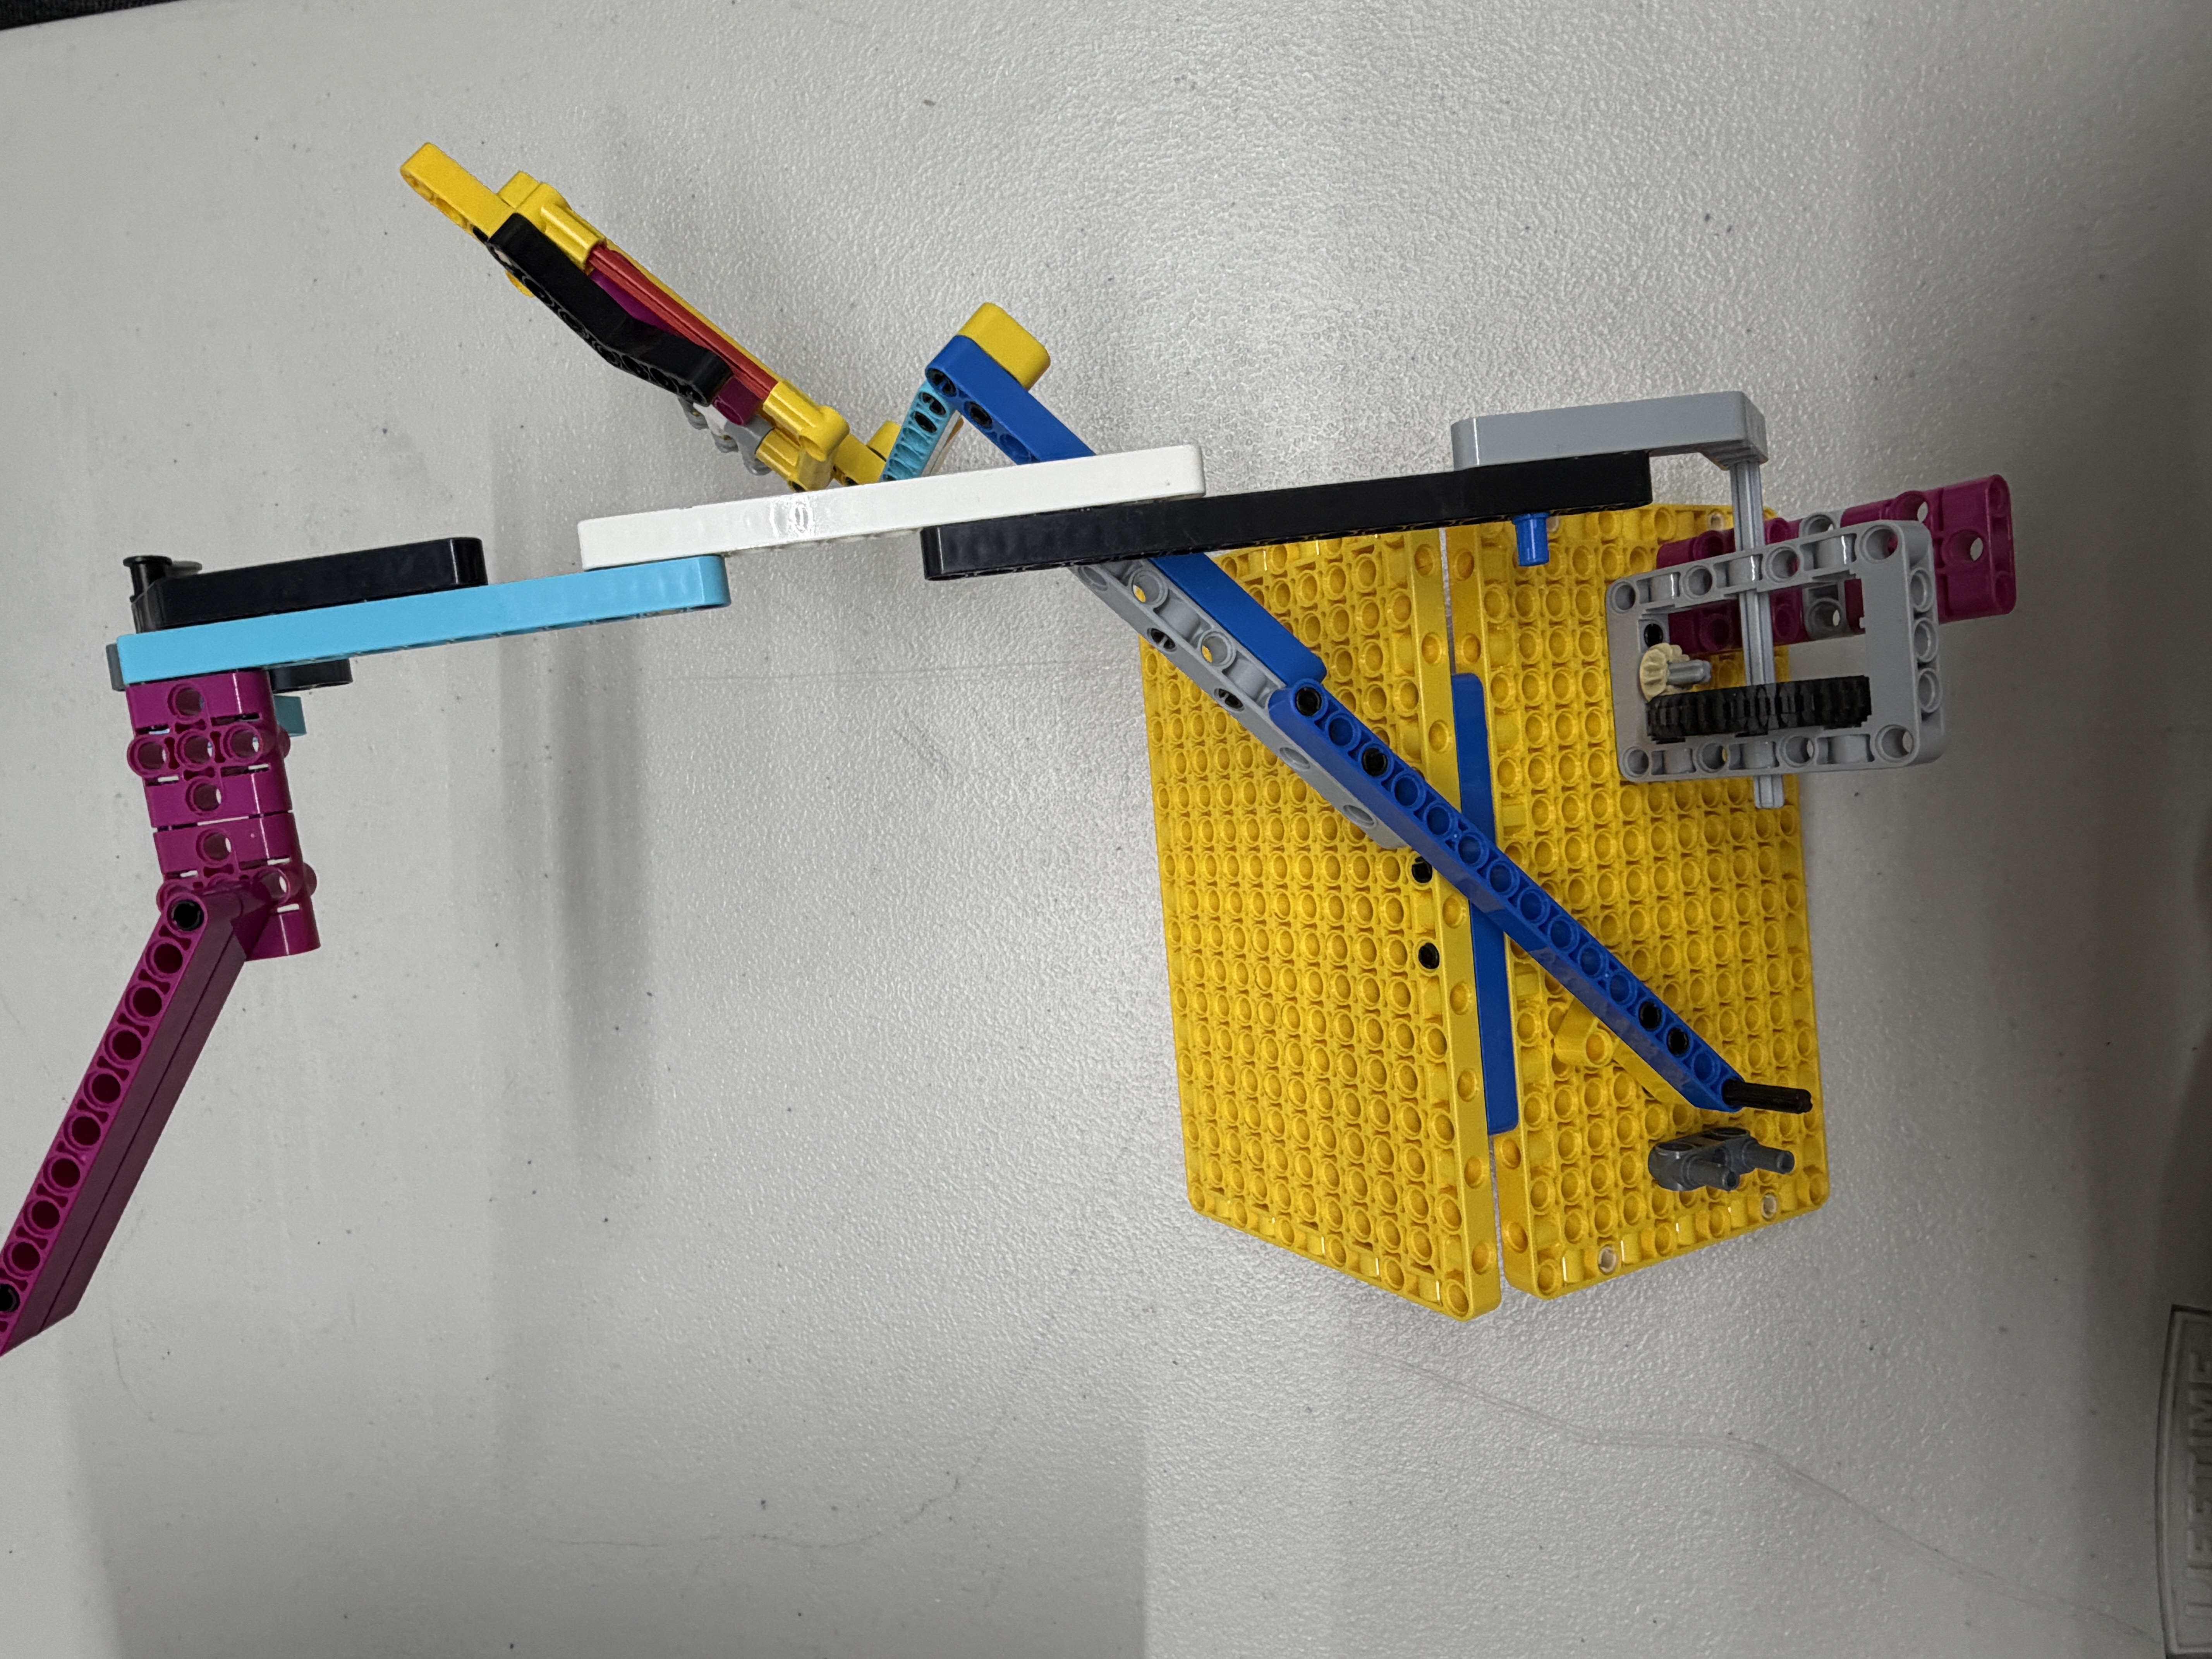
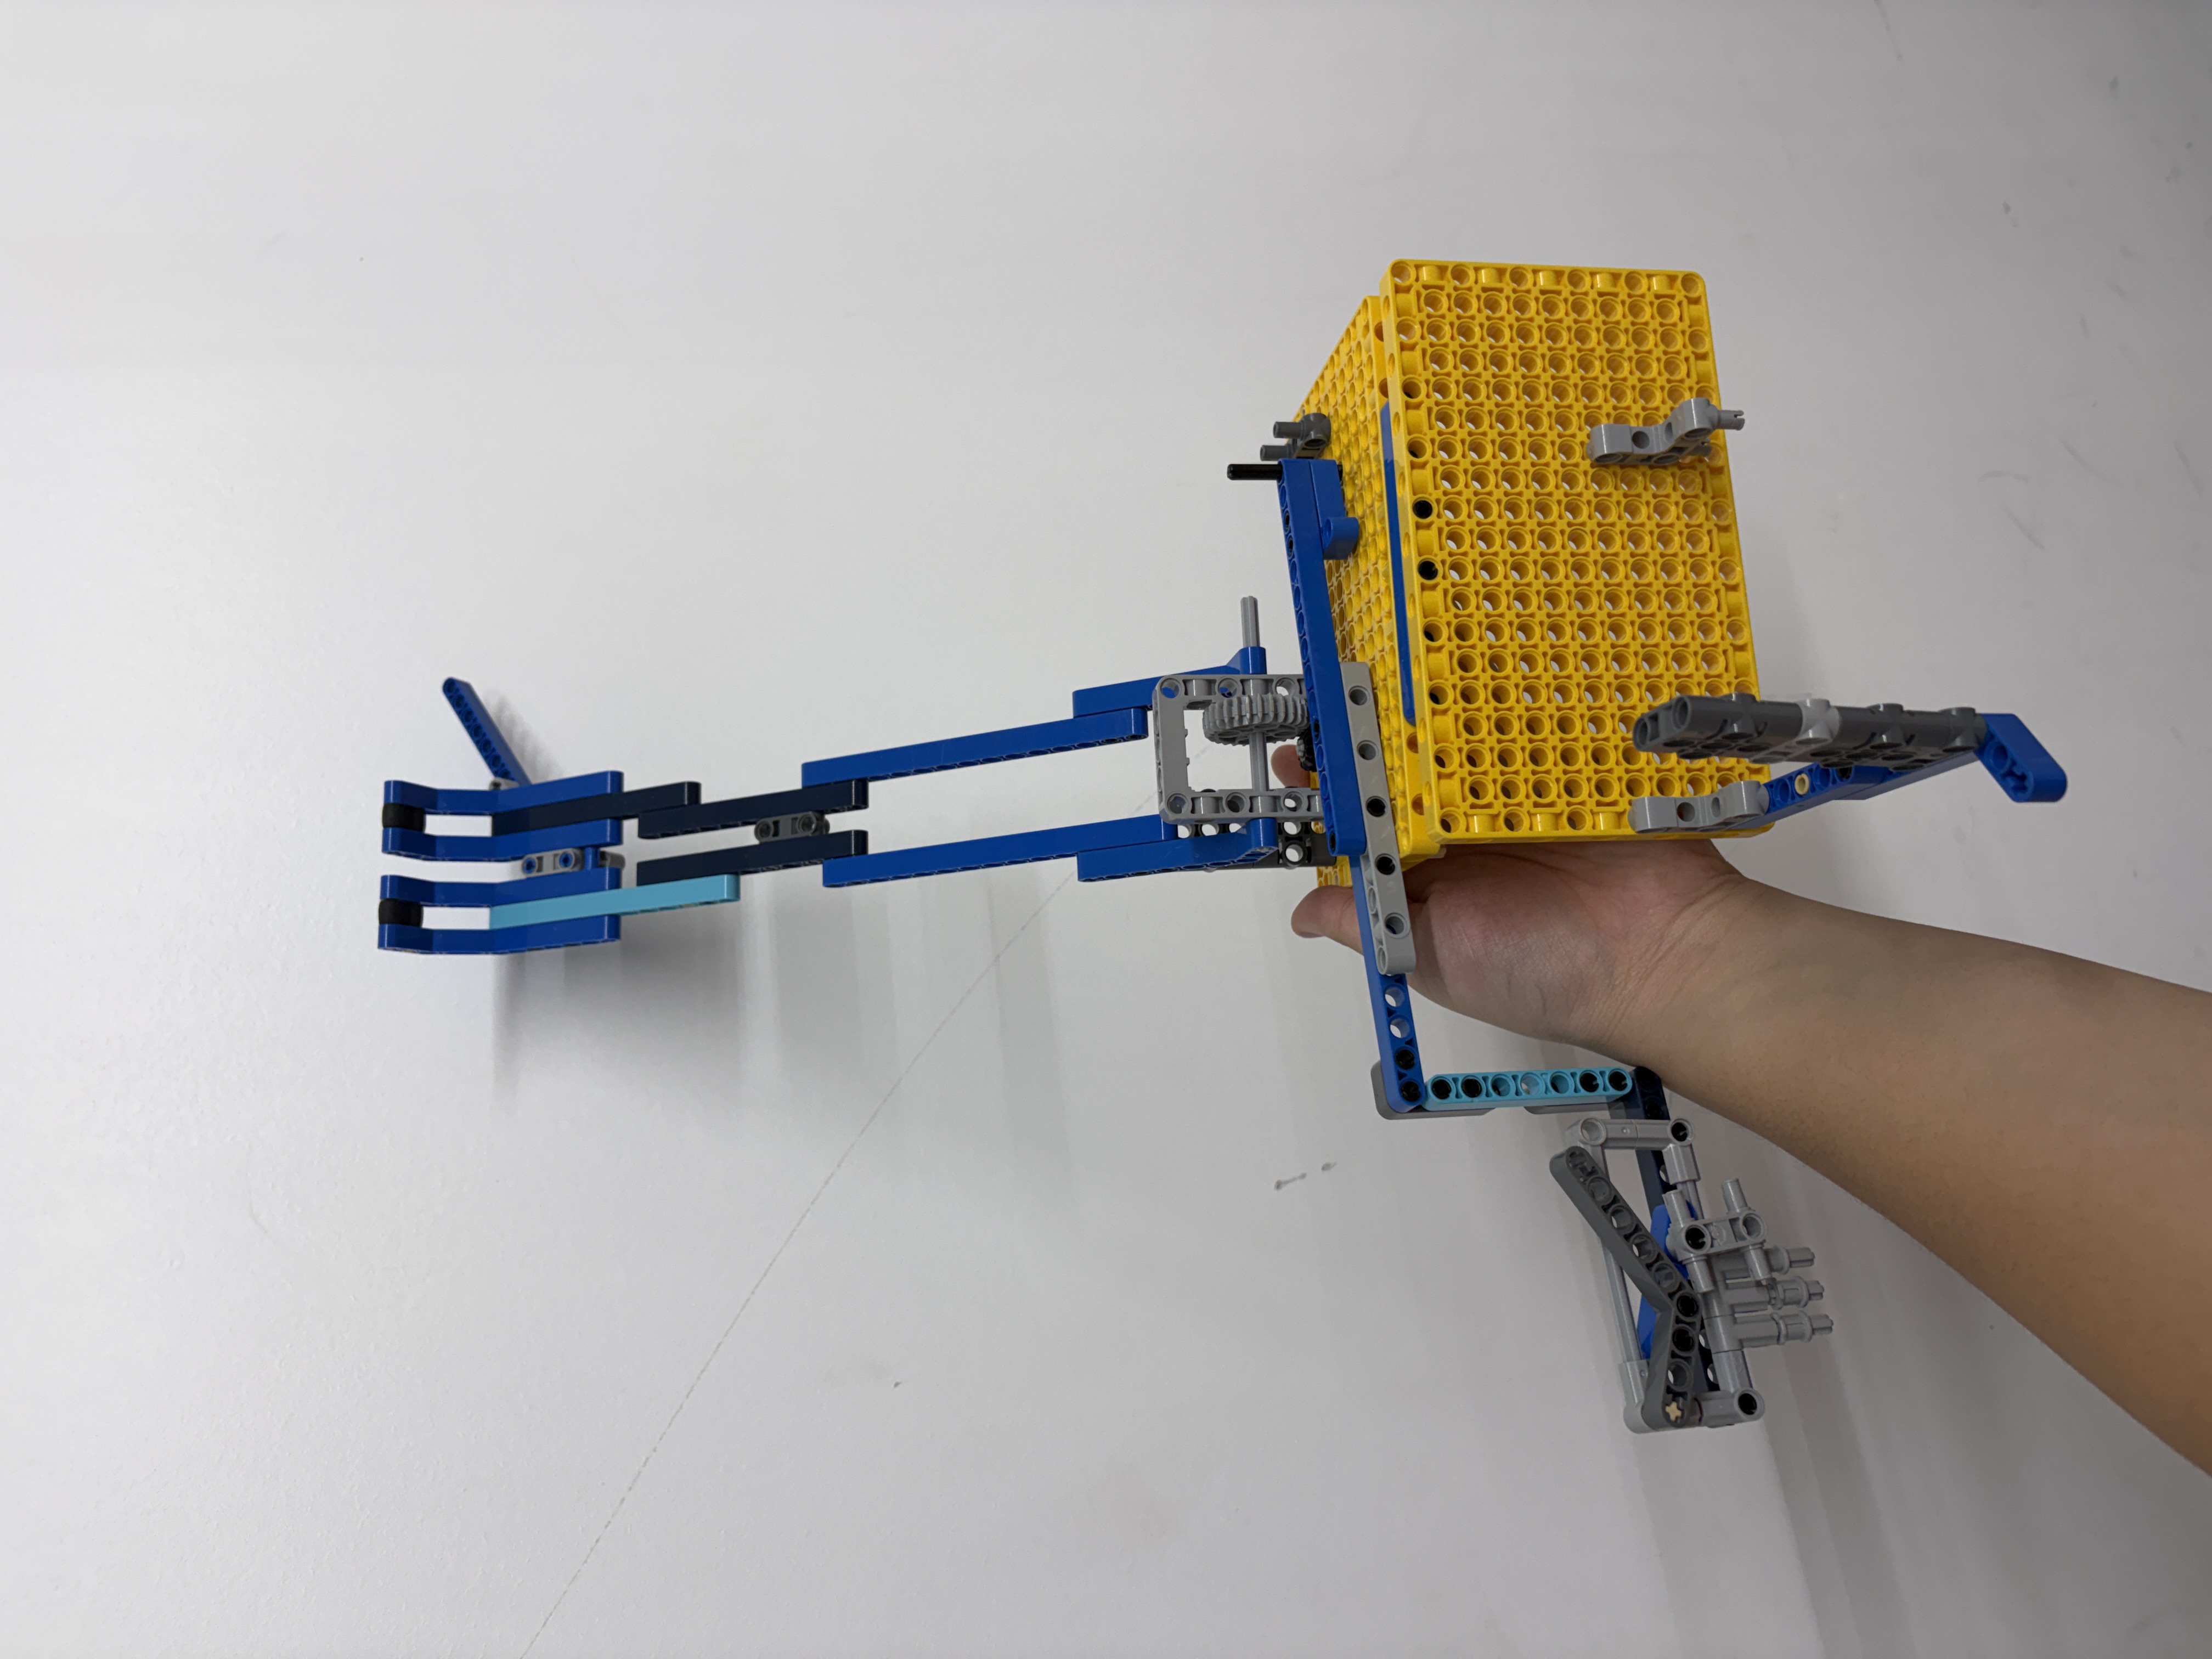
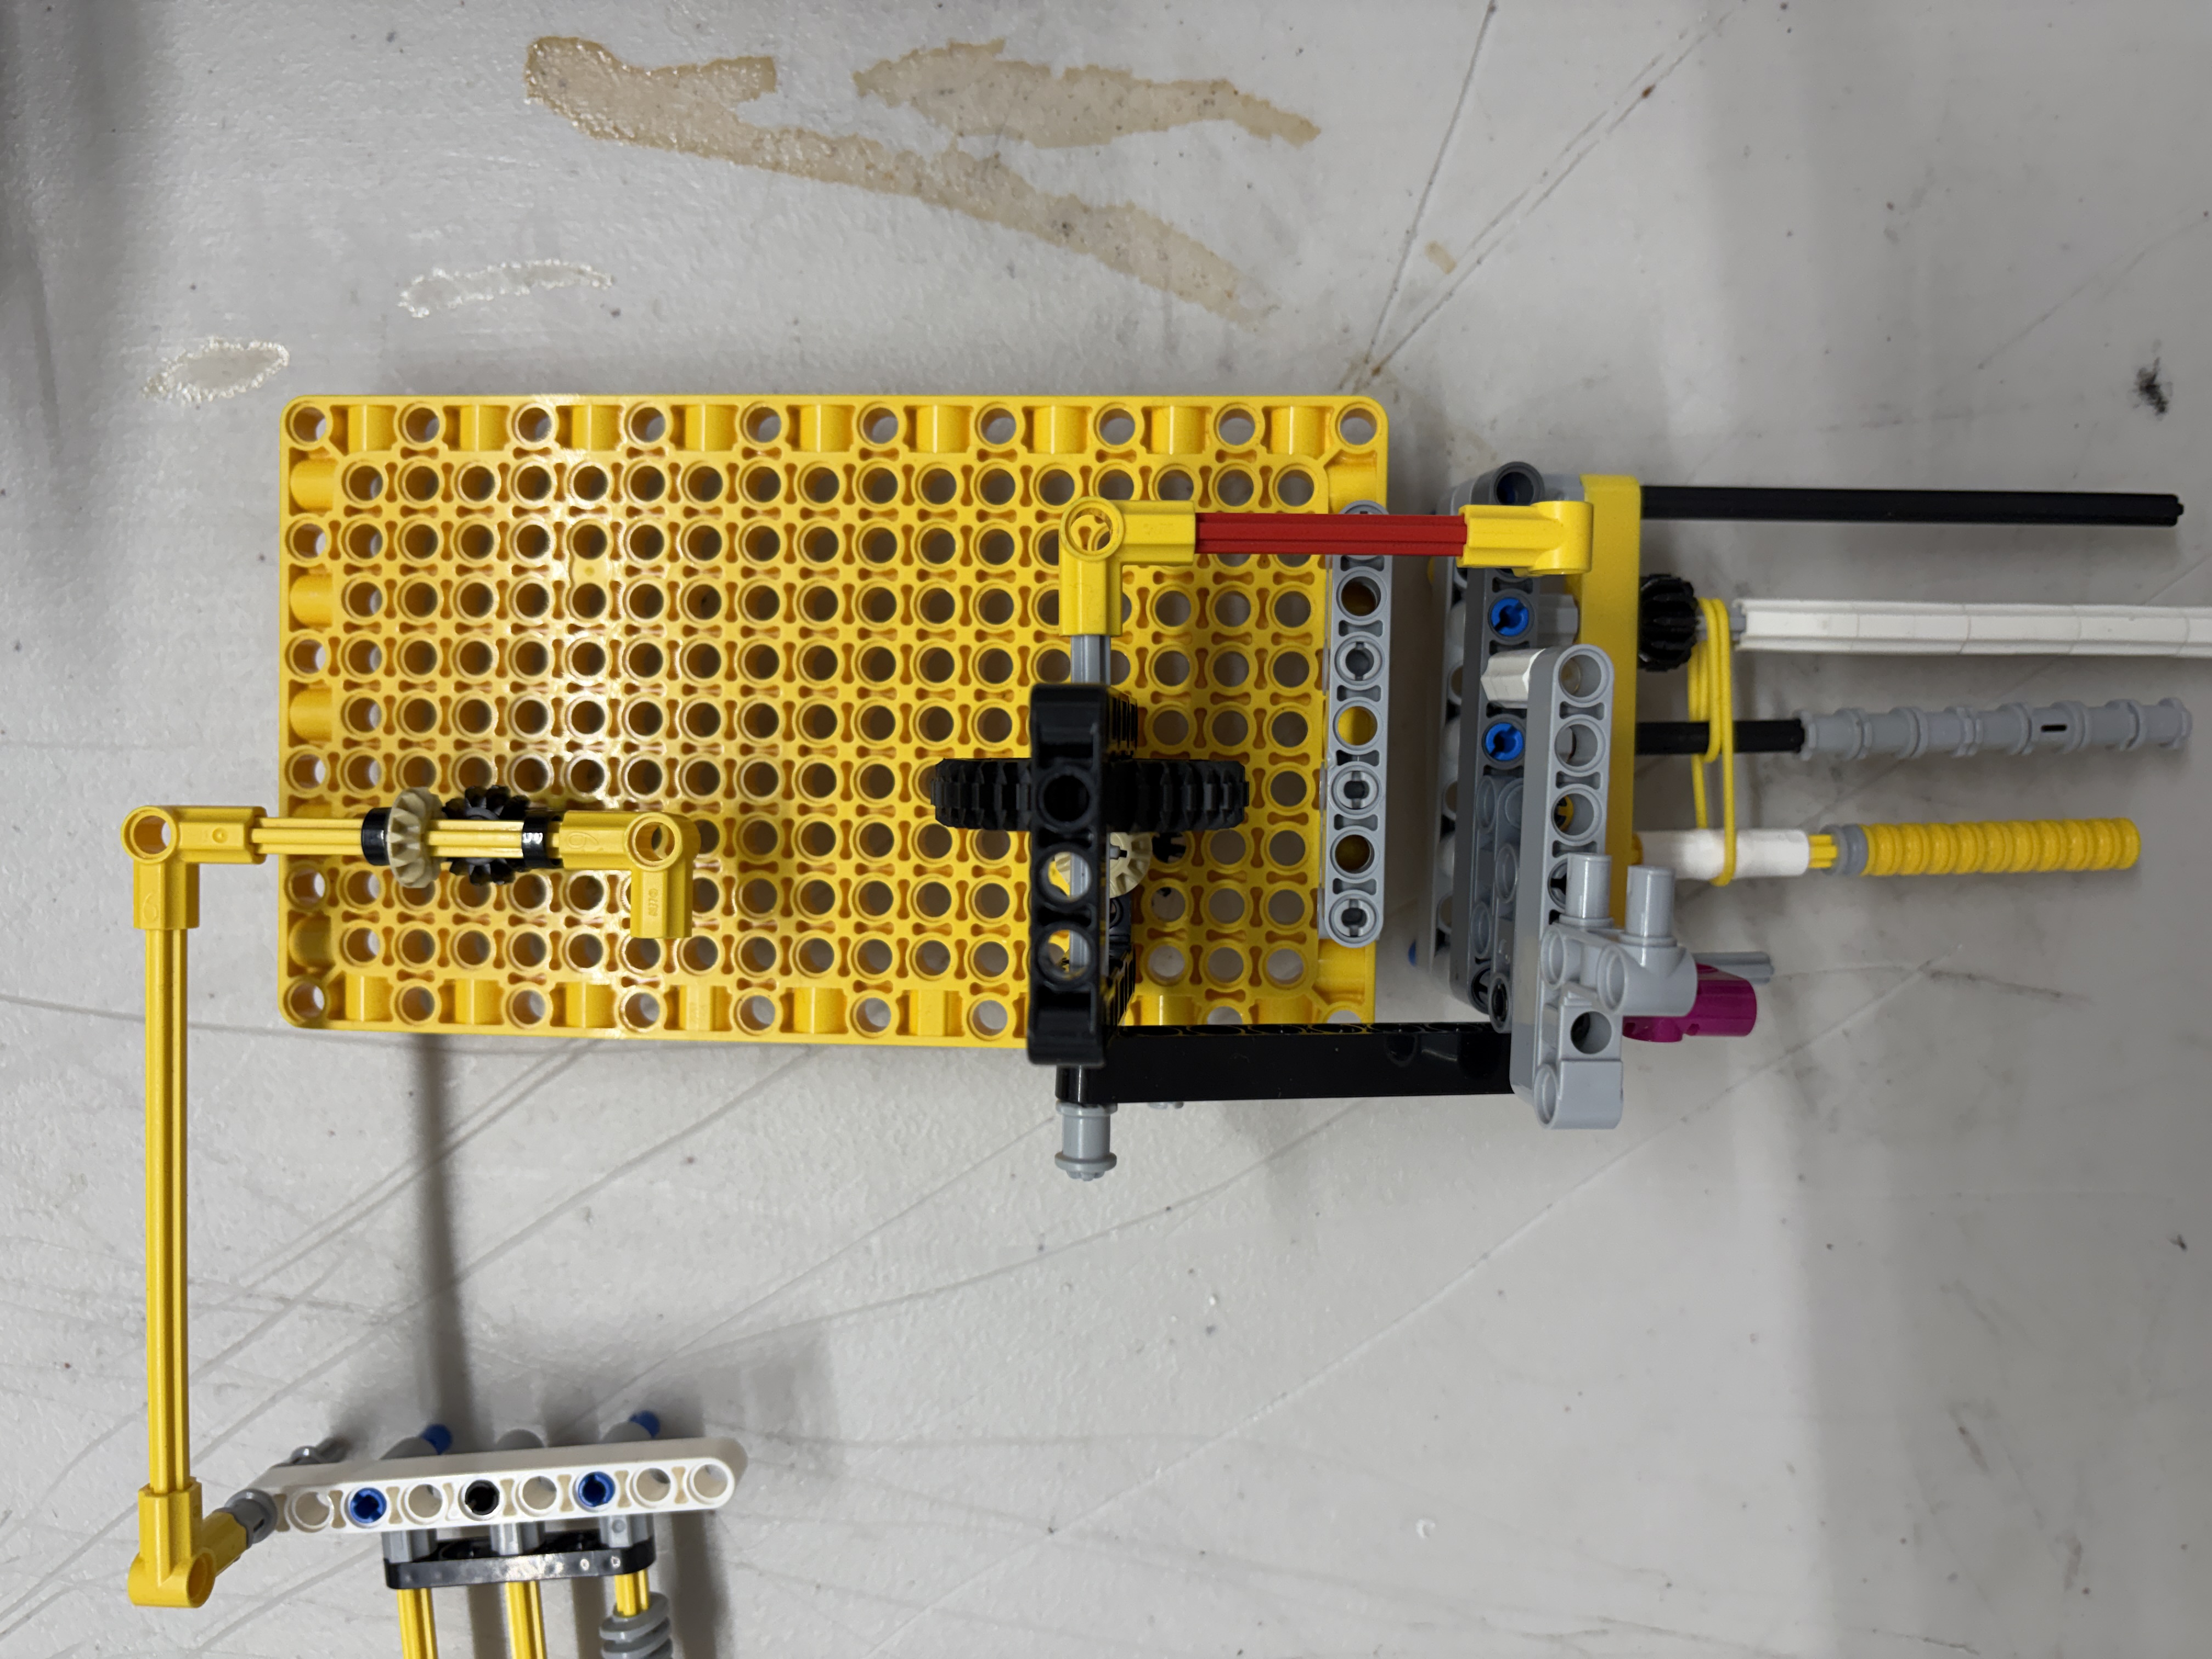
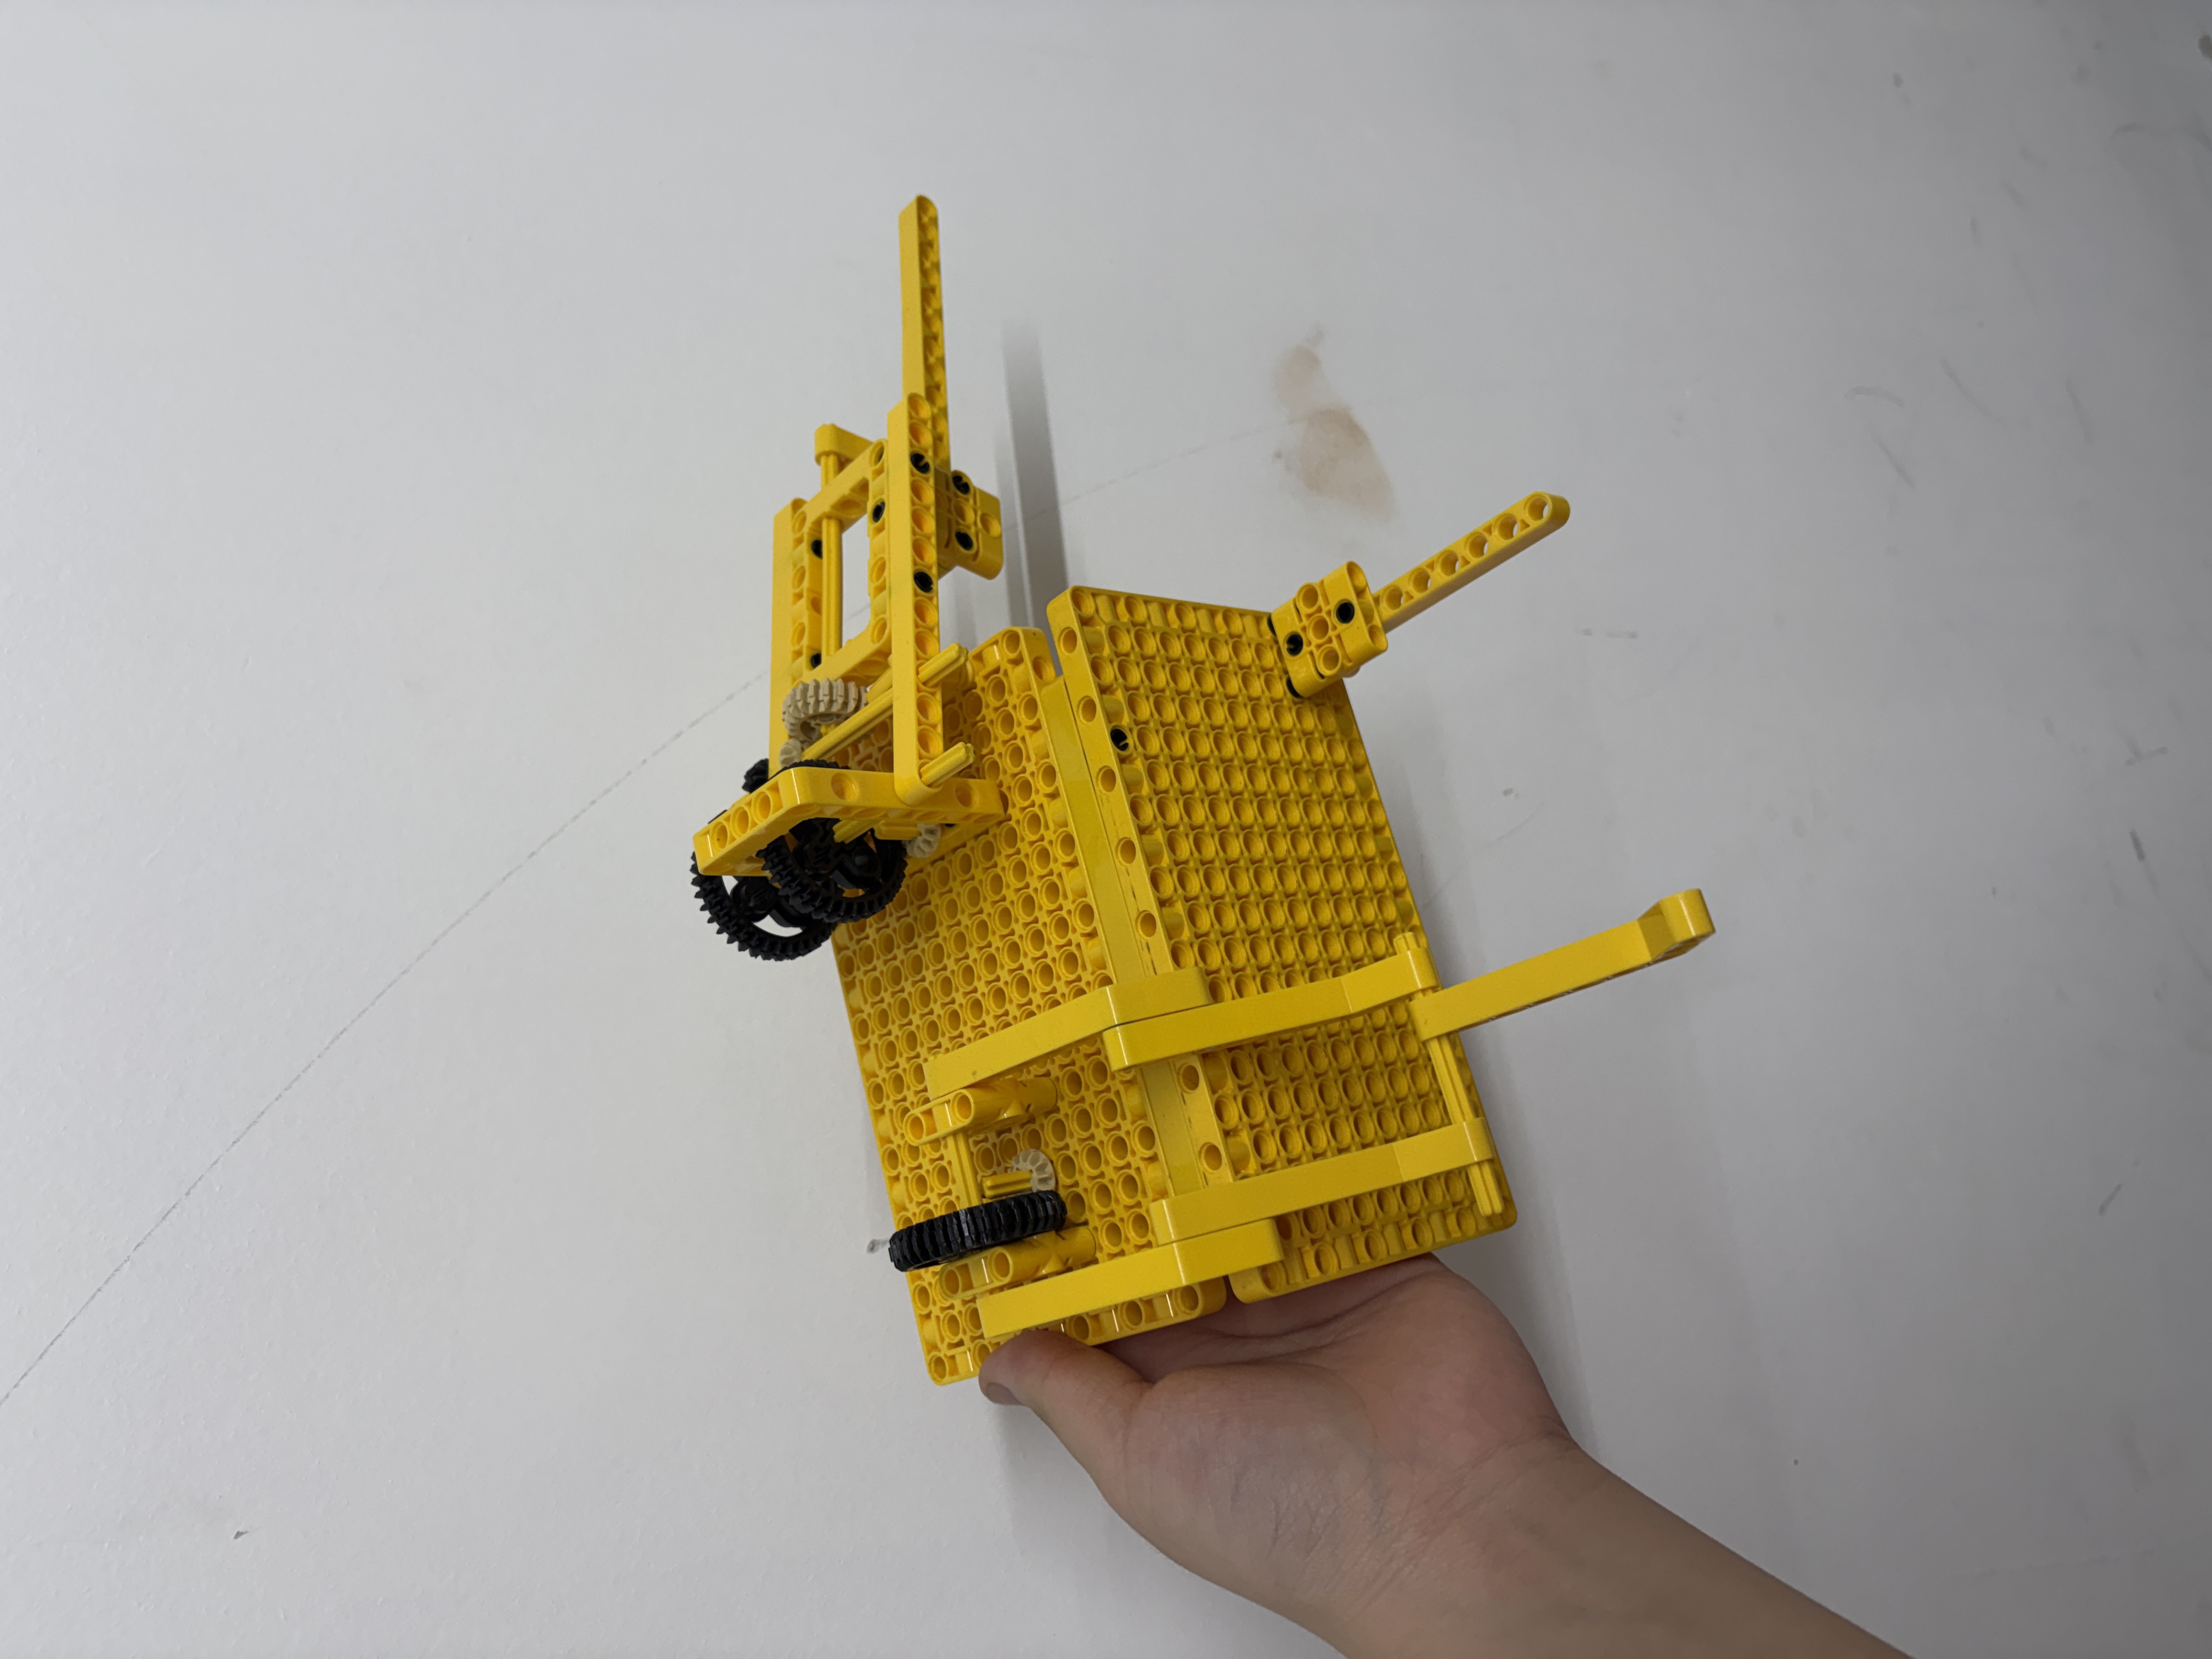
Seven builds, each fixing one specific problem we found in testing. Hover or tap a version to see what changed and why it mattered.
Keeping weight low and centered keeps the robot from tipping.
A wider base is more stable but turns a little slower.
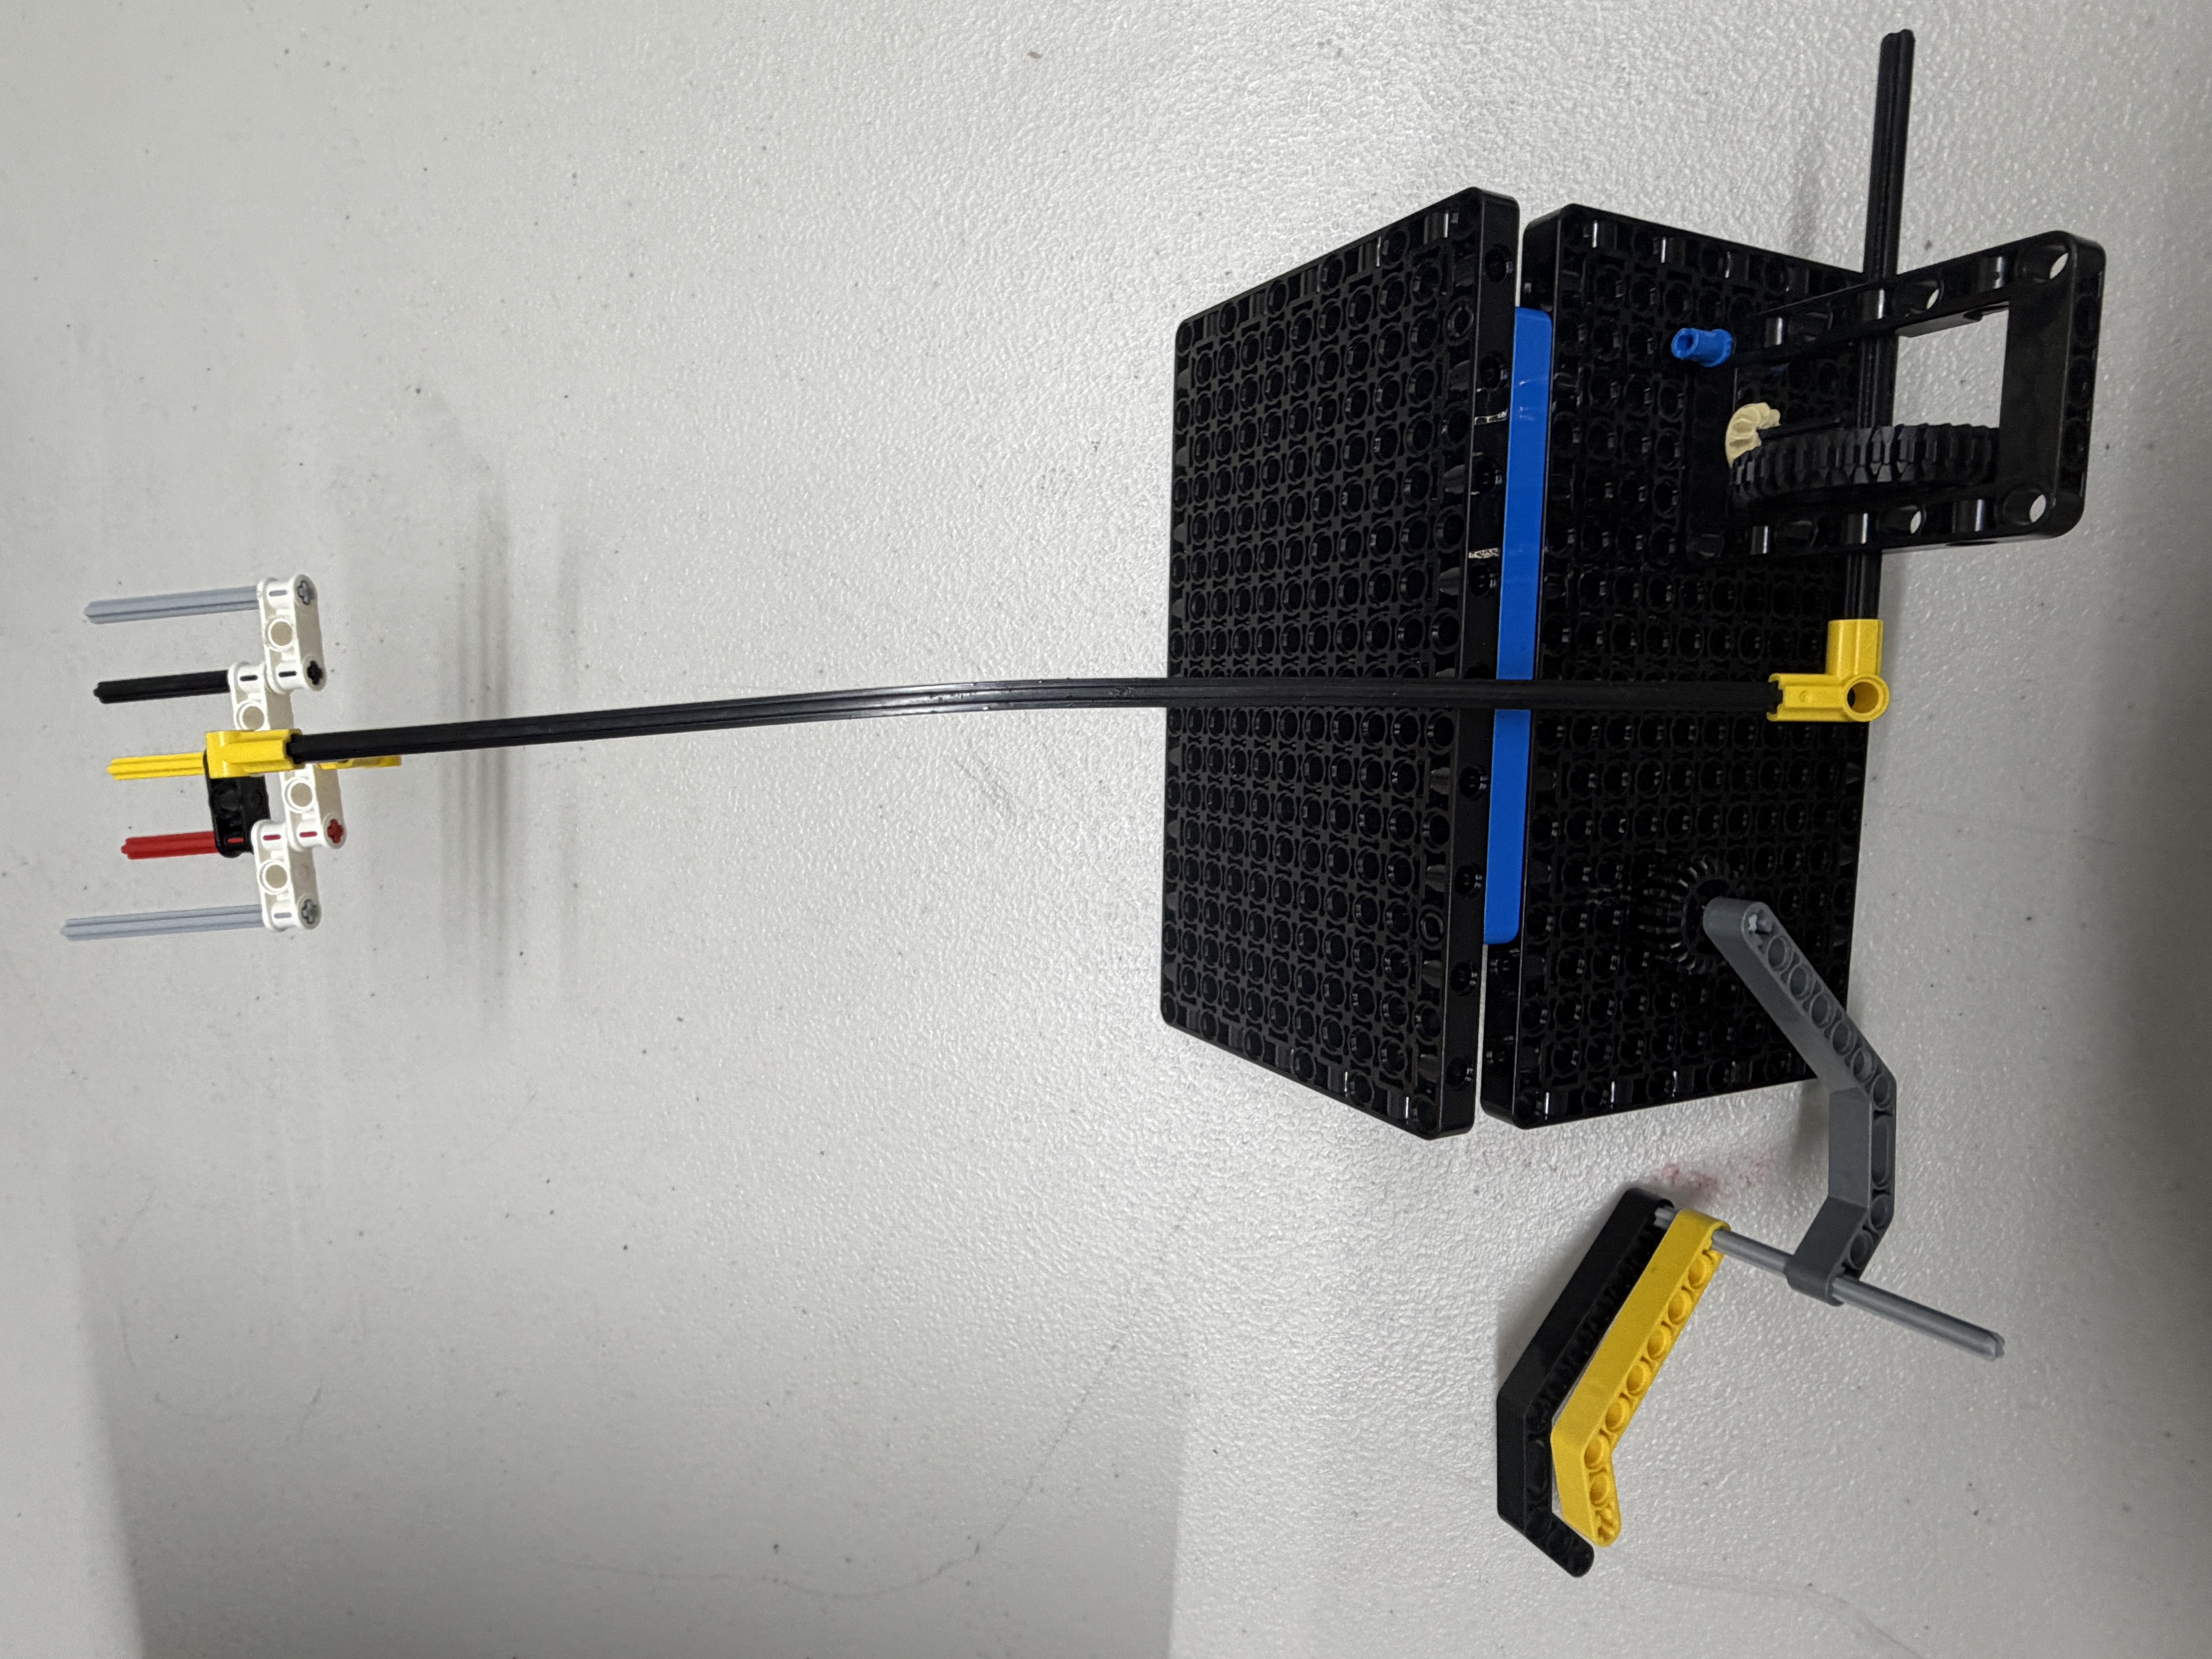
Ports must be reachable without moving the whole robot.
Each version fixed one specific problem found in testing.
One-glance takeaway: Push is dominant, Pull is limited, so we optimize push-first and keep one reliable pull attachment.
Sorted by Action Type: Push, Push/Pull, Pull, Lift, Push/Drop, Drop

The way the robot has to move a model is the single biggest clue to how hard a mission will be.
Push — robot drives forward, model moves
No precise positioning. The robot pushes until it meets resistance, so the result is consistent every run.
Most of our missionsPull — robot hooks the model, drives back
Needs precise alignment first. The hook has to engage perfectly before the robot can reverse, so there is more to get right.
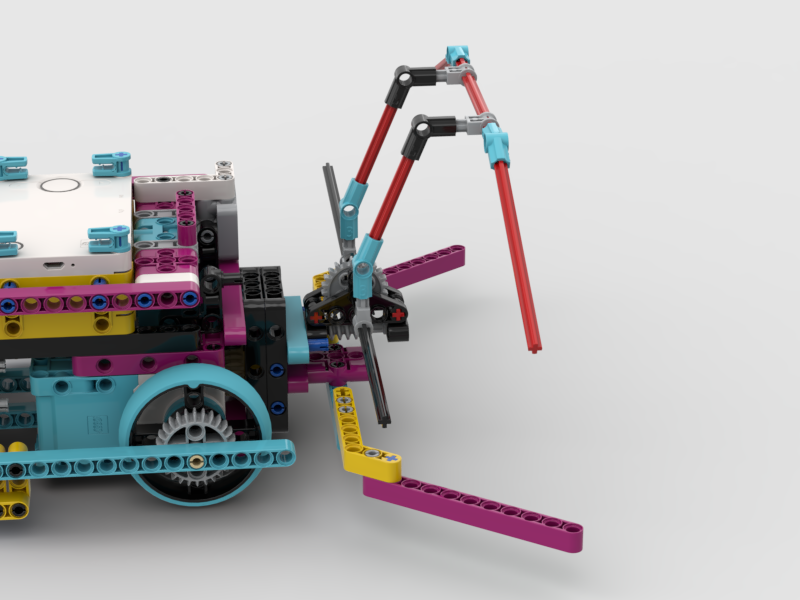
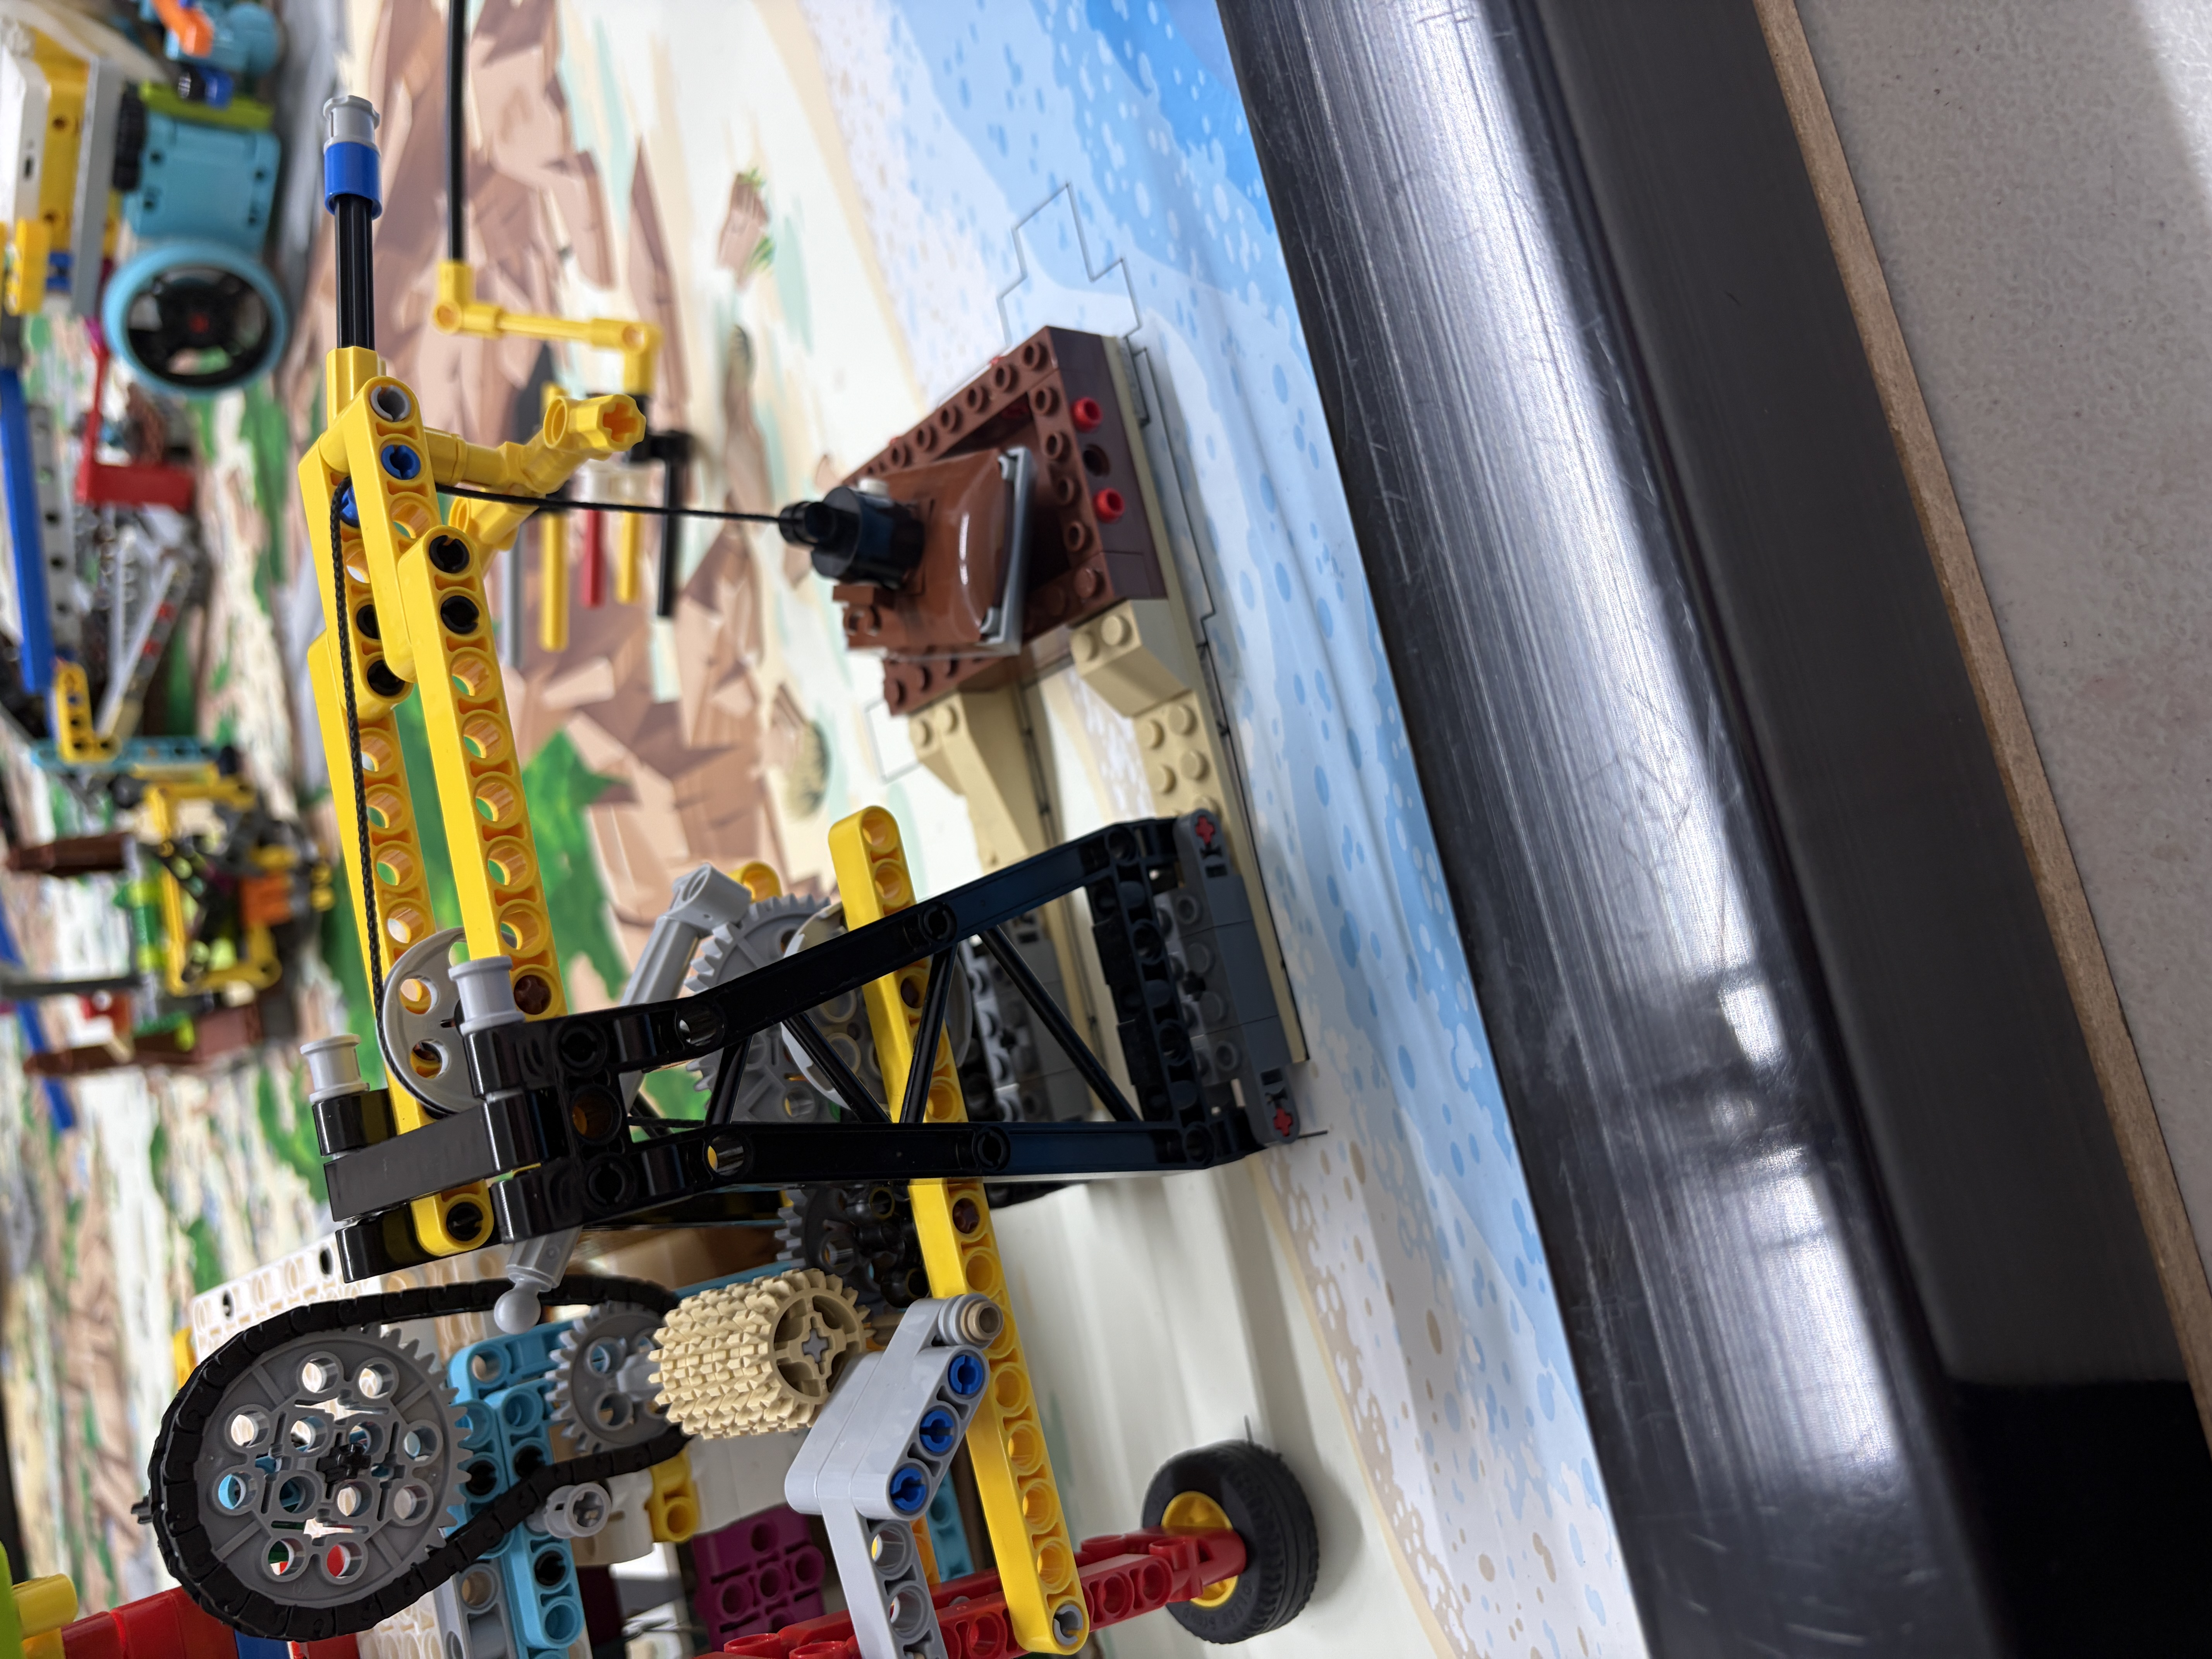
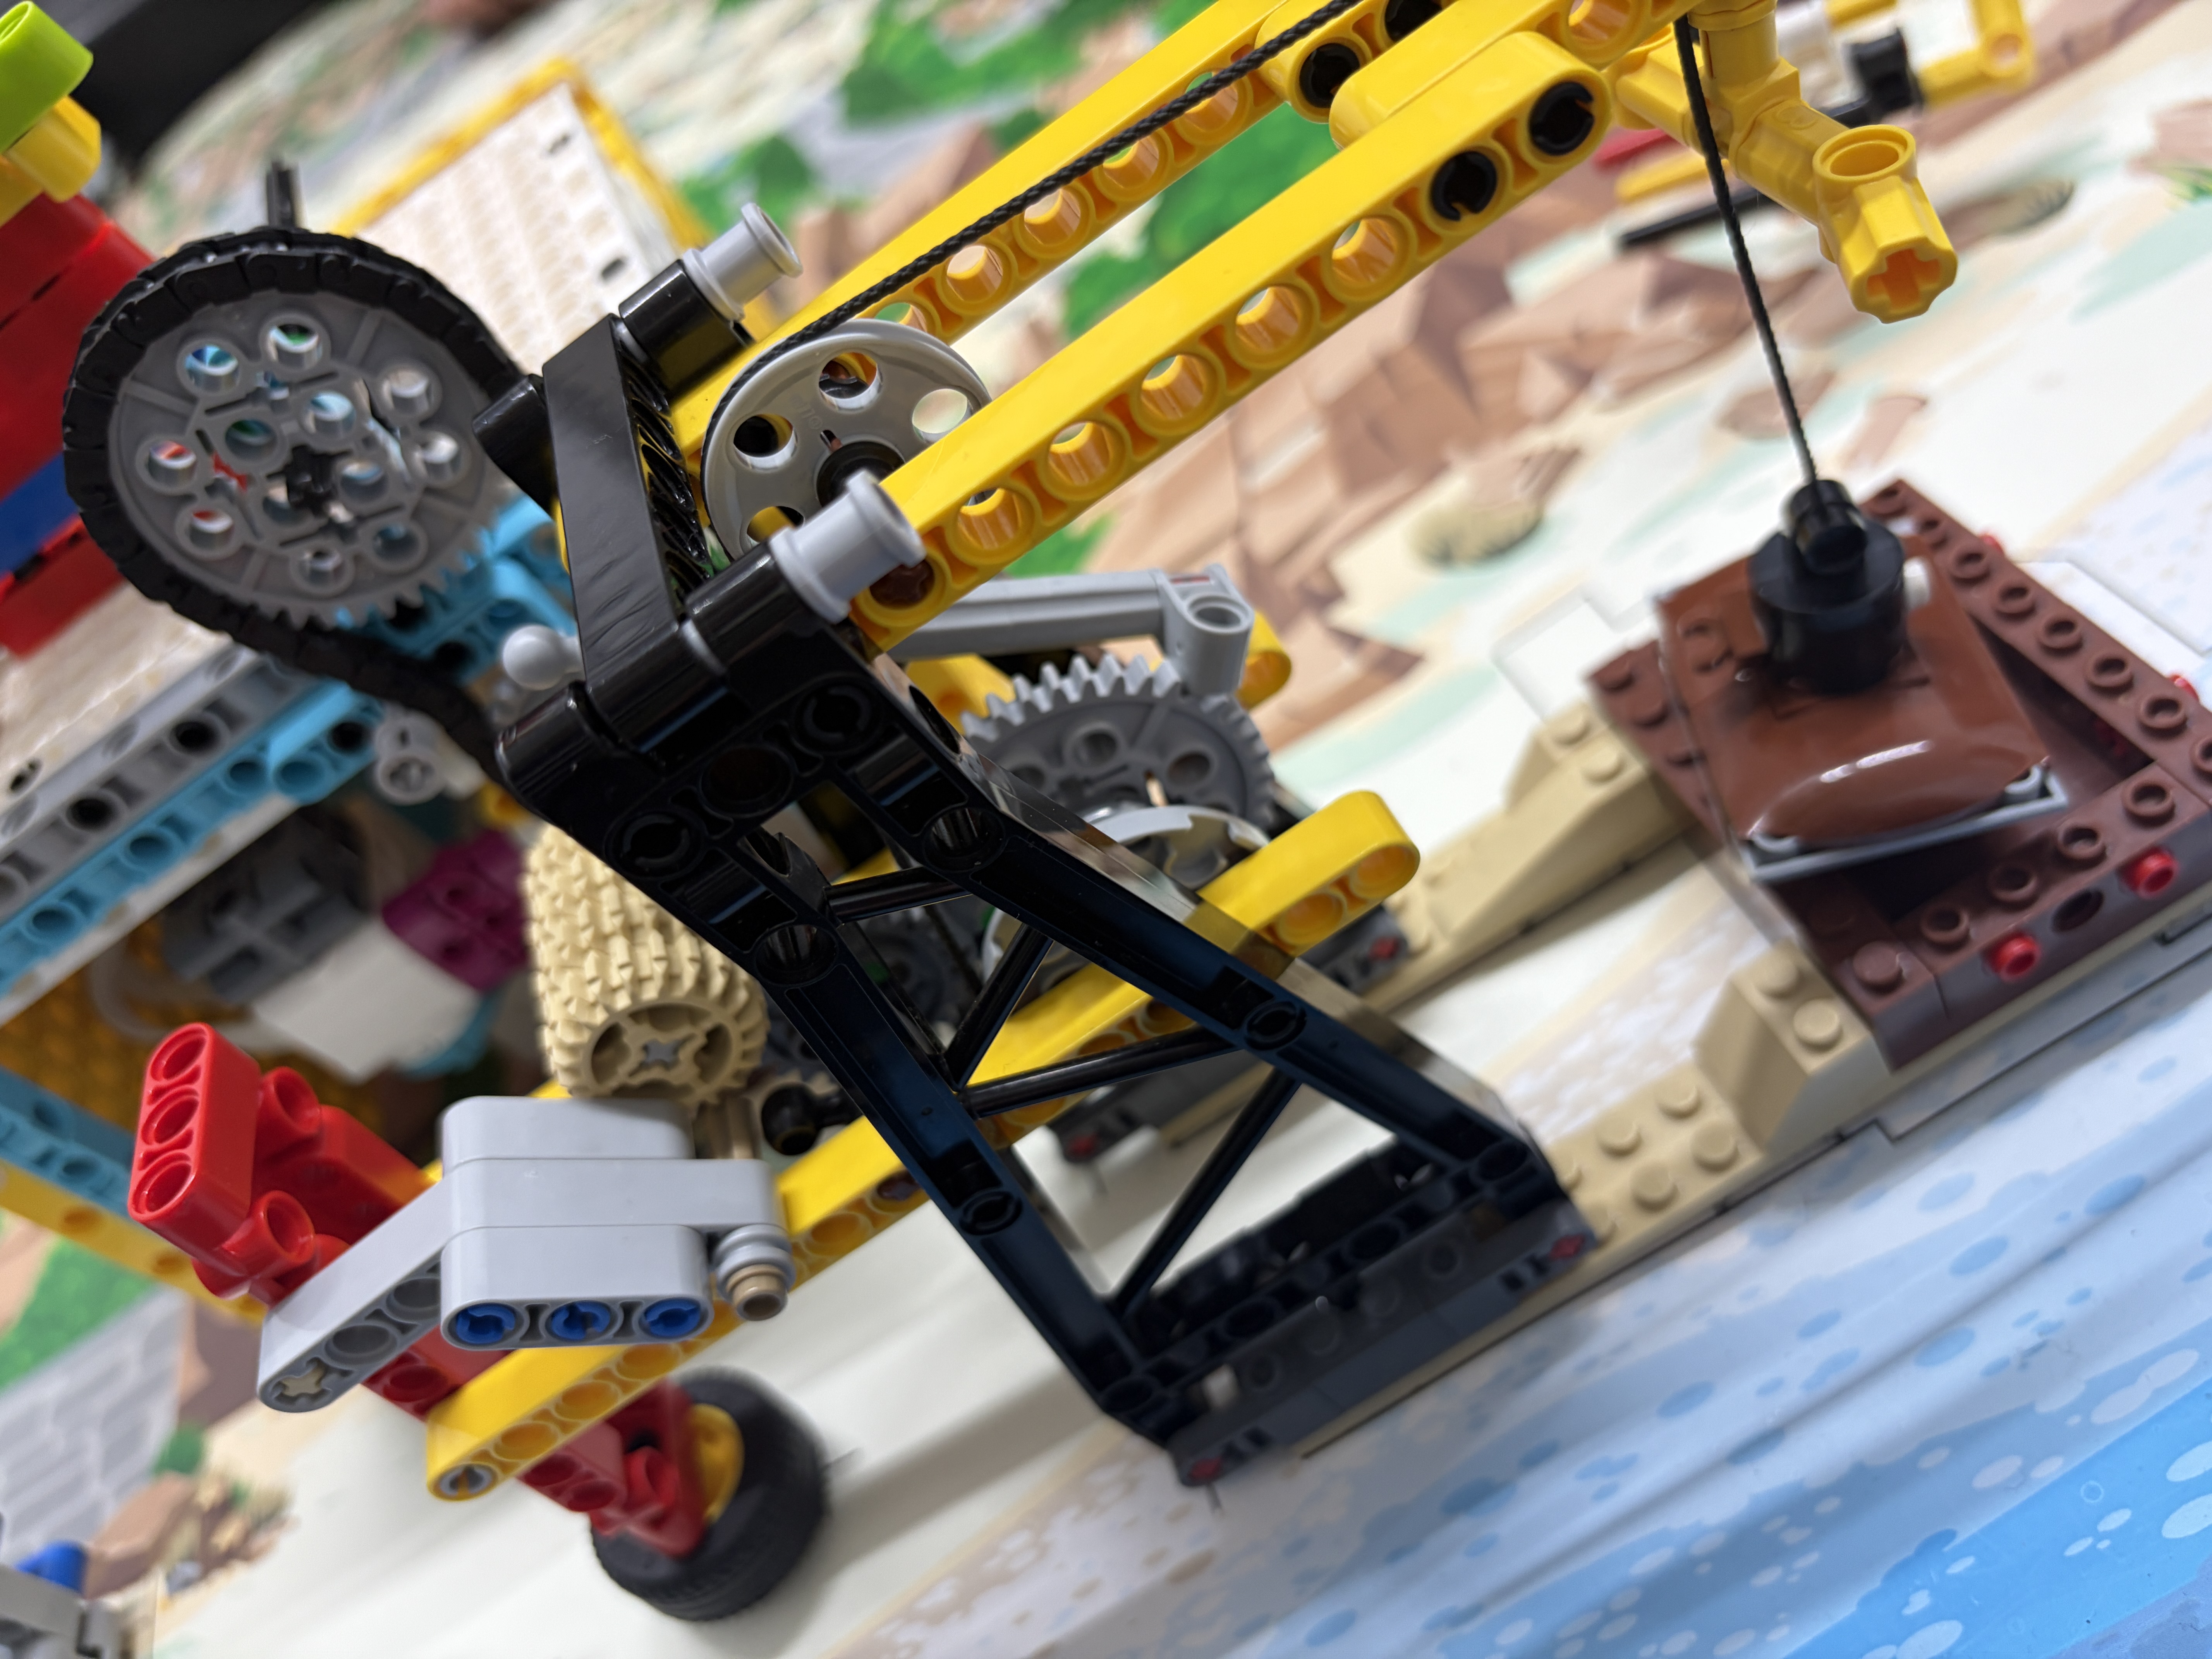
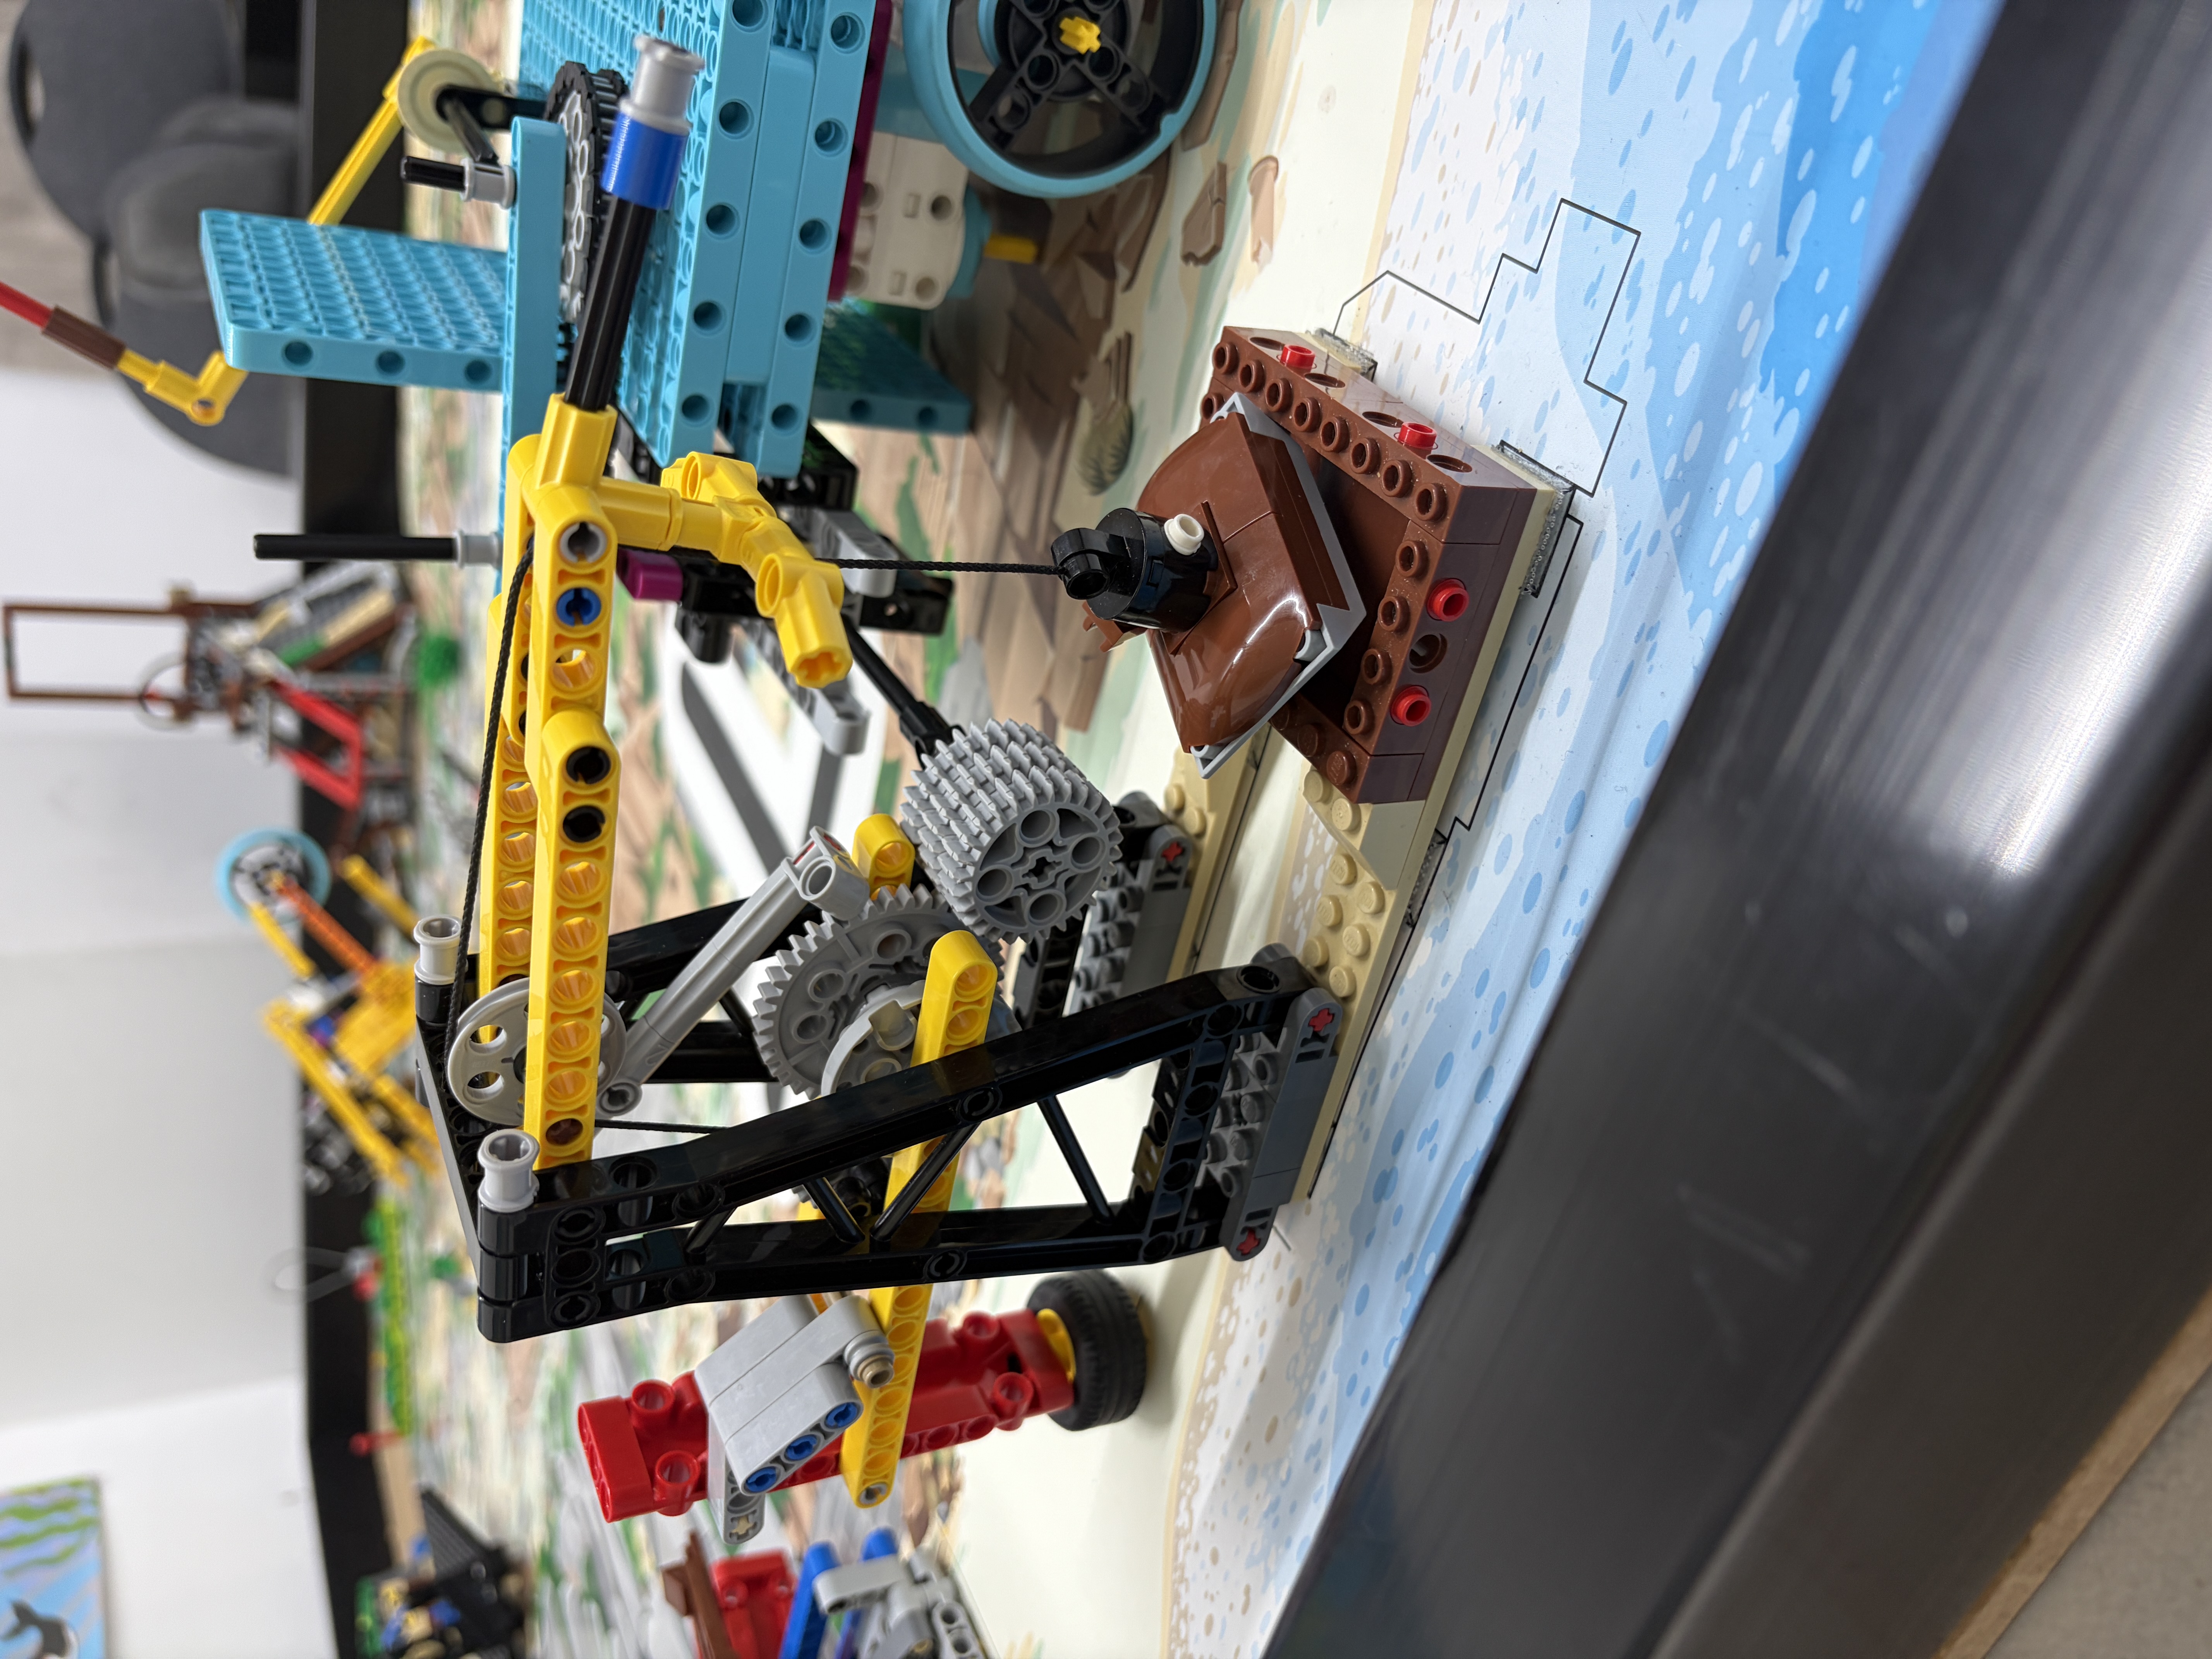
One reliable hook attachmentLift / drop — raise or place an object
Requires height control and an exact stopping point. The attachment has to reach the right level and release at the right moment.
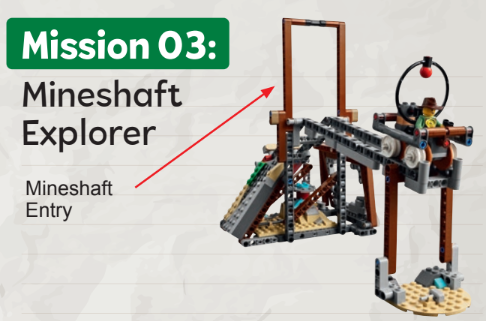
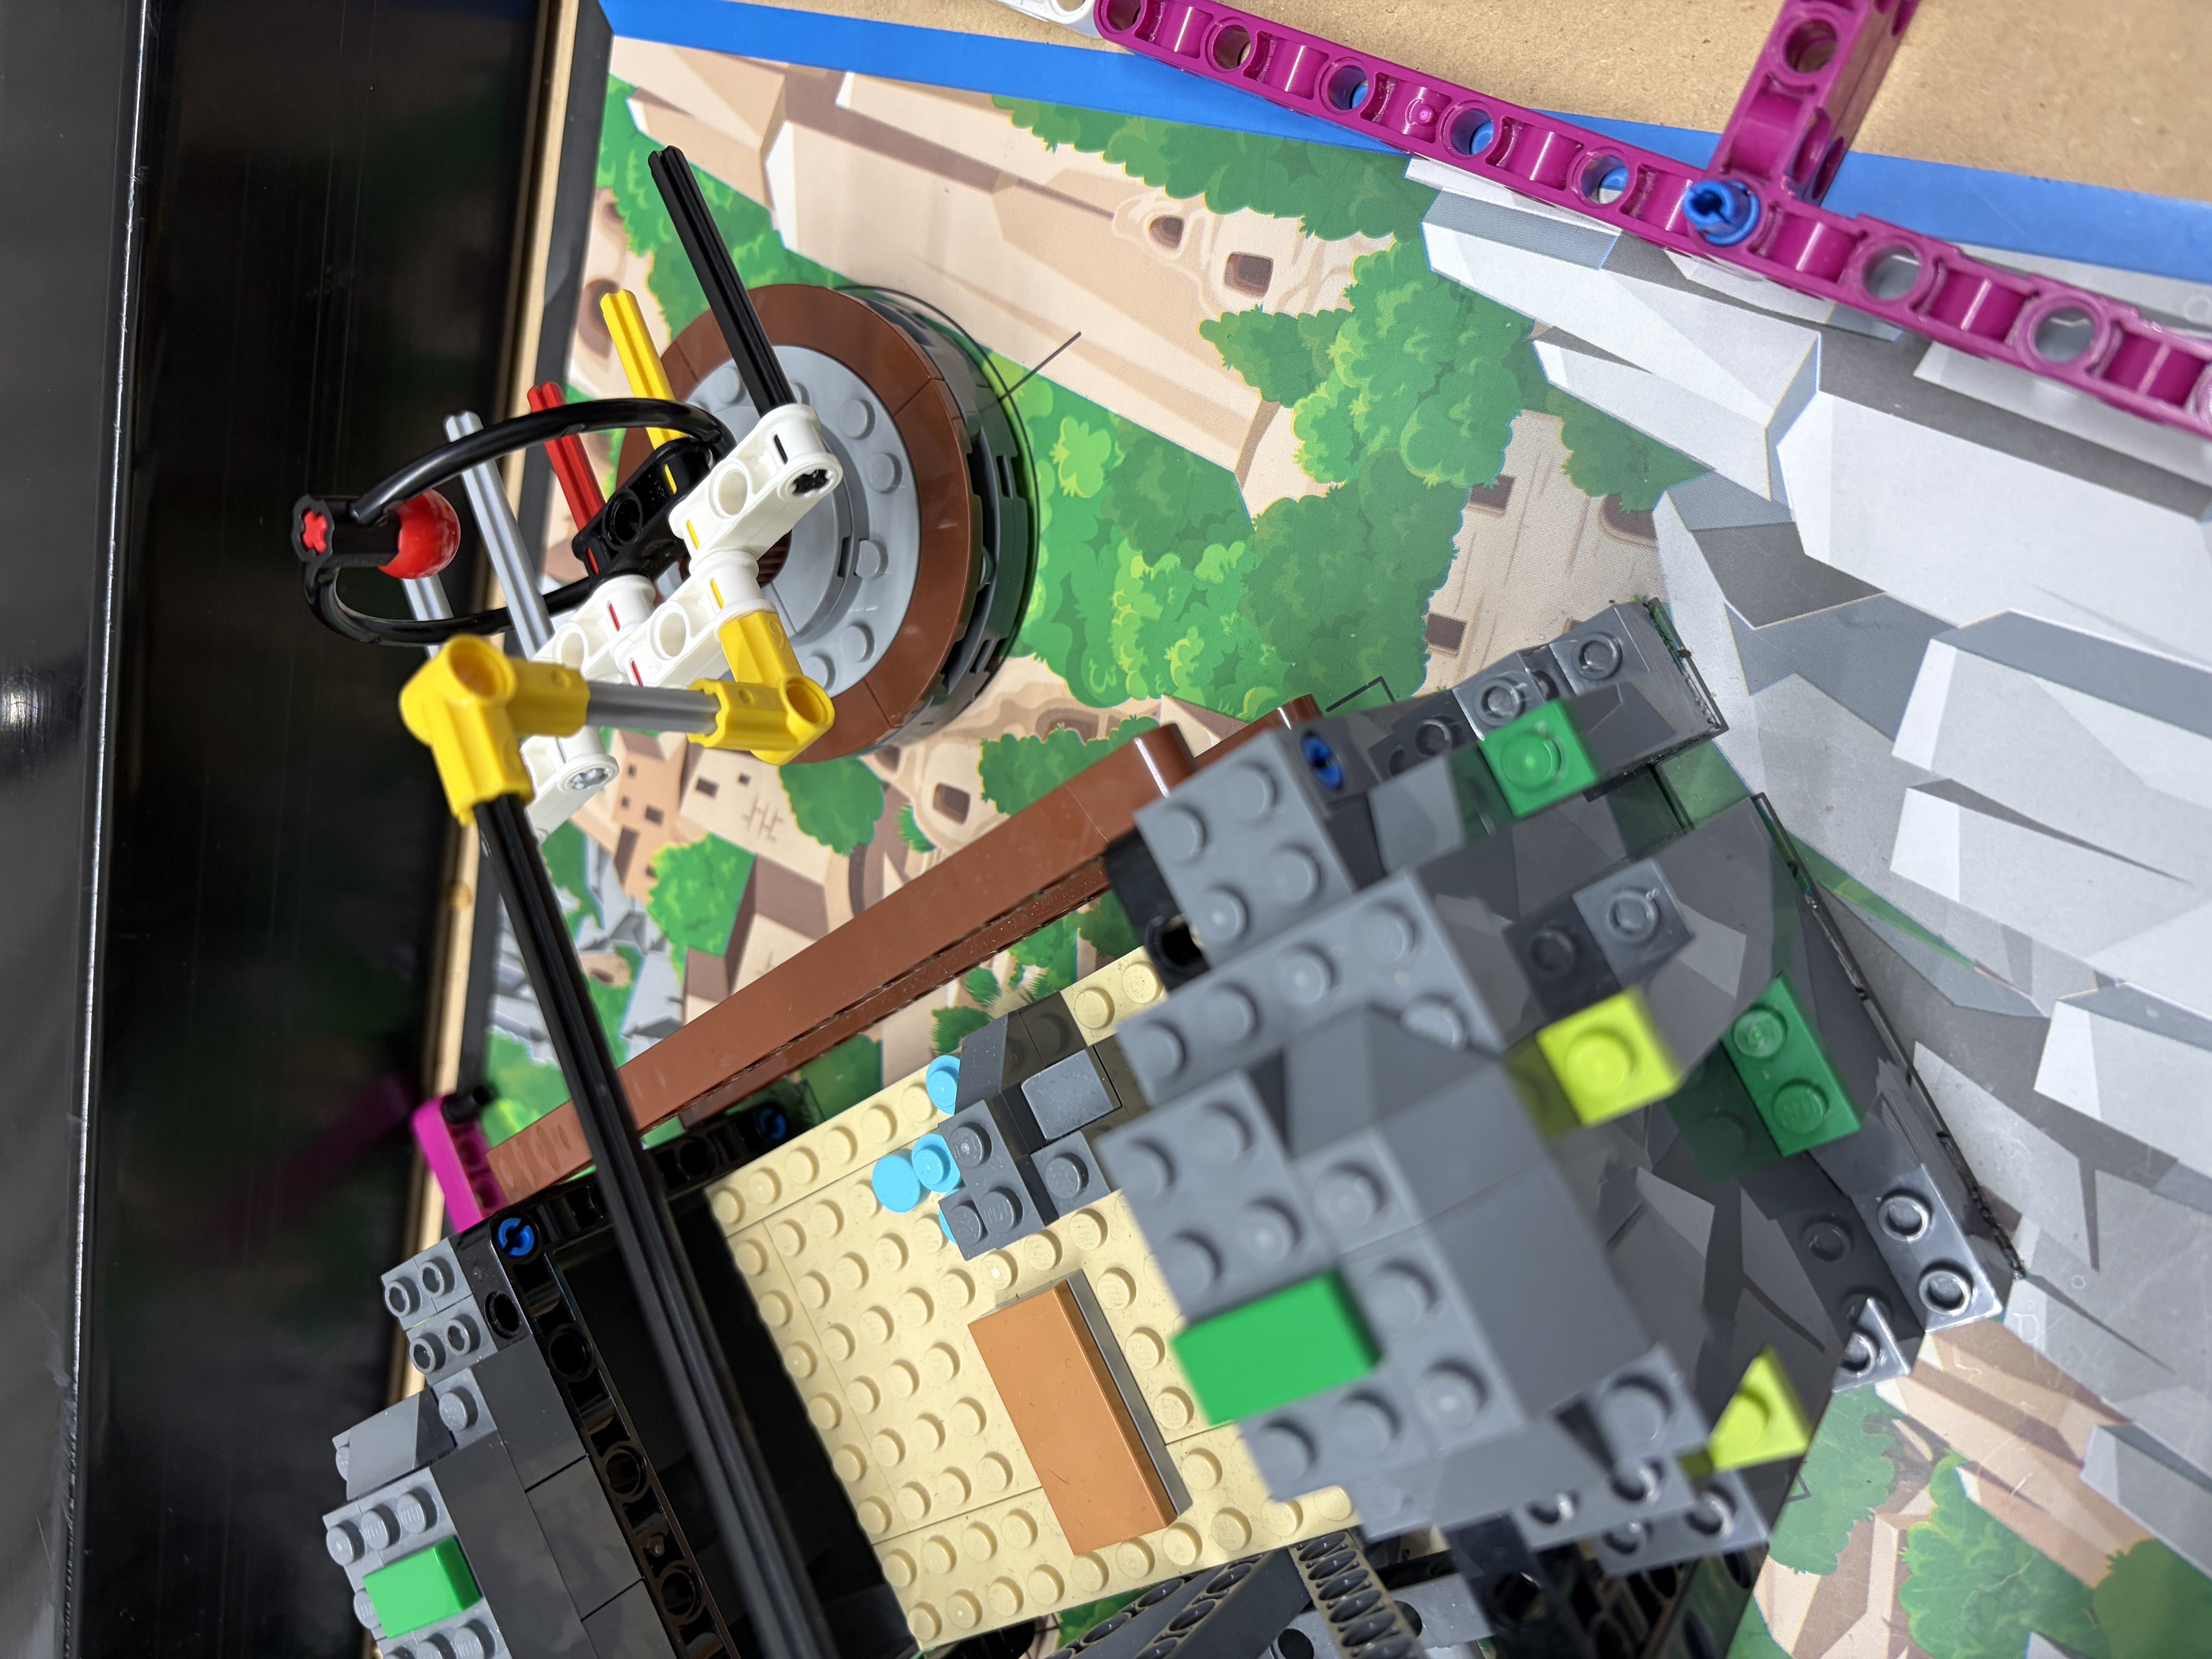
Powered arm attachmentsM5M6M7M8M9M10M1M2M3M4M11M13M15
Captain
Isabella
Lead Coder
Anthony
Lead Builder
Kyle
Red Side Team
Brian, Owen, Sam
Focused on the red-side missions and the run attachments for that side of the field.
Blue Side Team
Cailey, Jonathan, Julisa, Jasper
Focused on the blue-side missions and the run attachments for that side of the field.
Splitting the team this way helped us build, code, test, and improve multiple runs at the same time.
Rough Draft
Prove the run is possible.
Tune + Debug
Fix alignment and reduce drift.
Refine
Reach competition-level consistency.
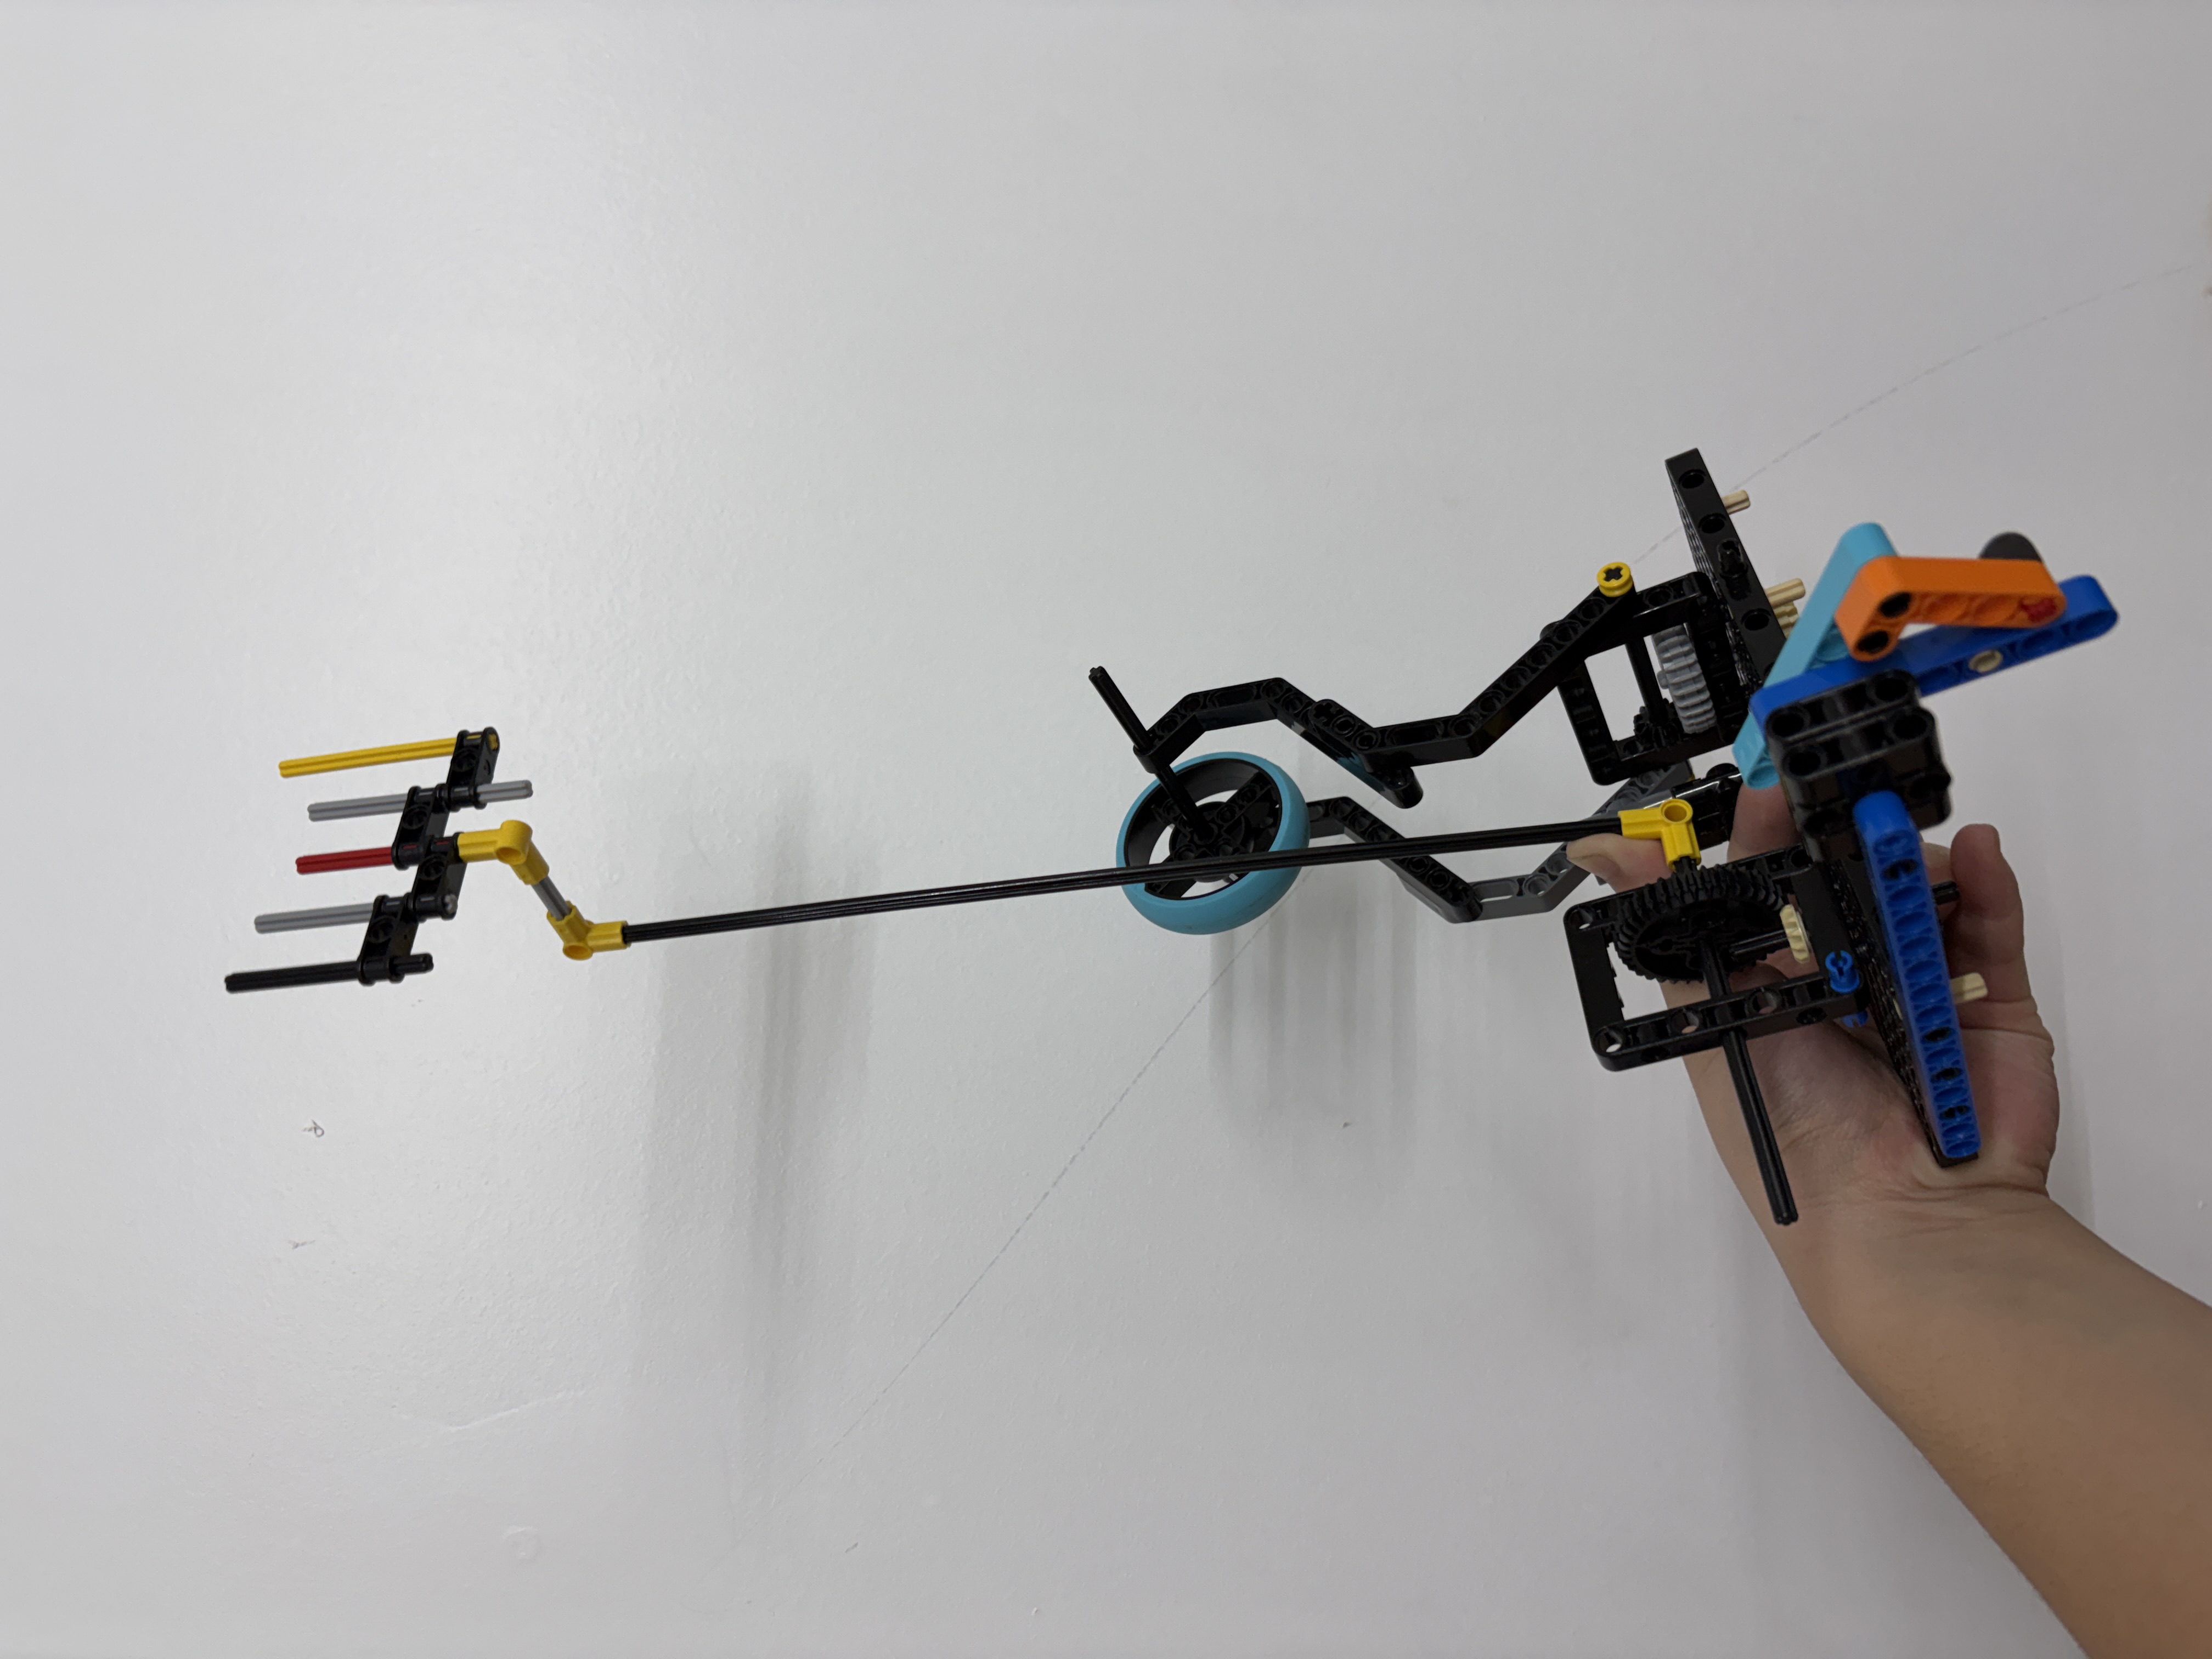
Five motions cover almost every attachment we build. Each diagram loops the core movement so you can see what the mechanism actually does.
A bar slides forward off the robot's front. Example: the Run A ramp missions (M5–M8).
A hook drops down, engages, then the robot reverses. Example: the Run B pan mission (M9).
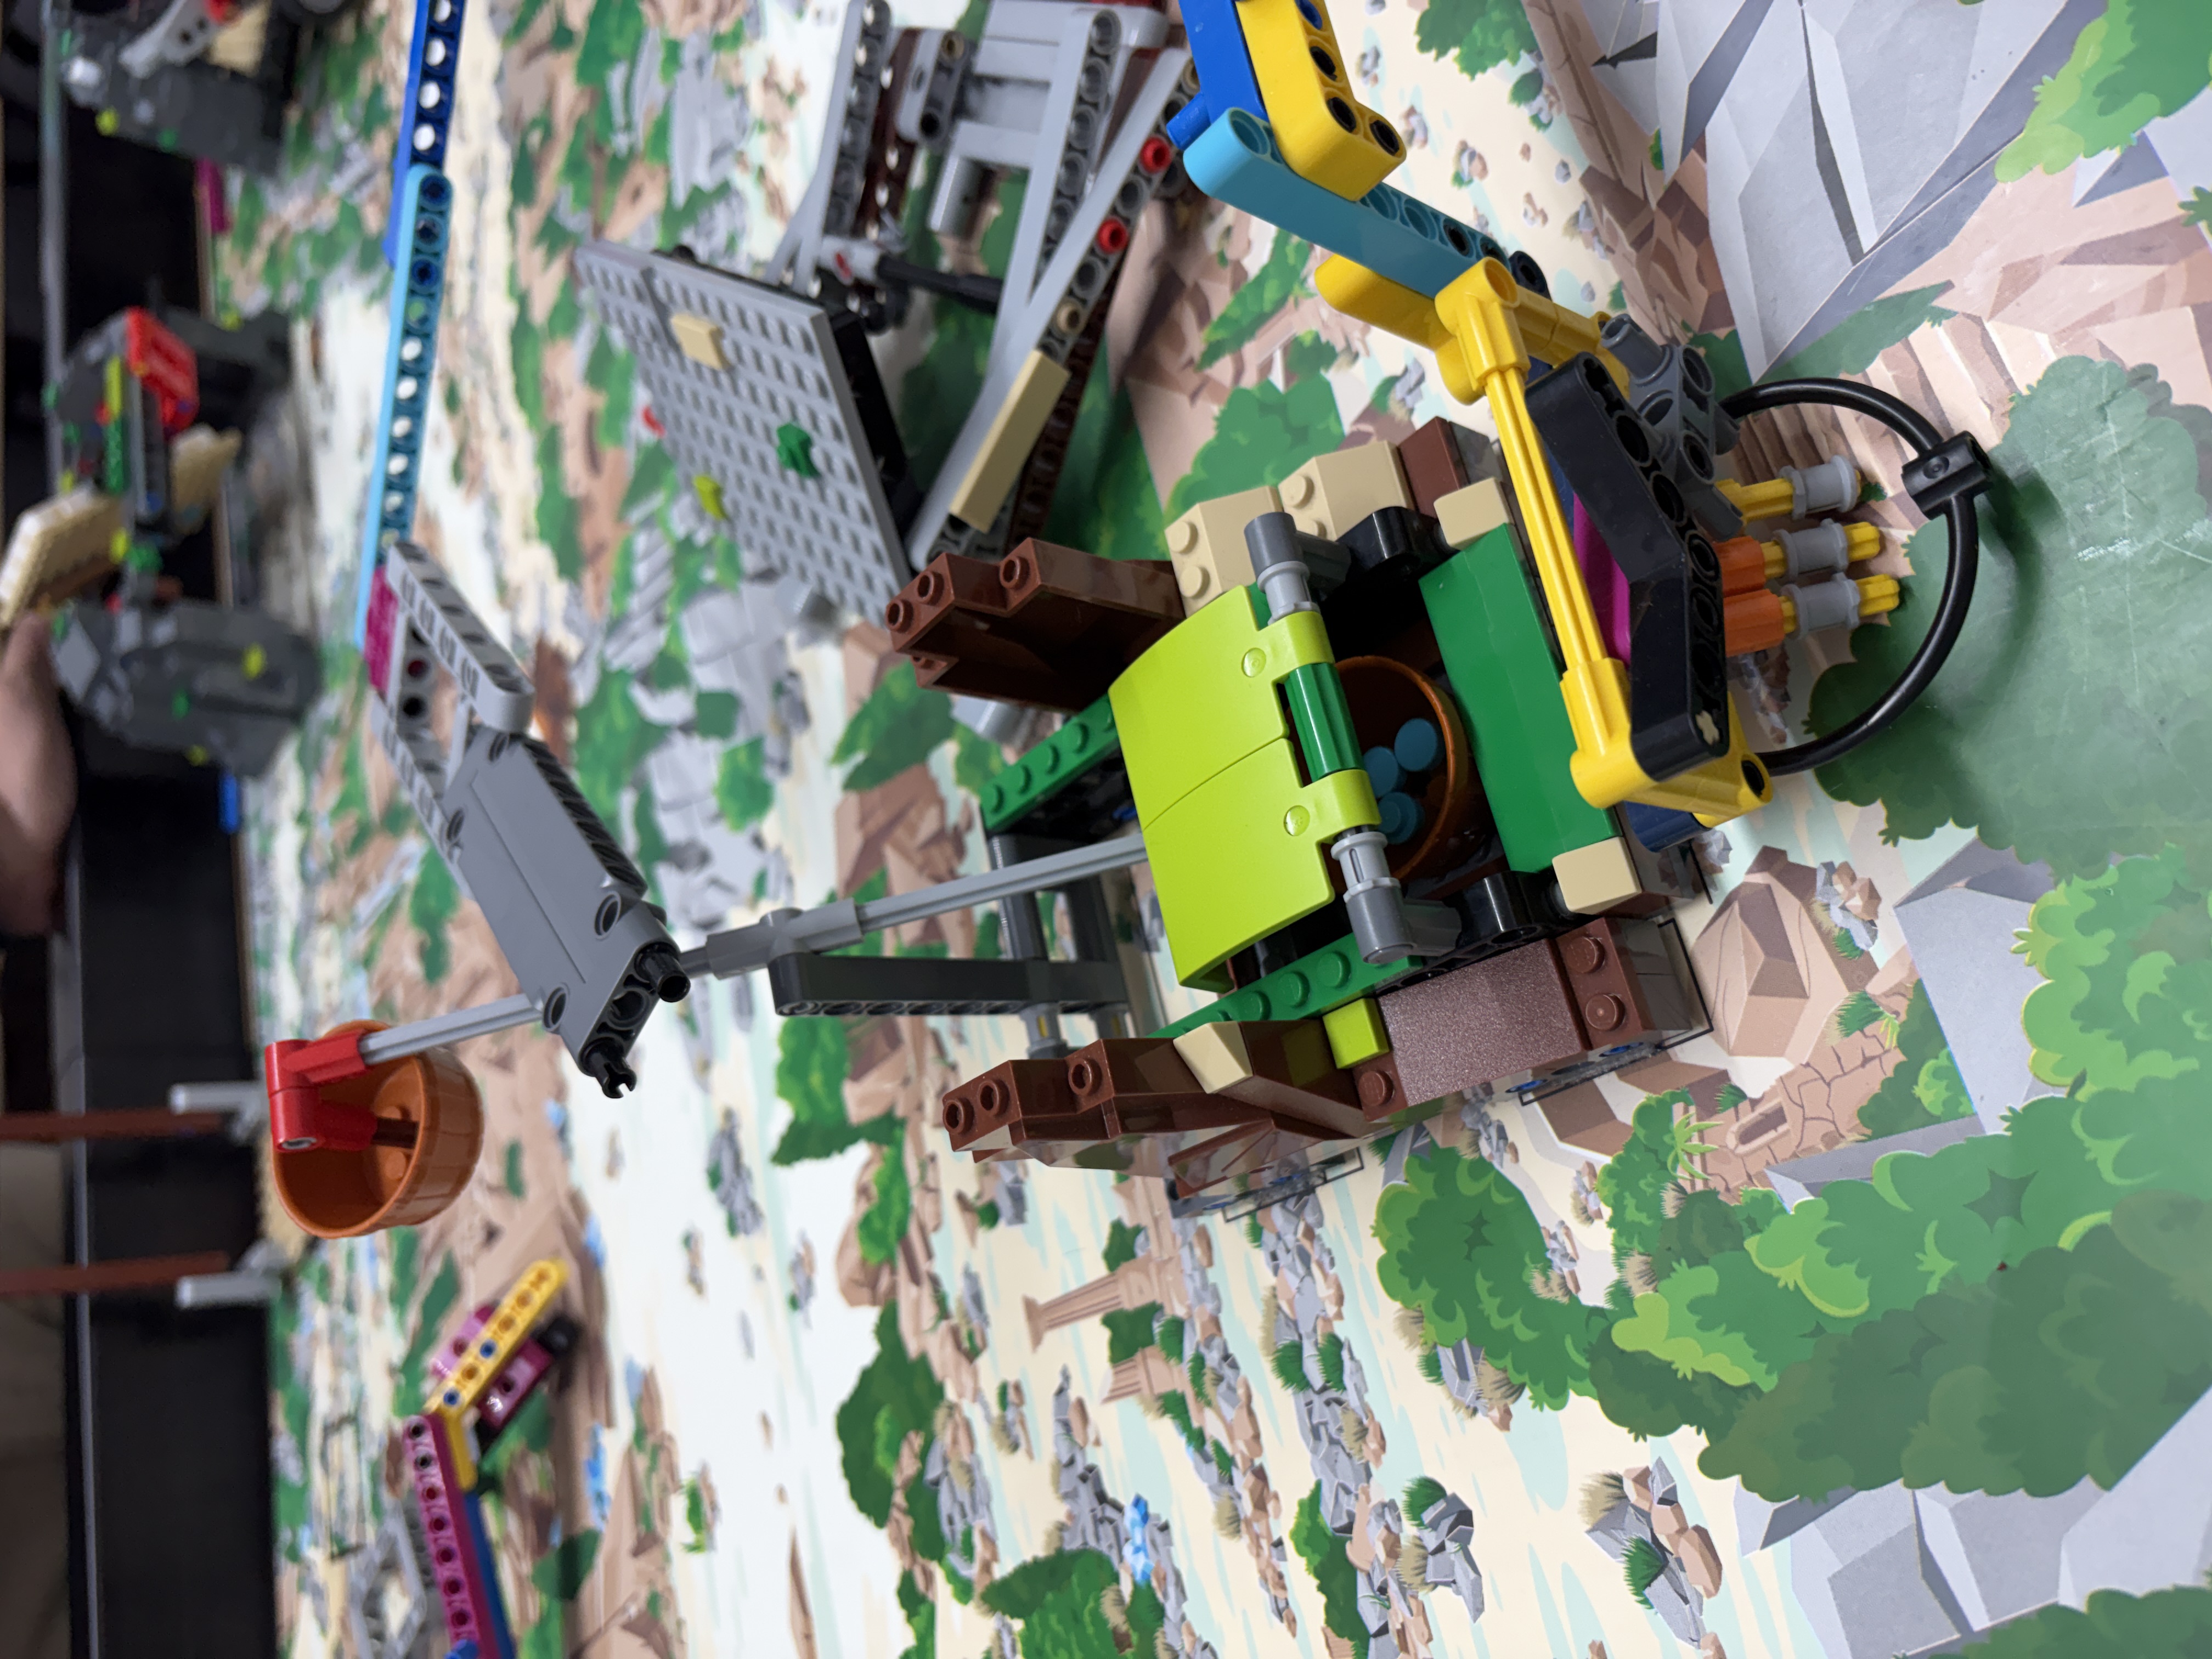
A powered arm rotates up from flat to about 60°. Example: raising the Run D model (M3).
The arm holds a payload, then releases it to fall into place. Example: depositing on M1 / M14.
The arm extends and rotates together for compound motion. Example: our multi-mission Run A tool.
Passive mechanism progression for cleaner trigger flow.

Tip control evolution for repeatable pan contact.
Pickup geometry tuned for more reliable retrieval.

Lift geometry evolved toward stable drop positioning.
Underside approach refined for faster transitions.
Block Coding Limit
Driving straight and turning accurately needed more precision.
Switch to Pybricks
Python gave us more control and direct access to gyro and encoder data.
Advanced Control
Small code adjustments started showing up in real robot movement.
Direction + Distance
Gyro handled turns; encoders measured travel by motor rotation.
Detect Drift
Sensor feedback corrected motor power while pushing or pulling models.
Tune PID
We tested settings, recorded data, graphed results, and chose the most consistent values.
Smooth Starts + Stops
Acceleration and deceleration reduced slip and made each run more predictable.
Pybricks + PID correction achieved 94.2% consistency by continuously adjusting motor power based on gyro heading feedback.
These are the same concepts that make our runs reliable — now you can drag the sliders and watch them change in real time. Press play on any widget to see a short demo, or grab a control and make it your own. Numbers update live for anyone who wants the detail.
We never changed two things at once. Every loop fixed exactly one problem, then we ran it again to prove the fix held. Doing this over and over is what turned shaky first drafts into competition-ready runs.
The issues that cost us missions most often — and the exact fix we reach for each time.
Before testing and competition runs, diagnostics helped us catch robot problems early instead of guessing after a failed mission.
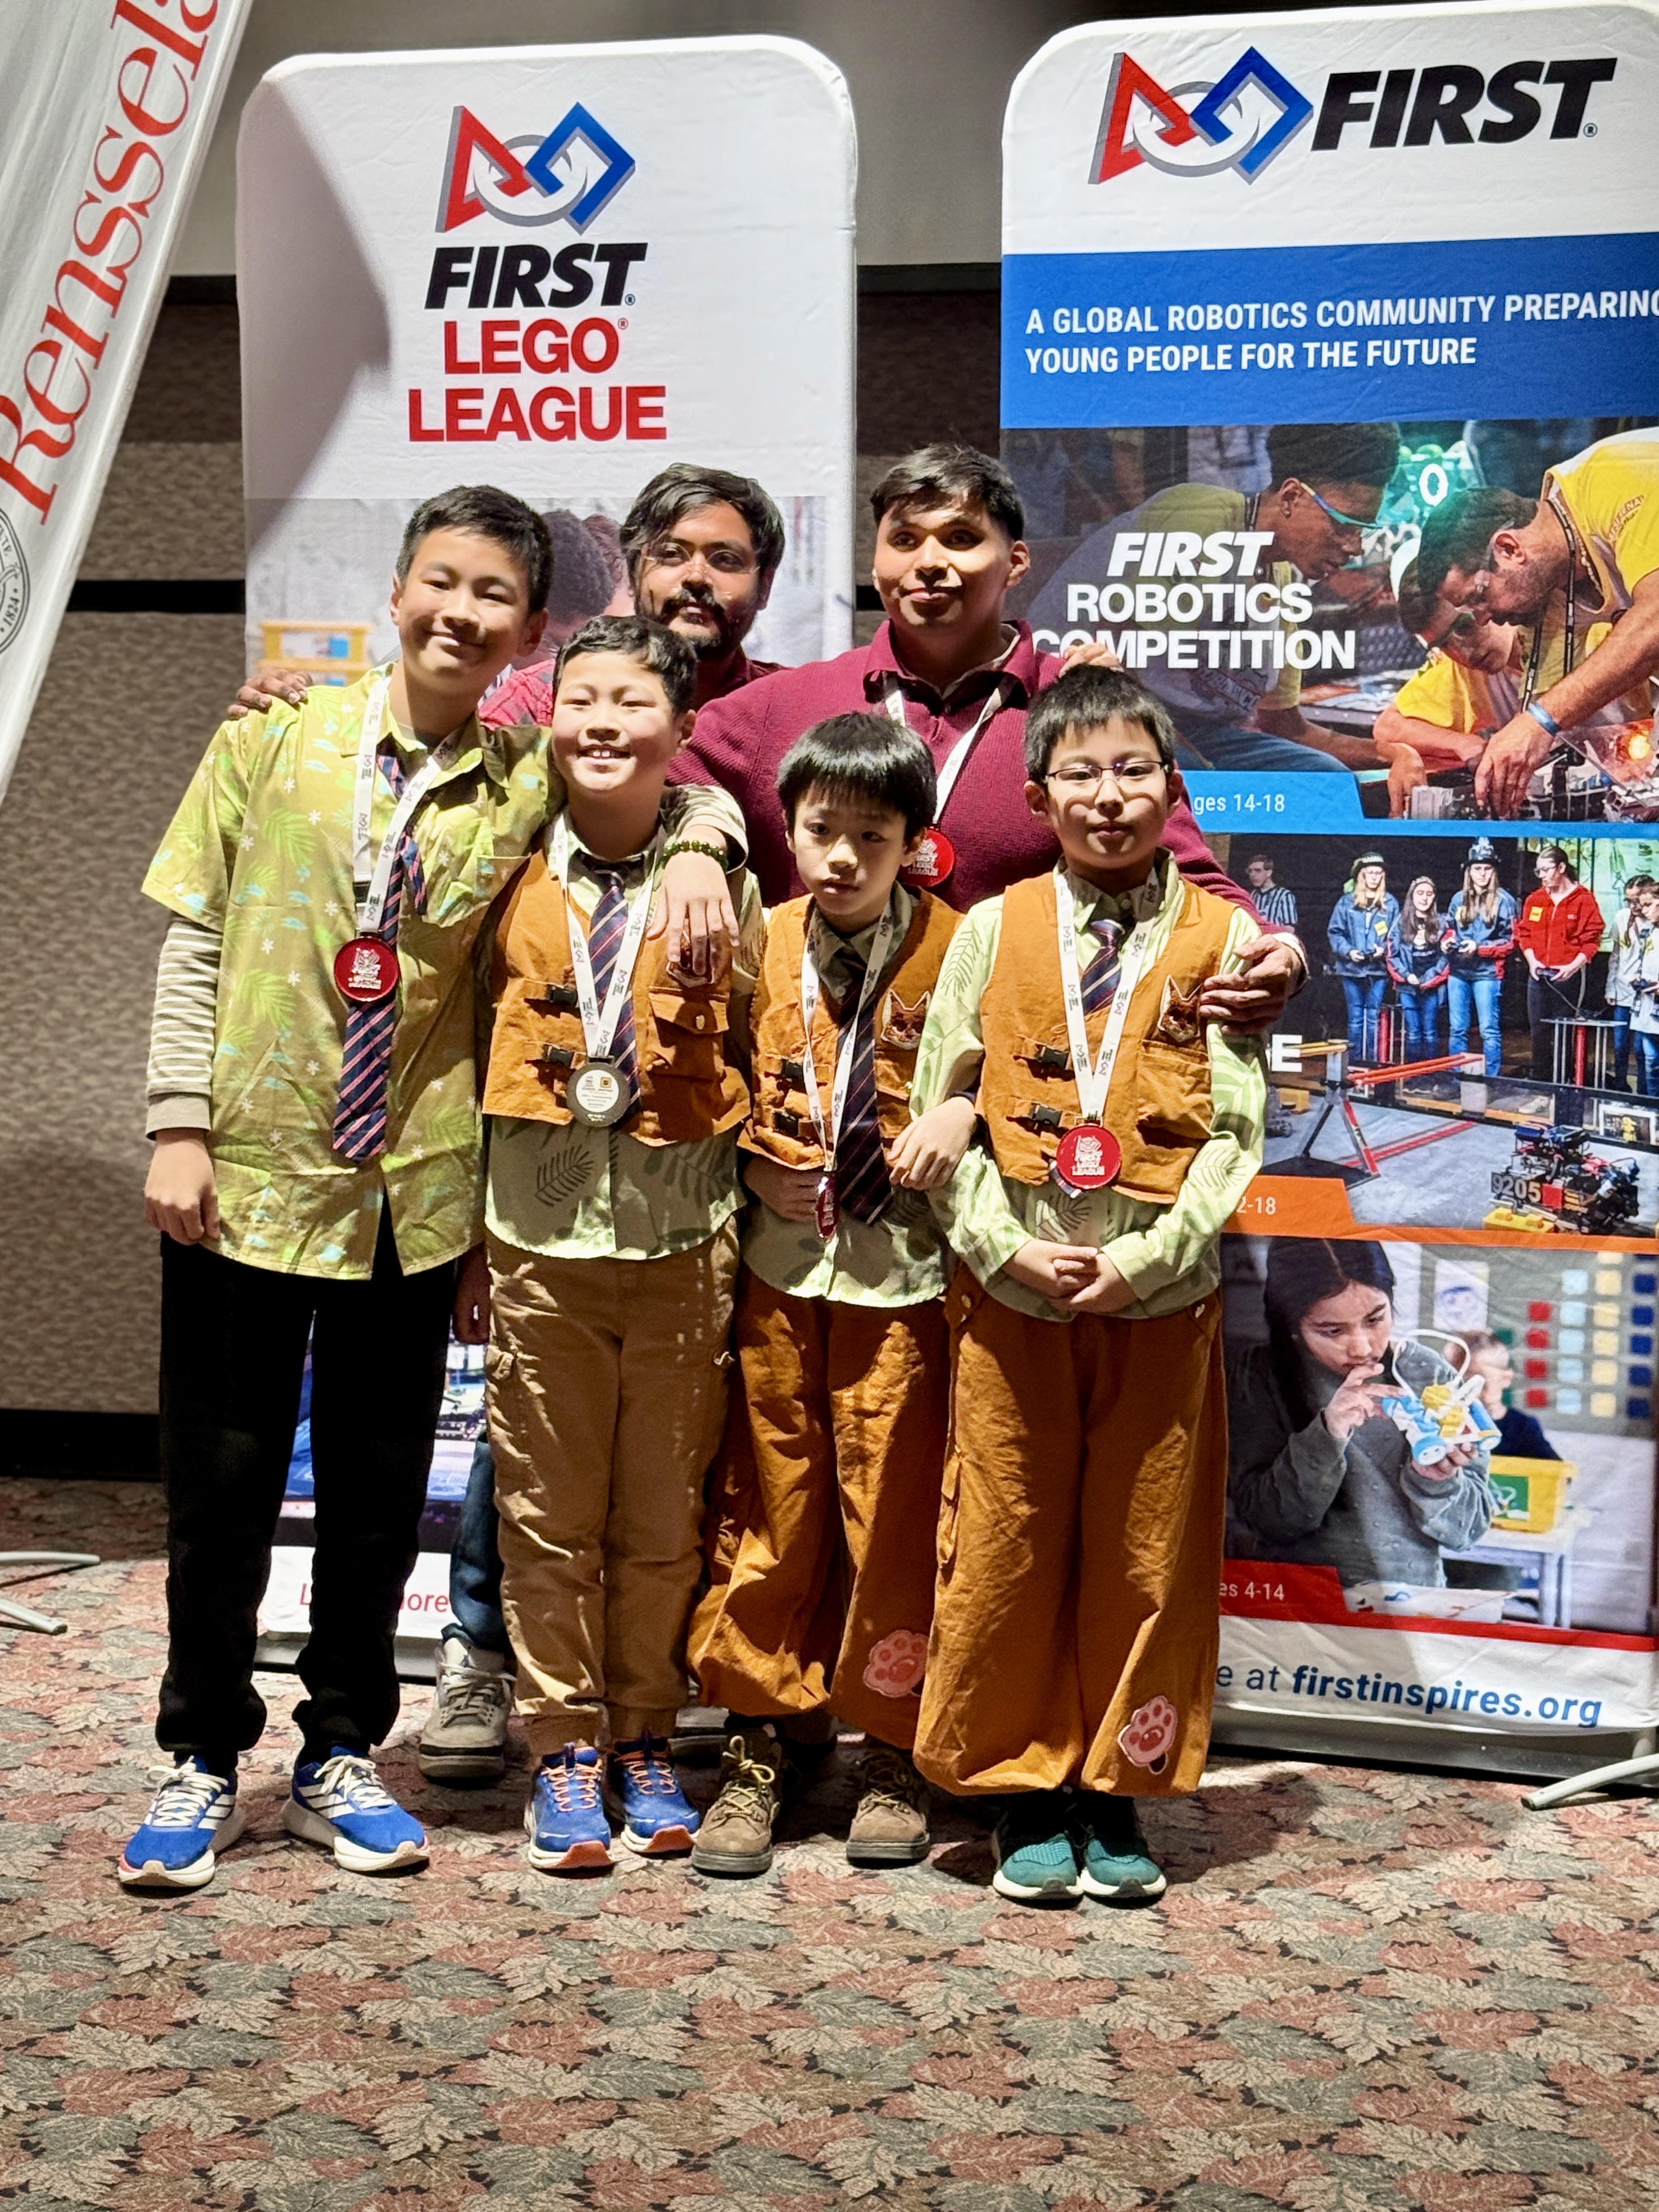
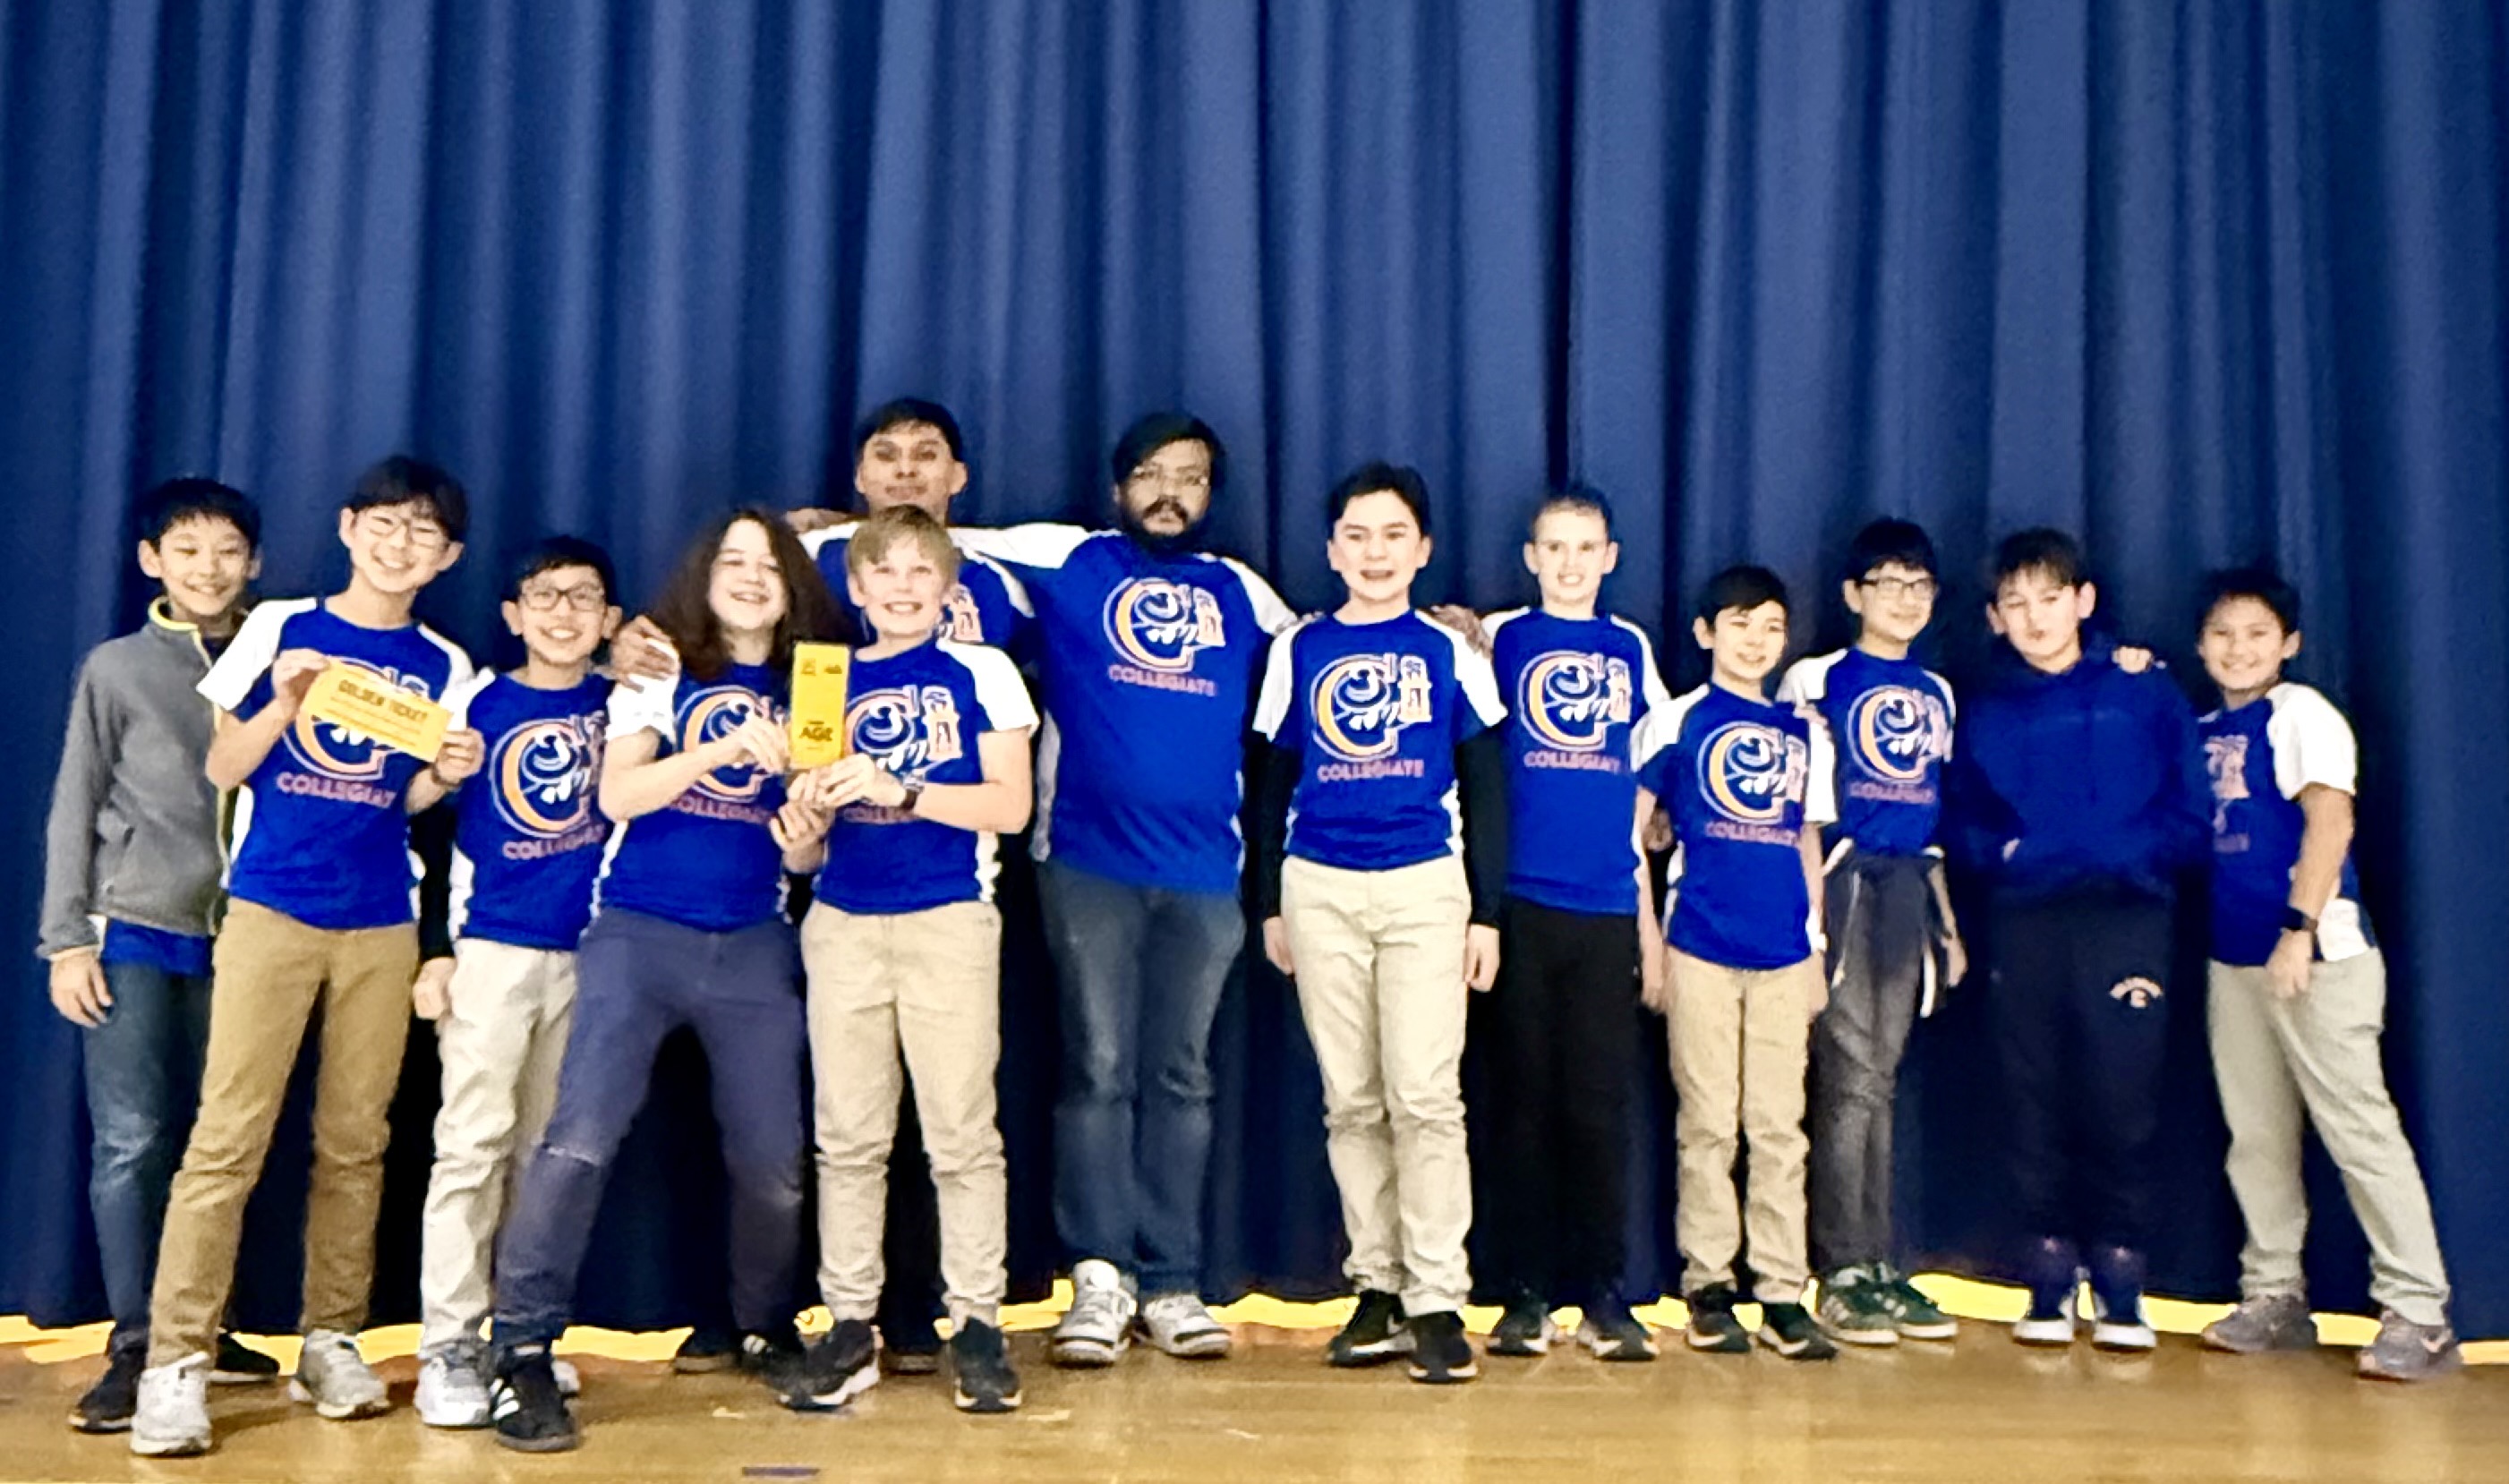
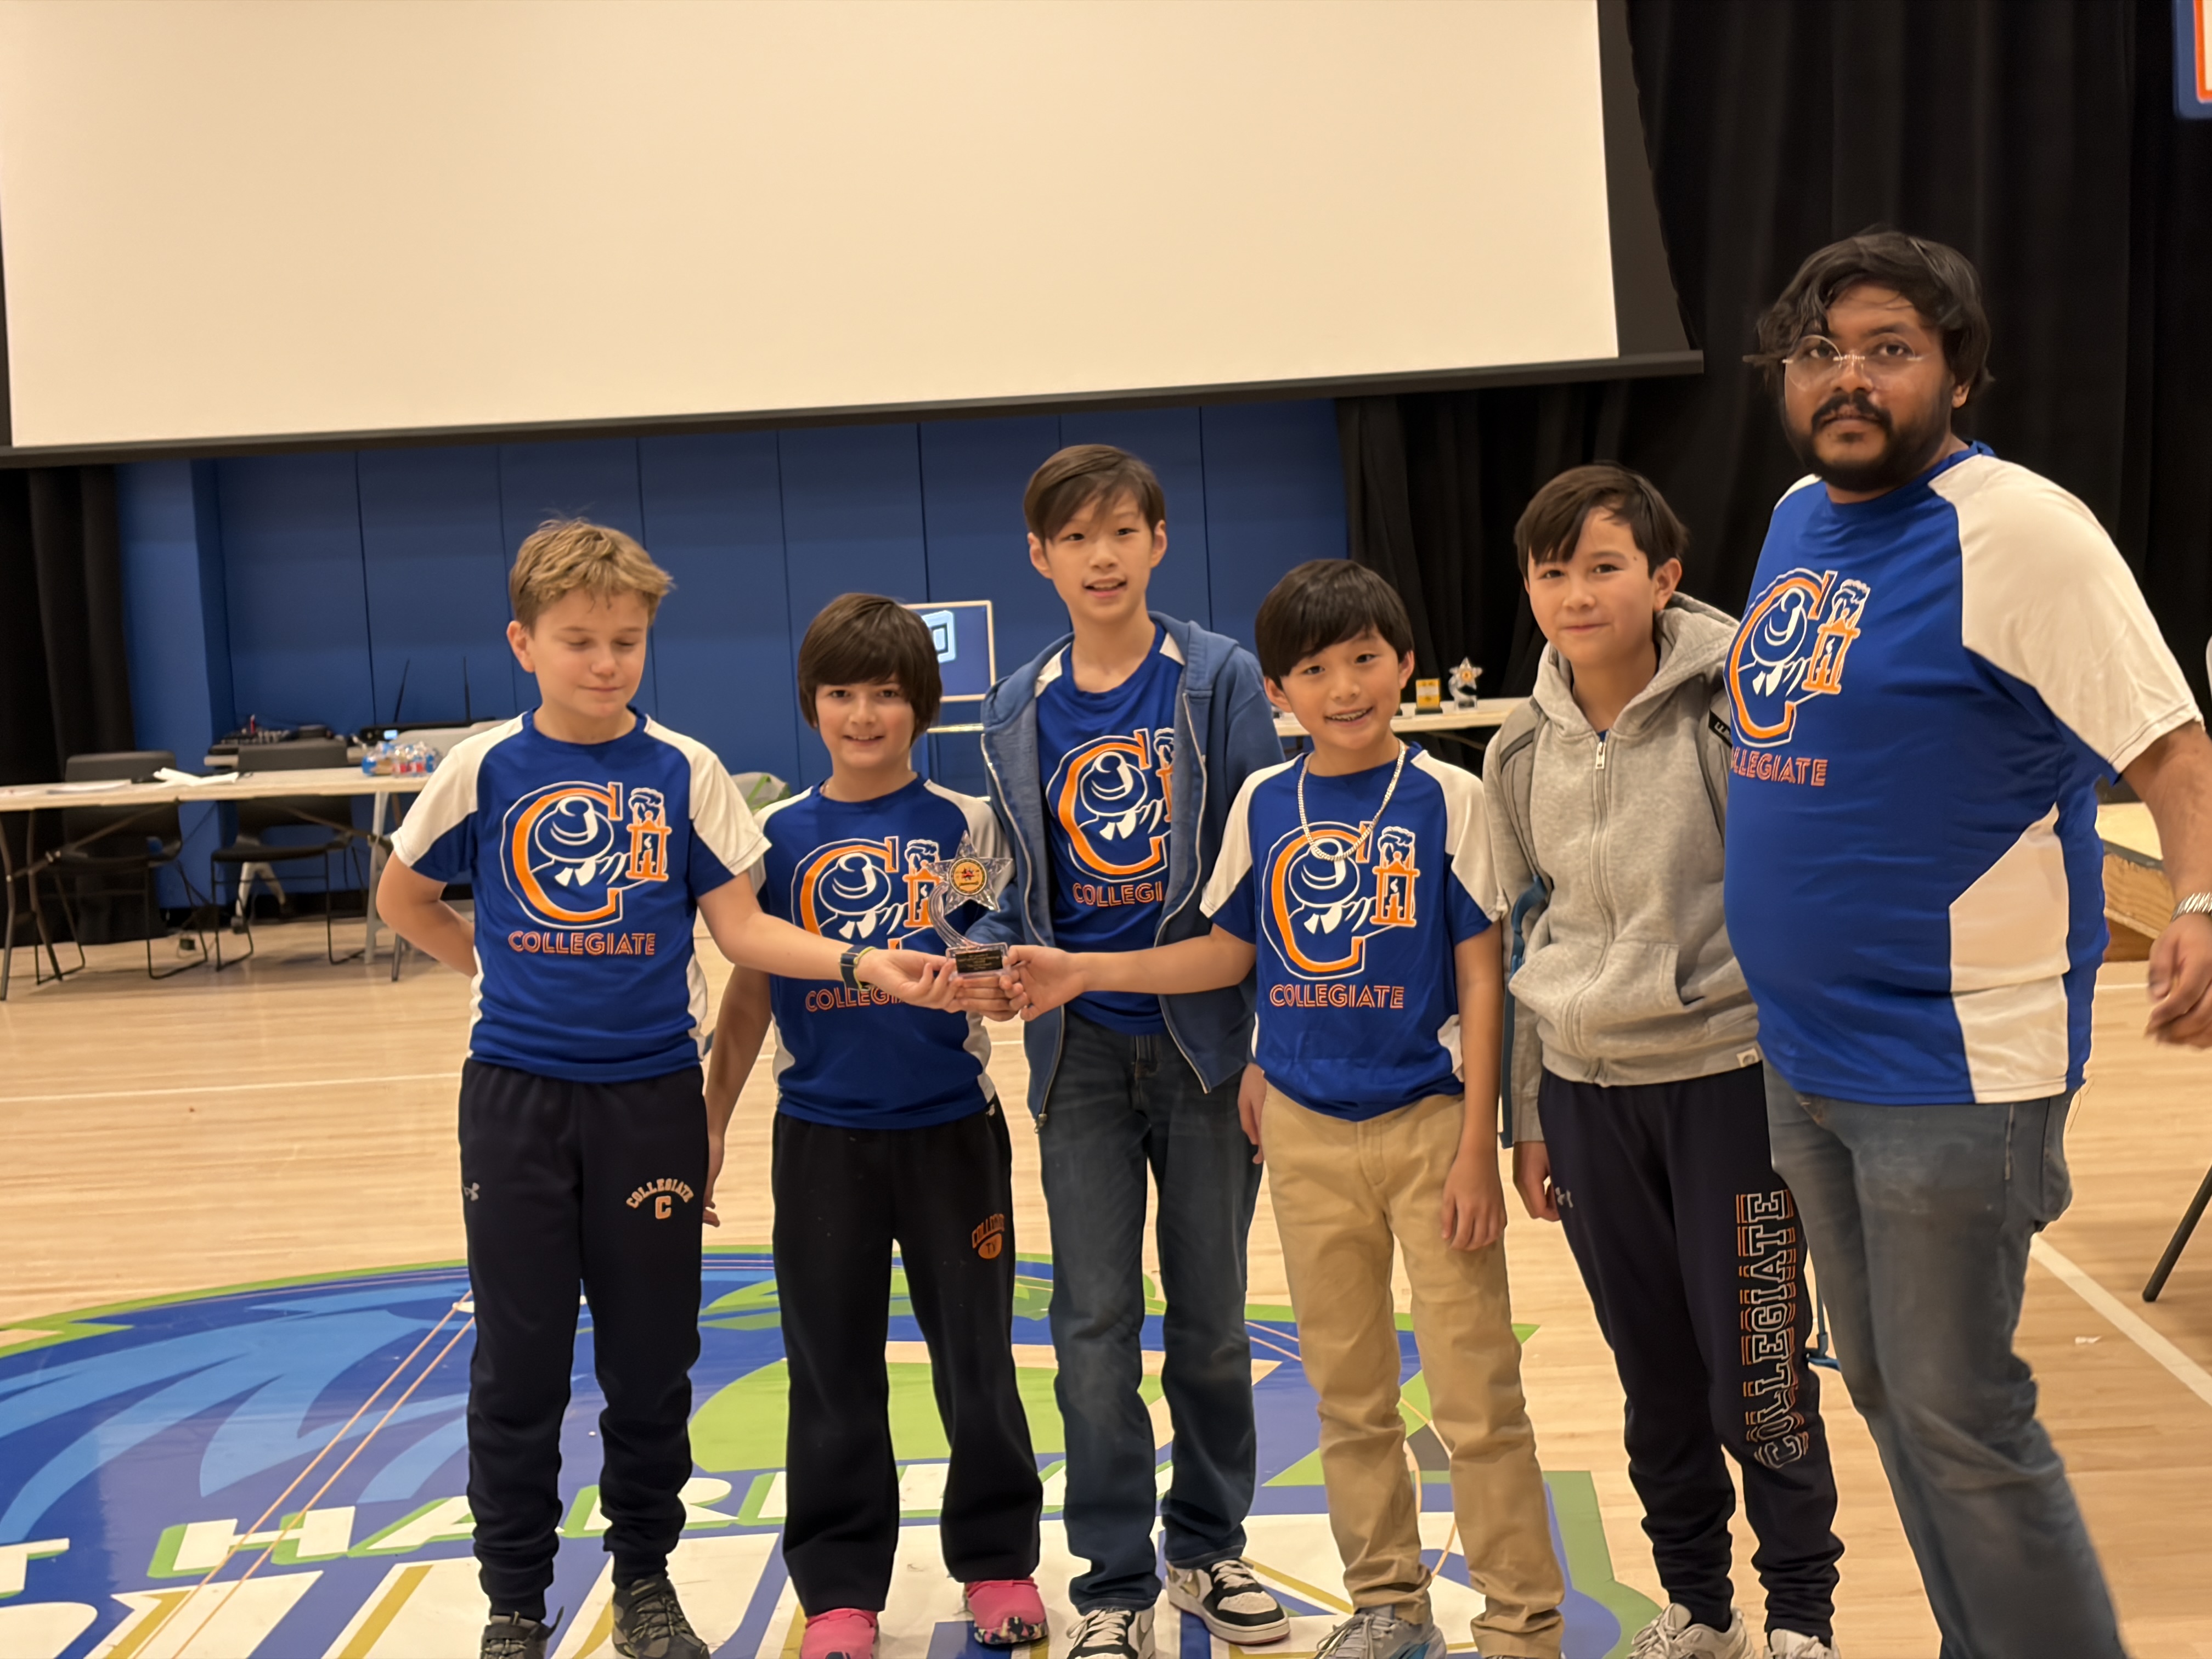
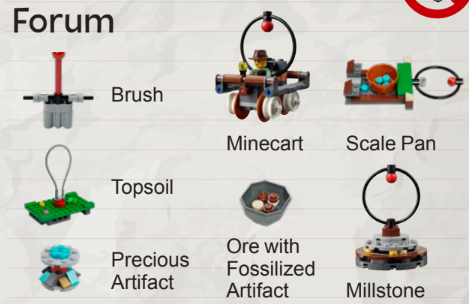
Students add photos, resources, and competition updates so teams can learn from each other and celebrate the results together.